
How to make garlic bread recipe in just 15 minutes
Did you know that a beloved side dish can go from your kitchen to the table in under 20 minutes total? That’s less time than it takes to watch a sitcom. With just a quarter hour of active effort, you can create something far superior to anything wrapped in foil at the store.
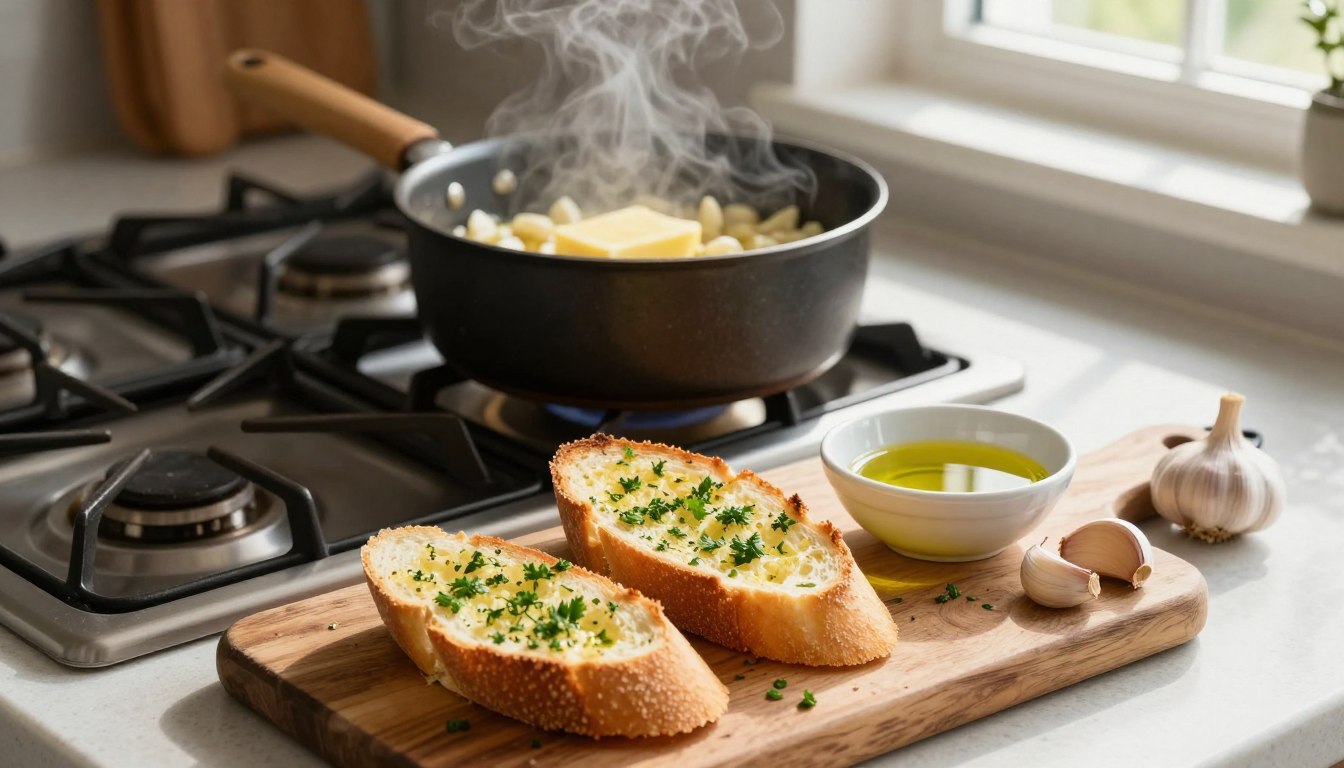
This quick culinary project transforms a simple loaf into a golden, buttery masterpiece. It’s the perfect partner for a weeknight pasta or a weekend grill out. You control the quality of every ingredient, ensuring a fantastic result for your family.
According to common estimates, a batch yields about 16 servings. Each serving comes in at roughly 121 calories. That means you can enjoy this flavorful creation without guilt.
The best part is the customizability. You can adjust the flavor intensity to match your personal taste. Achieving that ideal texture soft inside with delightfully crispy edges is straightforward with a few pro techniques.
Forget about last minute store runs. In mere minutes, you’ll have a hot, aromatic side that completes any meal. Let’s get started on making your new favorite dish.
- Complete bread machine guide: master techniques, troubleshoot failures, create bakery quality loaves. Save $5 per loaf!
Introduction: why you’ll love this garlic bread recipe
Busy nights demand solutions that don’t compromise on quality, and this preparation delivers exactly that. You’ll find it’s a versatile companion for countless meals, from soups and salads to your favorite pasta dishes.
It turns a hectic evening into a relaxed, enjoyable family dinner. The method is straightforward, so you spend less time working and more time connecting.
Quick and convenient cooking for busy evenings
When minutes matter, this dish is a lifesaver. The entire process requires only about fifteen minutes of active effort. You get a hot, homemade side without the fuss.
It’s designed for efficiency. Simply mix, spread, and bake. You can trust the results to be far superior to any store bought version.
A delicious side for family dinners
Every bite delivers a bold, satisfying flavor profile. It elevates a simple weeknight meal into a special occasion. This reliability has made it a staple in many homes.
According to Plays Well With Butter, it works as an all purpose side. Its fantastic taste and texture make it a must have in your collection of go to recipes.
Essential ingredients for a flavorful garlic bread recipe
Your pantry holds the key to transforming a basic loaf into something extraordinary. The right components build layers of taste and texture. Let’s look at what you’ll need.
Fresh garlic, unsalted butter, and herbs
Start with a foundation of rich, creamy fat. Unsalted butter gives you control over the seasoning. Experts at Plays Well With Butter suggest using half a cup, softened for easy spreading.
For the signature punch, fresh garlic is non negotiable. Mince or press three to four cloves for a robust flavor. This creates the best base for your mixture.
Fresh herbs like parsley add a necessary pop of color. They bring a vibrant freshness that cuts through the richness perfectly.

Optional cheesy enhancements with parmesan or mozzarella
Want to take it further? Cheese is a fantastic upgrade. A sprinkle of grated parmesan introduces a deep, nutty note.
For a delightfully gooey texture, try shredded mozzarella. It melts into a decadent topping that’s perfect for dipping. These additions are simple but make a big impact.
| Ingredient Type | Specific Item | Purpose & Effect |
|---|---|---|
| Core | Unsalted Butter | Provides a rich, spreadable base and controls saltiness. |
| Core | Fresh Garlic | Delivers the essential, robust aromatic flavor. |
| Core | Fresh Herbs (e.g., Parsley) | Adds color and a fresh, balancing note. |
| Optional | Parmesan Cheese | Offers a savory, nutty depth when sprinkled on top. |
| Optional | Mozzarella Cheese | Creates a melted, gooey texture for extra indulgence. |
These items are easy to find at any grocery store. Keeping them on hand means you can create this fantastic side anytime.
Choosing the perfect bread for your homemade garlic bread
Before you even preheat your oven, the success of your creation hinges on one key decision: which bread to use.
Selecting the right base is crucial. It provides the structure for your flavorful toppings and directly influences the final texture.
French bread vs Rustic italian loaf
A classic 16 ounce loaf of French bread is a primary and excellent choice. Its familiar crust and airy interior offer a perfect canvas.
For a slightly different character, try a soft, rustic Italian loaf. Experts suggest it needs to be sturdy enough to hold the butter without getting soggy, yet soft inside for a pillowy bite.
You can also experiment with baguettes or ciabatta rolls for individual servings. Just avoid options that are too thin or airy, as they might not withstand the oven’s heat well.
Your choice ultimately shapes the dish. For the best homemade garlic experience, pick a high quality, fresh loaf from your local bakery.
Preparing Your Garlic and Herb Butter Mixture
The heart of this irresistible side lies in a simple, aromatic compound you can whip up in minutes. This flavorful spread is what transforms a plain loaf into something truly special. Getting the consistency and blend just right is the key to even baking and fantastic taste.
Mincing fresh garlic or using a garlic press
Start with your fresh garlic. You’ll need a few plump cloves for the best flavor. Using a sharp knife on a cutting board works perfectly for a fine mince.
For ultimate ease, a garlic press is a great tool. As SpendWithPennies.com notes, it’s the simplest way to process cloves for your mixture. This method creates a uniform paste that incorporates seamlessly.

- OXO Good Grips Stainless Steel Garlic Press Heavy duty stainless steel construction with large capacity chamber. Press multiple cloves at once without peeling. Soft non slip handles for comfortable squeezing. Dishwasher safe for easy cleaning. Perfect for quick garlic bread or any recipe calling for fresh garlic.
- Before you go, try these: Cottage Cheese Bread, Vegan Banana Nut Bread .
Mixing techniques for a well Blended Butter
Place your softened butter into a small bowl. Add the minced garlic, chopped herbs, and your chosen seasonings. The goal is a completely homogenous garlic butter.
Plays Well With Butter recommends using a fork to mash everything together. This technique ensures the garlic is evenly distributed. It helps prevent any bitter, burnt spots later on.
Take a moment to blend thoroughly for a cohesive spread. You can make this mixture ahead of time. Just store it covered in the fridge until you’re ready to use it.
Step by step cooking process for crispy garlic bread
Achieving that ideal crunch with a soft interior comes down to your oven’s temperature and timing. This phase transforms your flavorful spread into a golden, aromatic side.
The process has two clear parts: getting your pan ready and then applying the heat. Follow these simple steps for a fantastic result.
Preheating your oven and setting up the baking sheet
First, you need to preheat your oven. According to Plays Well With Butter, a temperature of 350°F works well. SpendWithPennies.com suggests a hotter 400°F for a slightly quicker finish.
While the oven heats, prepare your loaf. Slice it in half lengthwise to create two large halves. Place these cut-side up on a rimmed baking sheet.
This rimmed sheet is important. It contains any melted butter, keeping your oven clean.
Baking and broiling for the perfect toasted finish
Now, begin the baking. For a 350°F oven, bake for 10 to 12 minutes. At 400°F, aim for 8 to 10 minutes.
Watch for the edges to turn a beautiful golden color and the butter to melt completely. For an extra crispy finish, use your broiler.
Switch to broil for the final 2 to 3 minutes. Keep a very close eye on the slices during this short time to prevent burning. Your perfect side is ready in just a few more minutes!
Tips for achieving the ideal texture and taste
Getting that ideal bite crispy on the outside, soft within is easier than you might think. A few smart techniques make all the difference for your finished dish.
Your baking method is the main factor. For the best contrast, bake your loaf open-face on a sheet. This lets the edges become wonderfully golden and crisp while the center stays tender.
If you prefer a uniformly soft result, wrapping the halves in foil works. Just know you’ll lose those delightful toasted edges many crave.
Balancing crispy edges with a soft center
Temperature control is another secret. As noted by Plays Well With Butter, a lower oven temperature around 350°F lets the flavor develop gently. The butter melts and soaks in slowly for a more even texture.
Adding a bit of grated parmesan to your butter mix boosts the savory depth. It also helps create a more complex taste profile that complements many meals.
Always remember your choice of loaf affects the outcome. A denser base may need a minute or two longer in the oven. A lighter one might cook faster. Adjust your time to ensure this fantastic side turns out perfectly every time.
The ultimate goal is harmony. Balance the rich, creamy butter with the aromatic punch of fresh ingredients. That’s the key to a memorable and delicious creation.
Creative twists to elevate your garlic bread experience
Beyond the classic version lies a world of flavorful possibilities waiting to be explored. Customizing your creation is a simple path to a gourmet side dish.
These easy upgrades transform a familiar favorite into something special for any gathering.
Adding parmesan, mozzarella, or even truffle oil
Cheese is a fantastic way to build richness. A sprinkle of grated parmesan adds a savory, nutty depth.
For a delightfully gooey texture, try shredded mozzarella. It melts into a perfect topping for dipping.
For a truly luxurious flavor, consider a secret from Plays Well With Butter. A drizzle of white truffle oil makes the taste more pronounced and sophisticated.
Incorporating fresh herbs for an extra burst of flavor
Fresh herbs like basil or oregano introduce a vibrant, aromatic quality. They provide a fresh contrast to the rich, buttery base.
You can also add a pinch of red pepper flakes for a subtle kick. This simple addition brings a welcome warmth to every bite.
| Upgrade | Ingredient Type | Primary Effect |
|---|---|---|
| Savory Depth | Parmesan Cheese | Adds a nutty, umami flavor and a slight crisp when baked. |
| Creamy Texture | Shredded Mozzarella | Creates a melted, stretchy layer perfect for dipping. |
| Gourmet Aroma | White Truffle Oil | Elevates the overall profile with a luxurious, earthy note. |
| Fresh Balance | Fresh Herbs (e.g., Basil) | Provides color and a bright, clean flavor contrast. |
| Subtle Heat | Red Pepper Flakes | Introduces a gentle spiciness to complement the richness. |
Mixing and matching these ideas lets you craft a unique side. Your dinner guests will be impressed by your creative touch.
Make ahead and storage ideas for homemade garlic bread
Maximizing your time in the kitchen often comes down to smart preparation and knowing how to store your creations. A little advance prep lets you enjoy this fantastic side dish with minimal effort on busy nights.

You can save valuable time by making your flavorful butter mixture days ahead. According to Plays Well With Butter, the garlic herb blend keeps well in the fridge for up to five days.
Preparing ahead, freezing, and reheating tips
If you’ve prepared the entire loaf, proper storage is key. SpendWithPennies.com notes you can keep the finished product in your fridge for two days.
For longer storage, freezing is a great option. Wrap the buttered halves tightly in foil. Then, place them in an airtight container. They will stay fresh in the freezer for up to four months.
When you’re ready to bake from frozen, you have two choices. Thaw the loaf overnight in the refrigerator. Or, bake it directly from frozen, wrapped in foil, for a longer duration.
Reheating leftovers is best done in the oven. Wrap the bread in foil to warm it through evenly. Then, unwrap it for a few minutes to crisp the edges again.
Proper storage ensures your homemade garlic bread remains delicious. You can enjoy this convenient side whenever the craving strikes.
Authentic garlic bread recipe: achieving bold, homestyle flavor
For those who crave a deeply flavorful experience, the secret lies in a triple layered approach to a key ingredient. This method builds a complex taste profile that feels truly homemade and rich.
You can transform your standard side into a standout dish. The goal is to create a robust, savory flavor that lingers pleasantly.
Using three types of garlic for a robust taste
Plays Well With Butter recommends a powerful trifecta. Combine fresh cloves, granulated garlic powder, and roasted garlic for maximum impact.
Each form brings a unique quality. Fresh provides a sharp, aromatic punch. The powder ensures even distribution of flavor in every single bite.
Roasted cloves add a sweet, caramelized depth. To prepare them, roast a whole head at 350°F for 45 minutes to an hour. The cloves will become soft, golden, and easily mashed.
- Fresh Garlic: Delivers a bright, pungent kick that defines the dish.
- Garlic Powder: Offers a consistent, savory note throughout the entire loaf.
- Roasted Garlic: Contributes a mellow, sweet complexity that balances the sharpness.
Mixing these three ingredients into your butter creates an unparalleled depth. This comprehensive information gives you everything needed for an excellent result.
Your final creation will have a homemade garlic flavor that is far superior. It’s a simple bit of extra effort for a monumental taste upgrade.
Conclusion
Your journey to mastering a classic side dish is now complete. You possess all the knowledge required to create a fantastic staple for your kitchen.
By using quality butter and fresh herbs, you guarantee a delicious addition to any meal. Selecting the right loaf and blending your mixture carefully are key steps.
The secret to a great result lies in these details. Your homemade version will impress, whether for a quick dinner or a special gathering.
Don’t hesitate to experiment with different cheeses and herbs to craft your signature twist. We appreciate you following this guide.
Enjoy every golden, flavorful bite of your creation!
Your email will not be published publicly.