
Homemade strawberry icebox cake: The perfect dessert
Remember the last time you hosted a casual get together? The sun was shining, friends were laughing, and you needed a stunning dessert that wouldn’t keep you in the kitchen. You wanted something cool, creamy, and bursting with fresh fruit flavor.
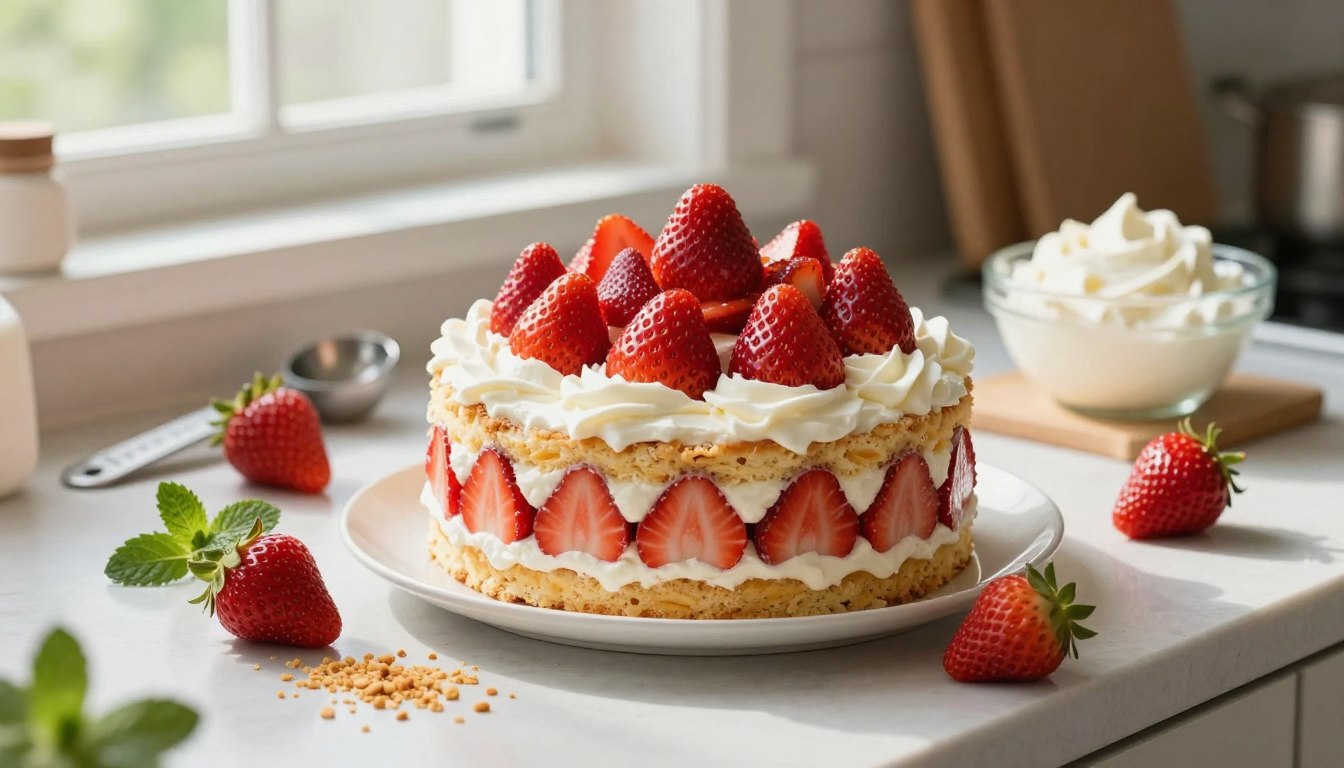
That’s the exact moment this classic creation was made for. This strawberry icebox cake is a tested, crowd favorite. It layers beautifully with ripe, red strawberries and slices like a dream.
Designed for reliability, this recipe brings a sense of nostalgic, fresh flavor to your table without an oven. A quick video breakdown helps you visualize the simple assembly. Whether you’re a beginner or a pro, this strawberry icebox dessert impresses with minimal effort.
It’s the ultimate crowd pleaser for your next special occasion. Follow these simple steps to create the ideal treat for the warm summer season.
Essential Ingredients and Preparation
The foundation of any great no-bake dessert lies in its ingredients and how you prepare them. Proper technique ensures a stable, delicious result for this strawberry icebox recipe.

Gathering Your Ingredients
You will need two boxes of graham crackers. These crackers form the base. Have three ounces of room-temperature cream cheese ready. Also, gather three cups of cold heavy whipping cream and about one and a half pounds of fresh fruit.
| Ingredient | Quantity | Key Role |
|---|---|---|
| Graham Crackers | 2 boxes (14.4 oz each) | Forms the crisp layers |
| Cream Cheese | 3 oz | Stabilizes the whipped cream |
| Heavy Whipping Cream | 3 cups | Creates the fluffy filling |
| Powdered Sugar | 3/4 cup | Sweetens and smooths the cream |
| Fresh Strawberries | 1.5 lbs | Adds fresh flavor and texture |
Get the 8″ Round Cake Pan Set (3 pans + 100 parchment papers) on Amazon
✅ Nonstick carbon steel with handles
✅ Dishwasher safe & even heating
✅ Perfect for layered cakes, quiche & more
Click Here to check price & order now!
Don’t miss our burnt basque cheesecake recipe,Try our mochi ice cream recipe and mini bundt cake recipes.
Preparing Whipped Cream and Chilled Equipment
First, place a metal mixing bowl and beaters in the freezer for 15 minutes. This chill is crucial for volume. Always use cold ingredients and a chilled bowl for success.
Combine the cream cheese and powdered sugar with an electric mixer for one minute. Add the cold heavy whipping cream and vanilla. Beat on high speed for five to seven minutes until stiff peaks form. Your electric mixer does the heavy work.
This stabilized cream won’t weep or deflate. Slice your fruit uniformly for even distribution across each layer of crackers and cream in your pan. This recipe relies on cold components.
Building Your Strawberry Icebox Cake
Assembling this no bake treat is where the magic truly happens. You will transform simple components into a beautiful, layered dessert. The process is straightforward and rewarding.

Layering Graham Crackers, Cream, and Strawberries
Begin by placing a single layer of graham crackers on the bottom of your 9×13-inch pan. This creates a sturdy base. Spread about one-quarter of your whipped cream evenly over the crackers.
Next, add a generous amount of sliced strawberries. Repeat this sequence three more times. You will create four distinct strata of crackers, cream, and berries.
Using a stand mixer ensures the cream is light and holds its shape. This keeps the layers visually appealing.
Achieving the Perfect No Bake Texture
The final step is crucial for the right consistency. Smooth the last portion of cream over the top. This gives you a clean canvas for extra berry decoration.
Cover the pan tightly with plastic wrap. Place it in the refrigerator for at least four hours. For the best results, let it chill overnight.
During this time, the moisture from the cream softens the dry crackers. They become tender and cake-like. This transformation creates a dessert that slices neatly and melts in your mouth.
Tips for the Ideal Strawberry Icebox Cake
Once you’ve mastered the basics, these pro tips will help you customize and perfect your creation. They ensure your dessert is versatile, beautiful, and lasts for days.

Creative Variations and Substitutions
Feel free to experiment with different flavors. Swap the standard graham crackers for chocolate ones or vanilla wafers.
This simple change creates a new flavor profile for your guests. If you prefer not to make homemade cream, you can use a store-bought whipped topping.
Just know it will alter the taste of this classic recipe.
Presentation and Serving Suggestions
For an elegant look, remove the dessert from the refrigerator and add a fresh topping. Use extra sliced strawberries or chocolate curls.
You can also assemble it on a large platter for a rustic summer presentation. Do not cover it if you choose this style.
Storing and Freezing for Later Enjoyment
Always keep your treat well sealed. Use an airtight container or plastic wrap to maintain freshness for 3 to 4 days.
You can freeze it for up to 3 months. Wrap it tightly in plastic wrap followed by aluminum foil.
When thawing, place it in the refrigerator for several hours or overnight. This keeps the texture soft and perfect for slicing.
Conclusion
This no bake masterpiece proves that stunning desserts don’t require hours in the kitchen. Your strawberry icebox cake is a reliable, crowd pleasing choice. Each slice offers a satisfying treat at around 258 calories.
By mastering the simple layer technique with graham crackers and stabilized cream, you build a professional dessert in just a few minutes of active time. This versatile recipe welcomes your creativity.
Add chocolate curls or extra berries on top. The quality of your ingredients ensures every bite has perfect sweetness and a soft, cake like feel.
Remember, the final texture depends on letting the layers set fully in the fridge. We hope you feel confident serving this classic icebox dessert at your next summer celebration.
Frequently Asked Questions
Can I make strawberry icebox cake the night before?
Yes, making it the night before is actually recommended. Chilling overnight allows the graham crackers to fully soften and the layers to set perfectly for clean slicing.
Can I use frozen strawberries instead of fresh?
Fresh strawberries are strongly recommended. Frozen strawberries release too much water when thawed, which can make the layers soggy and prevent the cream from holding its shape.
How long does strawberry icebox cake last in the refrigerator?
It stays fresh for 3 to 4 days when covered tightly with plastic wrap or stored in an airtight container in the refrigerator.
Can I freeze strawberry icebox cake?
Yes, you can freeze it for up to 3 months. Wrap it tightly in plastic wrap followed by aluminum foil. Thaw in the refrigerator for several hours before serving.
What can I substitute for graham crackers in this recipe?
You can swap graham crackers for chocolate graham crackers or vanilla wafers. Each option creates a slightly different flavor profile while keeping the same layered structure.
Your email will not be published publicly.