
Cracker crust cheesecake: 7 secrets for best results
Did you know that nearly 90% of people enjoy desserts, and a significant number of them consider cheesecake their favorite? This delightful treat is not just a restaurant indulgence; you can create it right in your kitchen!
In this guide, you will learn how to craft a professional grade dessert that rivals those found at popular bakeries. With a reliable recipe, you can ensure your creation is always silky smooth and perfectly set.
By following these simple instructions, you will master the art of balancing a rich, sweet filling with a crunchy, salty base. You don’t need to be a pastry chef or own expensive equipment to achieve stunning results.
Prepare to impress your friends and family with a visually appealing and delicious dessert. Let’s dive into the world of homemade cheesecake!
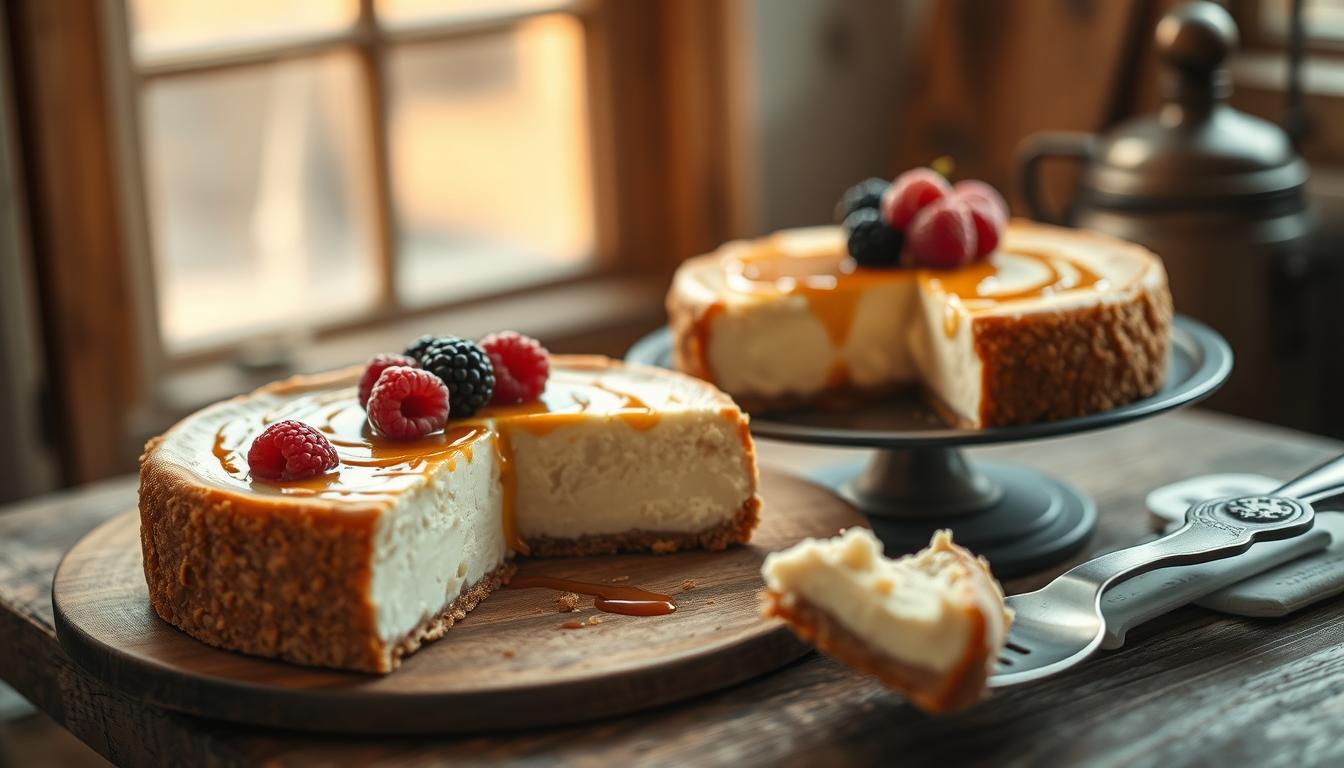
Every memorable cracker crust cheesecake begins with three simple ingredients: graham crackers, butter, and sugar. Yet achieving that perfect golden crust crispy but not hard, sweet but not overpowering requires precise technique and the right proportions.
This 3 step recipe delivers restaurant quality results at home by addressing the most common crust failures: too crumbly, too dense, or soggy bottom syndrome. Our tested method ensures your crust holds together beautifully for clean slices every time. If you’re building your no bake dessert repertoire, pair this technique with our Caramel Crunch Cheesecake Recipe for a crowd pleasing upgrade, or master our Key Lime Pie Easy Recipe that uses the same foolproof crust foundation.
The science behind achieving the ideal graham cracker base is thoroughly explained in Food Network’s Graham Cracker Crust guide, confirming that proper crust execution is essential for professional quality cheesecake.
Introduction to cracker crust cheesecake
For many, desserts are a source of joy, and cheesecake is frequently their top choice. This classic dessert captivates with its rich, tangy flavor, often made with just seven simple ingredients. According to Sofi from Broma Bakery, the right balance of cream cheese and sour cream creates a velvety texture that’s hard to resist.
Making this delightful treat at home is surprisingly easy. By using high quality ingredients, such as Philadelphia cream cheese, you ensure a superior taste. Plus, you gain full control over what goes into your dessert, allowing for a customized experience.
Here are some reasons why you’ll love preparing this dessert:
- Durability: This sturdy cheesecake can withstand travel and stays fresh in the fridge for a week.
- Foolproof Recipe: Designed for success, you can serve it with confidence at any gathering.
- Delicious Profile: Its rich, slightly sweet flavor satisfies even the most demanding sweet tooth.
| Ingredient | Purpose | Quality tip |
|---|---|---|
| Cream cheese | Main filling | Use full fat for best results |
| Sour cream | Texture and tang | Choose a high quality brand |
| Sugar | Sweetness | Granulated works best |
Essential ingredients for your cracker crust cheesecake
When it comes to desserts, cheesecake is a beloved choice for a large number of people. The secret to a great cheesecake lies in its ingredients. Understanding what goes into both the base and filling is crucial for achieving that perfect balance of flavors and textures.
Key components of the graham cracker crust
To build the perfect graham cracker crust, you need:
- 150g of graham crackers: Finely crushed to form the base.
- 53g of brown sugar: This adds sweetness and depth.
- 56g of melted butter: It binds the crumbs together and adds richness.
Vital elements of the cheesecake filling
The filling is where the magic happens. For a creamy texture, you’ll need:
- 904g of full fat cream cheese: Essential for a rich mouthfeel.
- 267g of white sugar: Provides the necessary sweetness.
- 150g of eggs: They help achieve a custard like finish.
- 153g of sour cream: Adds tang and smoothness.
- 10g of vanilla extract: Enhances the flavor profile.
| Ingredient | Amount | Purpose |
|---|---|---|
| Graham crackers | 150g | Base for the crust |
| Brown sugar | 53g | Adds sweetness |
| Melted butter | 56g | Binds the crust |
| Cream cheese | 904g | Main filling |
| Sugar | 267g | Sweetness |
Choosing the right pan for baking
Choosing the right baking pan can make all the difference in achieving a perfect dessert. You have two main options: the springform pan and the cheesecake pan. Each has its own set of advantages and disadvantages, which can impact your baking experience.
Springform pan vs Cheesecake pan
Here’s a quick overview of what each pan offers:
- Springform Pan: This is the most popular choice for home bakers. It features a loosening metal latch that allows you to easily remove the sides. However, it can leak if used in a water bath.
- Cheesecake Pan: Often preferred by professionals, this pan has a flat base that slides out. It is more durable and less prone to mechanical issues.
- Convenience: The springform pan is great for beginners, as it makes unmolding your dessert simpler.
- Greasing: Regardless of the pan you choose, ensure it is well greased to prevent sticking during removal.
For best results, consider using Fat Daddio’s pans, which are highly recommended for their height and versatility in baking both shallow and tall desserts.
Step by step preparation of the graham cracker crust
Creating a delightful dessert at home can be a rewarding experience, especially when it involves a classic like cheesecake. The foundation of this dessert lies in the graham cracker crust. Let’s explore how to prepare it step by step.
Crushing and mixing graham crackers
Start by crushing your graham crackers into fine crumbs. You can do this using a food processor or by placing them in a bag and rolling over them with a rolling pin. Aim for a sandy texture.
Binding the crumbs with butter and sugar
Next, combine the graham cracker crumbs with brown sugar and melted butter in a large bowl. Mix until the mixture feels like damp sand. This consistency is crucial for the crust to hold together.
It’s essential to pack the mixture firmly into the bottom of your pan using a measuring cup. This prevents the crust from crumbling later. Pre bake the crust at 350°F for 8-10 minutes. This step toasts the crumbs, enhancing their nutty flavor and preventing a soggy base.
Once the edges are lightly browned, let the crust cool completely at room temperature before adding your creamy filling.
| Step | Action | Tip |
|---|---|---|
| 1 | Crush graham crackers | Use a food processor for best results |
| 2 | Mix with sugar and butter | Ensure it feels like damp sand |
| 3 | Pack into the pan | Use a measuring cup for even packing |
| 4 | Pre bake the crust | Enhances flavor and texture |
| 5 | Cool before filling | Essential for a perfect layer |
Crafting the silky cheesecake filling
Crafting a creamy filling is the heart of making a delightful dessert. The right techniques will ensure your cheesecake filling is smooth and delicious. Here’s how to achieve that perfect consistency.
Begin by mixing cream cheese and sugar in a large bowl on low speed for 5-7 minutes. This step is crucial for a silky texture. Using a paddle attachment prevents excess air from getting into the mixture, which can lead to cracks.
Next, you should add eggs one at a time, mixing just until incorporated. This method helps emulsify the proteins properly, resulting in a smooth filling. After adding the eggs, incorporate sour cream and vanilla, beating for another 2-3 minutes until the batter is completely smooth.
If you notice any lumps, strain the batter through a fine mesh strainer. This ensures your final cheesecake filling is as smooth as silk.
| Step | Action | Tip |
|---|---|---|
| 1 | Mix cream cheese and sugar | Use low speed for 5-7 minutes |
| 2 | Add eggs one at a time | Mix just until incorporated |
| 3 | Add sour cream and vanilla | Beat for another 2-3 minutes |
| 4 | Strain the batter | Eliminate lumps for smoothness |
Baking process: low and slow for creamy perfection

Baking is an art that requires precision, especially when it comes to creating a delightful dessert. The baking process is crucial for achieving a smooth and creamy filling that everyone will love.
To bake your cheesecake, set your oven to a low temperature of 215°F (100°C). This gentle heat allows the filling to cook evenly without becoming grainy. You will need to bake the cheesecake for about 2 hours 30 minutes to 2 hours 50 minutes.
Check the center of the cake after 2 hours 30 minutes to ensure it reaches an internal temperature of 155°F (68°C). If you don’t have a thermometer, look for a slight wobble in the center. This indicates that the cheesecake is set but still creamy.
Be cautious not to overbake, as this can lead to a rubbery texture and increase the risk of cracks forming. The low and slow method is the most reliable way to achieve a consistent texture from the edge of the pan to the center.
Expert tips to avoid common cheesecake mistakes
When it comes to homemade treats, few can rival the satisfaction of crafting a perfect cheesecake. However, there are common pitfalls that can affect your results. Here are some expert tips to help you achieve a flawless dessert.
First, ensure all your ingredients are at room temperature before mixing. This simple step can prevent cracks in your cheesecake.
Preventing cracks and air bubbles
After pouring the batter into the pan, gently tap it on the counter. This action helps release any trapped air bubbles that could lead to cracks during baking.
Ensuring a smooth, creamy texture
To maintain a silky texture, avoid overbeating the eggs. Too much air can create unwanted bubbles. After baking, run a knife along the sides of the pan. This allows the cheesecake to contract naturally without pulling away unevenly.
Finally, leave the cheesecake in the turned off oven for an hour with the door cracked. This gradual cooling process is essential for a smooth finish.
Secrets from the pros: enhancing flavor and presentation

Adding special touches to your dessert can transform it from ordinary to extraordinary. One simple way to elevate your cheesecake is by incorporating fresh toppings. Optional berry toppings can provide a burst of flavor and color.
Macerating berries with sugar draws out their juices, creating a sweet syrup that pairs beautifully with the creamy filling. To whip up a delightful topping, combine 1 cup of heavy cream with 2-3 tablespoons of granulated sugar. This creates a stable, airy finish that complements the richness of your dessert.
Optional berry toppings and whipped cream ideas
- Top your dessert with fresh berries tossed in sugar to release their natural sweetness.
- Whip 1 cup of heavy cream to medium or stiff peaks for a light contrast to the rich filling.
- For a professional look, spread the whipped cream over the cheesecake before arranging the berries.
- Add a tablespoon of lemon juice to your berry compote for a bright, acidic balance.
- Serve extra cream and berries on the side, allowing guests to customize their portions.
Pro tips for making a delicious cracker crust cheesecake
Creating a standout dessert requires attention to detail and a few insider tips. One essential tip is to use a measuring cup to pack the crust firmly into the pan. This ensures it holds together perfectly when you slice the final dessert.
Additionally, remember to dust off any residual crumbs from the sides of the pan before adding the batter. This step guarantees a clean release when you unmold your cheesecake.
Insider advice for perfect consistency
- Always measure your ingredients by weight if possible for the most accurate results.
- If using a springform pan, ensure the latch is secure before pouring in your batter to prevent leaks.
- Adjust the sweetness of your crust by opting for dark brown sugar for a deeper flavor.
- If the crust is too crumbly, add an extra tablespoon of melted butter to help it hold together.
- Read the entire recipe one time before starting to ensure you have all equipment and ingredients ready.
Adjusting techniques to your taste
These tips will help you achieve a delicious dessert that everyone will love. Don’t hesitate to experiment with flavors and techniques to make it your own!
Working with room temperature ingredients and equipment

To create a delightful dessert, using ingredients at the right temperature is crucial. When preparing your filling, ensure that items like cream cheese and sour cream are at room temperature, ideally between 65-75°F. This temperature allows them to blend smoothly, preventing any lumps in your batter.
For the best results, leave your ingredients out on the counter for at least 2 hours or overnight. This simple step can significantly improve the texture of your dessert.
- Make sure your cream cheese, eggs, and sour cream are at room temperature to avoid lumps in your batter.
- If you’re short on time, place your eggs in a bowl of hot tap water to warm them quickly.
- Using room temperature ingredients lets you mix the batter for a shorter time, reducing air incorporation.
- Plan ahead by allowing your ingredients to sit out for at least 2 hours before mixing.
- Proper temperature management is the secret to achieving that silky, velvety texture that defines a high quality homemade dessert.
| Ingredient | Ideal temperature | Preparation time |
|---|---|---|
| Cream cheese | 65-75°F | 2 hours |
| Sour cream | 65-75°F | 2 hours |
| Eggs | Room temperature | 2 hours or warm in water |
Final reflections on your cheesecake mastery
Many find that baking a delightful dessert is a fulfilling experience that brings people together. You have now learned essential techniques to create a perfect cheesecake that will impress your friends and family.
By mastering the low and slow baking method, your dessert will have a creamy, custard like texture every time. Remember, patience is key, especially when allowing your cheesecake to chill in the fridge for at least 6 hours or overnight.
With your newfound knowledge, you can troubleshoot common issues like cracks and uneven textures, making you a more confident baker. We hope this recipe becomes a staple in your kitchen for all your future celebrations and special dessert occasions throughout the year.
Your email will not be published publicly.