
Best crispy bread recipes: 7 secrets for perfect crunch
Did you know that you can create delicious homemade loaves in under four hours? This amazing fact highlights how simple it can be to enjoy fresh, artisan quality bread right from your kitchen.
With just four ingredients flour, water, yeast, and salt you can master a delightful recipe that requires only 10 minutes of prep time. After that, let the dough rise for about 2 to 3 hours. This method is incredibly forgiving, making it perfect for beginners who may feel intimidated by baking.
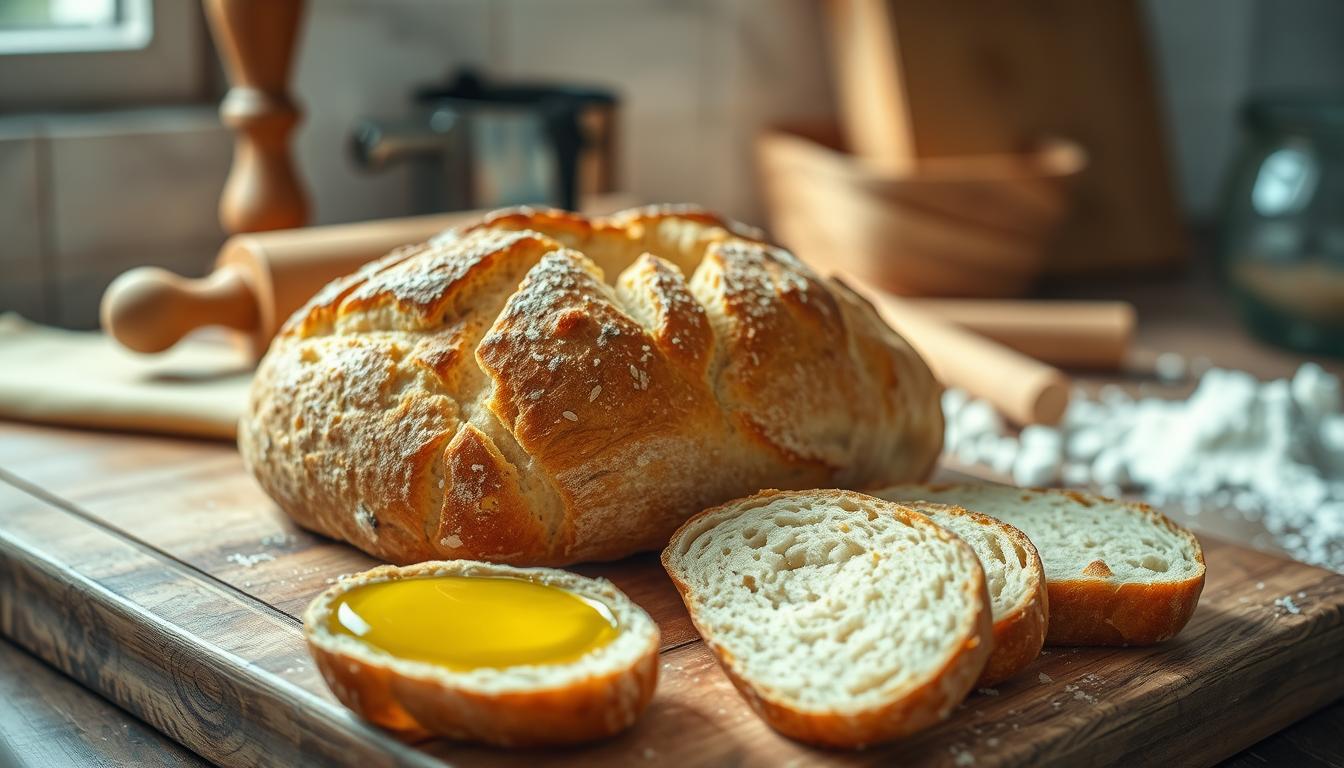
By following these straightforward steps, you can achieve a perfectly crunchy crust and a soft, airy interior. This recipe not only rivals store bought options but also ensures a healthier choice for you and your family.
The signature crackling sound when you tear into a perfectly crispy bread loaf separates amateur home bakers from those who’ve mastered professional techniques and achieving that bakery quality crust requires understanding three critical elements: steam management, proper hydration ratios, and strategic oven temperature manipulation. Most home bakers struggle with soft, pale crusts because conventional ovens lack the steam-injection systems commercial bakeries rely on for creating that glossy, blistered exterior and satisfying crunch.
Steam plays the starring role in crispy crust development by keeping the bread’s surface moist during the first critical minutes of baking, allowing starches on the exterior to gelatinize before hardening into that characteristic crackly shell. Home bakers can replicate professional results using simple methods: Dutch ovens trap steam naturally, baking stones with water filled pans underneath create moisture rich environments, or covered bakers like cloches provide enclosed steam chambers. The technique transforms ordinary bread into artisan quality loaves with minimal equipment investment.
Beyond steam, flour selection and hydration percentages dramatically impact crust texture higher protein bread flours create stronger gluten networks that support crispy exteriors, while higher hydration doughs (75-80% water to flour ratio) produce more open crumbs and crispier crusts than their drier counterparts. For maximum crust development, explore our Best Dutch Oven Bread Recipes for Soft and Crispy Crusts or try the unique texture of our Brazilian Cheese Bread Recipe Perfect for Any Occasion for a different approach to achieving crispy exteriors.
Master baker Martin Philip demonstrates advanced crust techniques in this King Arthur Baking video guide, revealing how reducing surface flour and adding ice to covered bakers creates those coveted blistered crusts.
Embracing the art of bread baking
Creating your own homemade loaves can be a delightful experience that takes just a few hours. This simple process allows you to enjoy the satisfaction of baking while crafting delicious results. With just a few ingredients, you can make a recipe that transforms flour, water, yeast, and salt into something truly special.
The beauty of this homemade bread recipe lies in its flexibility. You can choose a rise time that fits your schedule, whether it’s just 2 hours on the counter or up to 3 days in the fridge. This makes it accessible for everyone, even if you only have a few minutes to spare.
Many experienced bakers appreciate the artisan qualities of this bread. The chewy crumb and large holes resemble traditional sourdough, making it a treat for any meal. By embracing the art of baking, you can turn simple ingredients into a masterpiece that your family will request weekly.
| Feature | Details |
|---|---|
| Active time | 3 minutes |
| Rise time | 2 hours to 3 days |
| Ingredients | Flour, Water, Yeast, Salt |
| Skill level | Beginner Friendly |
Understanding the science behind a perfect crunch
The secret to achieving that perfect crunch lies in understanding the science of baking. One crucial element is the use of a Dutch oven. This cooking vessel traps steam, allowing your loaf to rise fully before the crust hardens. Without this step, your bread may end up dense and doughy.
Temperature also plays a vital role. The ideal baking temperature is around 450 degrees Fahrenheit. This high heat ensures the exterior browns and crisps correctly. Additionally, maintaining a hydration level of about 75% keeps your dough slack and wet, creating those delightful air pockets.
Finally, using bread flour is essential. It contains more protein than all-purpose flour, resulting in a stronger gluten network. This network is key to achieving that chewy, airy texture that makes homemade loaves so enjoyable.
Essential tools and equipment for artisan bread
The journey to perfect homemade loaves begins with the right equipment. A few key tools can significantly enhance your baking experience and results.
Choosing your dutch oven
A 4 to 6 quart Dutch oven is the gold standard for home bakers. Brands like Le Creuset and Lodge are known for their excellent heat distribution. Make sure your Dutch oven has a metal knob on the lid, as plastic knobs may melt in high temperatures.
Proofing baskets and alternative setups
An 8 to 9 inch proofing basket is ideal for maintaining the shape of your loaf. If you don’t have one, a Medium sized mixing bowl lined with a linen napkin works just as well. For those without a Dutch oven, a heavy roasting pan with a high lid or a baking tray with boiling water can serve as alternatives.
Additionally, using a kitchen scale to measure your flour and water in grams will yield more consistent results than using volume based cups.
| Tool | Purpose |
|---|---|
| 4-6 Quart dutch oven | Creates steam for crusty loaves |
| Proofing basket | Helps maintain loaf shape |
| Kitchen scale | Measures ingredients accurately |
| Mixing bowl | Used for dough preparation |
Step by step guide to making crispy bread
Baking your own loaves at home can be both fun and rewarding. The process involves a few key steps that ensure your results are delicious and satisfying.
Start by mixing your dough for about 10 minutes until it becomes shaggy. Once mixed, let it rise for 1 hour until it has doubled in size. This initial rise is crucial for developing flavor and texture.
Next, shape your dough by folding the corners toward the center. This helps build tension, which is essential for a good structure. After shaping, place it in a proofing basket for 30 minutes.
While your dough is rising, preheat your Dutch oven to 460 degrees Fahrenheit. This ensures that the pot is hot enough to give your loaf a great spring when it hits the oven.
Now, it’s time to bake! Place your loaf in the hot pot, cover it, and bake for 30 minutes. After that, remove the lid and bake for an additional 10-15 minutes to achieve a deep, golden crust.
Using a piece of parchment paper to lift your dough into the hot pot can make this process easier and safer. This simple step prevents sticking and ensures a smooth transfer.
| Step | Details |
|---|---|
| Mixing | 10 minutes until shaggy |
| First rise | 1 hour until doubled |
| Shaping | Fold corners, 30 minutes rest |
| Preheating oven | 460 degrees Fahrenheit |
| Baking | 30 minutes covered, 10-15 minutes uncovered |
Crispy bread secrets: how to achieve the perfect crunch
Unlocking the secrets to a perfect crust can elevate your baking game. Achieving that delightful crunch involves a few key techniques that every baker should know.
First, the surface of your dough should be bubbly and wobbly like jelly before shaping. This indicates that the yeast has worked its magic. Scoring or allowing the loaf to crack naturally on top will create those beautiful, crispy ridges.
Another crucial tip is to keep the lid on your Dutch oven for the first 30 minutes of baking. This traps steam and helps form a professional grade, crackly crust. After that, remove the lid for the final 15 minutes to let moisture escape, allowing the crust to harden.
Finally, embrace a rustic, scruffy shape for your loaf. This not only enhances the appearance but also increases the number of crunchy bits in every bite.
Alternative baking methods for homemade bread

Crafting delicious homemade bread can be achieved with simple kitchen hacks. If you lack a Dutch oven, there are several effective alternatives to ensure your loaf turns out perfectly.
One option is to use a 20cm/8 inch square metal pan. This method works well, but be cautious and avoid glass pans, as they may shatter under high heat.
You can also create a makeshift steamer by placing a pan of boiling water on the rack below your bread. This mimics the professional steam effect that helps your loaf rise beautifully.
A heavy roasting pan with a high lid is another excellent alternative. It effectively traps steam, which is crucial for achieving that desirable crust.
When using these methods, remember to work quickly. Adding boiling water to the pan after placing your dough in the oven is key to trapping steam effectively.
Lastly, if you opt for baking on a tray with a pan of water, be prepared for a full 40 minutes of baking time. This will help you achieve a deep golden brown color.
| Method | Details |
|---|---|
| Metal pan | 20cm/8 inch square, avoid glass |
| Steamer effect | Pan of boiling water below bread |
| Roasting pan | Heavy with high lid for steam |
| Tray method | Requires full 40 minutes baking |
Troubleshooting common baking challenges
Every baker faces hurdles, but knowing how to troubleshoot can lead to perfect results. Whether you’re adjusting your flour and water ratios or fixing issues with your dough, these tips will help you achieve success.
Adjusting flour and water ratios
If your dough feels too wet, add flour a quarter cup at a time. Remember, a slack dough is expected for this recipe. On the other hand, if your dough is too stiff, simply add a touch more water until it reaches the desired consistency.
Fixing underproofed or overproofed dough
Using an oven thermometer is essential. Many home ovens can be off by as much as 40 degrees Fahrenheit. If the bottom of your loaf burns, try placing a sheet pan on the rack below the Dutch oven to redistribute heat.
If your dough is not rising, move it to a warmer spot, like near a vent or in an oven that was briefly warmed. These adjustments can make a significant difference in your baking results.
Creative variations and flavor boosts

Enhancing your loaves with creative mix-ins can bring a delightful twist to your baking. There are countless ways to elevate your recipes and impress your family and friends.
Adding herbs, cheeses, and spices
Incorporating flavors can transform your dough into something special. For a savory option, try making Jalapeno Cheddar bread. Simply mix in 2 cups of shredded cheddar cheese and 1 diced jalapeno during the shaping process.
If you prefer something sweet, consider cinnamon raisin bread. Add 2 tablespoons of brown sugar, 1 tablespoon of cinnamon, and 3/4 cup of raisins to your dough for a delightful treat.
Custom mix ins for a unique twist
Experimenting with different ingredients can yield delicious results. Adding 1 tablespoon of dried rosemary to your flour mixture creates a fragrant rosemary bread. For a rich dessert style loaf, fold in 3/4 cup of dark chocolate chunks before baking.
When using moist ingredients like olives, be sure to fold them in during the shaping step. This ensures they are evenly distributed throughout your loaf, enhancing the flavor in every bite.
| Variation | Mix ins |
|---|---|
| Jalapeno cheddar | 2 cups cheddar, 1 jalapeno |
| Cinnamon raisin | 2 tbsp brown sugar, 1 tbsp cinnamon, 3/4 cup raisins |
| Rosemary | 1 tbsp dried rosemary |
| Chocolate chunk | 3/4 cup dark chocolate chunks |
| Olive bread | Moist olives, folded in |
Enhancing bread texture with fermentation techniques
Understanding fermentation techniques can greatly enhance the texture of your homemade loaves. By adjusting the rise time, you can create a more flavorful and airy result. A short rise of just 2 hours can save the day in a pinch, but opting for a long fermentation period yields superior taste and texture.
Refrigerating your dough for 8 to 12 hours allows natural enzymes to transform starch into sugar. This process significantly improves the flavor of your loaf. The fridge slows down yeast activity, preventing over rising and maintaining the dough’s structure for up to 3 days.
If you choose to refrigerate your dough, remember to let it sit on the counter for 45-60 minutes before baking. Cold dough doesn’t rise as effectively as room temperature dough, which is essential for achieving a good oven spring.
| Technique | Benefits |
|---|---|
| Short rise | Quick results, perfect for emergencies |
| Long fermentation | Enhanced flavor and texture |
| Refrigeration | Prevents over rising, maintains structure |
| Room Temperature rest | Improves oven spring |
The importance of proper cooling and storage

Properly cooling and storing your homemade loaves can make a significant difference in their taste and texture. After baking, it’s crucial to let your bread cool correctly. Cooling your loaf on a rack for at least 30 to 60 minutes allows the interior to finish cooking and prevents it from becoming gummy.
When it comes to storage, how you handle your bread can affect its freshness. For half loaves, place them cut side down on a cutting board for up to 24 hours. This method helps keep the crust crispy while maintaining moisture in the interior.
If you have sliced bread, store it in an airtight container at room temperature for 3-4 days. Alternatively, you can freeze it for up to 3 months. To freeze a whole loaf, wrap it tightly in plastic wrap and place it in a resealable bag to retain moisture.
When you need to reheat thawed bread, wrap it in aluminum foil and place it in the oven at 350 degrees Fahrenheit for 10-15 minutes. This will restore its delightful texture.
| Storage method | Details |
|---|---|
| Cooling | 30-60 minutes on a rack |
| Half loaf Storage | Cut side down for 24 hours |
| Sliced Bread | Airtight container for 3-4 days |
| Freezing | Wrap in plastic, resealable bag |
| Reheating | Wrap in foil, 350°F for 10-15 minutes |
Budget friendly tips for everyday bread baking
You can create artisan style bread without spending a fortune. Baking can be budget friendly and enjoyable. With just a few common tools, you can start making delicious loaves right at home.
Here are some effective tips to help you get started:
- Lodge Dutch ovens are highly recommended for budget conscious bakers because they offer excellent quality at a very reasonable price point.
- You do not need expensive equipment; a simple mixing bowl and a sturdy spatula are enough to get started with this easy recipe.
- Using parchment paper is a cost effective way to handle sticky dough without needing to add extra flour that could dry out the loaf.
- A standard kitchen table or countertop can serve as your workspace, provided you lightly flour it to prevent the dough from sticking.
- The best thing about this method is that it requires no specialized tools, making it the most accessible way to bake bread daily.
Incorporating artisan techniques into your routine
Integrating artisan techniques into your baking routine can elevate your homemade loaves. Experimenting with different types of yeast can yield exciting results. For a quick rise, instant yeast is your best friend. However, if you prefer a more traditional approach, use 1.5 teaspoons of Active Dry Yeast and adjust your mixing order accordingly.
When using Active Dry Yeast, remember to dissolve it in warm water first. This step ensures it activates properly before you add the flour and salt to your mixing bowl. For those who want to try an overnight rise, use less yeast for a slow fermentation that enhances flavor.
Mastering dough handling is also crucial. Keep your touching to a minimum to maintain air bubbles, which are essential for a light and airy crumb structure. Experimenting with different yeast types can significantly affect the flavor and rise time of your artisan loaves.
Savoring your homemade bread and next steps
Now that you’ve honed your skills in baking, it’s time to enjoy the fruits of your labor. Picture yourself slathering a warm slice with butter or honey, savoring every bite.
Remember, practice makes perfect! Don’t be discouraged if your first loaf doesn’t look exactly like the pictures. Each attempt brings you closer to mastering the technique.
Feel free to experiment with various mix ins and fermentation times to discover the flavors your family loves most. Sharing your homemade creations with friends and family is a wonderful way to connect.
As you continue your baking journey, keep exploring new techniques and tools. Soon, you’ll be crafting artisan quality loaves regularly!
Your email will not be published publicly.