

Perfect pineapple and coconut cake in just 3 easy steps
Imagine a sunny afternoon, the scent of tropical fruits wafting through the air. You gather with friends, laughter filling the space. Suddenly, someone brings out a beautiful dessert that steals the show. This delightful treat is a pineapple and coconut cake, a simple yet stunning masterpiece that everyone can’t resist.
This easy recipe calls for just six ingredients, making it a breeze to whip up. Each slice is a harmonious blend of sweet and nutty flavors, perfect for any gathering. You’ll be surprised at how quickly it comes together, allowing you to focus on what really matter enjoying time with your loved ones.
With each bite, the moist texture and vibrant taste will transport you to a tropical paradise. Whether you’re a novice baker or a seasoned pro, this pineapple coconut cake will impress everyone at the table. Get ready to savor a dessert that balances the sweetness of fruit with the rich profile of shredded goodness.
The perfect pineapple coconut cake delivers tropical escapism through three essential components working in harmony moist cake layers that stay tender for days, crushed pineapple providing natural sweetness and texture, and coconut in multiple forms (cream, extract, shredded) creating authentic island flavor without overwhelming the delicate balance between fruit and cream. Most home bakers achieve mediocre results by skipping the crucial soaking step or using low-quality canned pineapple that lacks the bright acidity needed to cut through rich coconut cream.
The poke and soak technique separates extraordinary pineapple coconut cakes from ordinary sheet cakes punching holes throughout the warm cake creates channels for coconut cream mixture to penetrate deep into every layer, transforming standard cake into an ultra moist tropical dessert that actually improves during overnight refrigeration as flavors meld and intensify. This method requires patience (letting the cake absorb liquid gradually prevents soggy tops while ensuring saturated interiors) but delivers professional bakery results using supermarket ingredients and minimal technique.
Temperature management proves critical for success: pouring coconut cream mixture over warm (not hot) cake allows absorption without creating mushiness, while thoroughly chilling the assembled cake before adding whipped topping prevents melting and separation. For more tropical inspired desserts, explore our Kiwi Dessert Recipe: 6 Refreshing No Bake Ideas featuring exotic fruit flavors, or discover rich coconut applications in our Coconut Chocolate Roll: Easy 7 Step no bake Recipe that showcases similar tropical ingredients.
The make ahead convenience and crowd pleasing tropical flavors of this pineapple and coconut cake are highlighted in The Recipe Rebel’s pineapple coconut cake recipe, demonstrating how simple pantry ingredients transform into an impressive three layer centerpiece that tastes even better the next day.
This recipe is also featured in our complete gluten free cake mix guide : 25 easy recipes for perfect gluten free bakes every time.
Embrace a tropical twist in your baking
Picture a bright day filled with laughter, as the aroma of tropical fruits dances in the breeze. This delightful cake has a rich history, originating from the famous Hummingbird cake in Jamaica during the late 1960s. This unique dessert showcases the beauty of tropical flavors, making it a beloved choice for many.
Combining pineapple and coconut creates a flavor profile that works wonderfully in various dishes. You can enjoy this pairing in cocktails, ice cream, or, of course, this signature cake. It’s perfect for any occasion, whether it’s an Easter brunch or a summer birthday party.
When you serve this cake recipe, you offer a bright, seasonal treat that feels like a vacation on a plate. Understanding the story behind your cake adds appreciation for the ingredients, making it a true classic.
Essential ingredients for a perfect cake
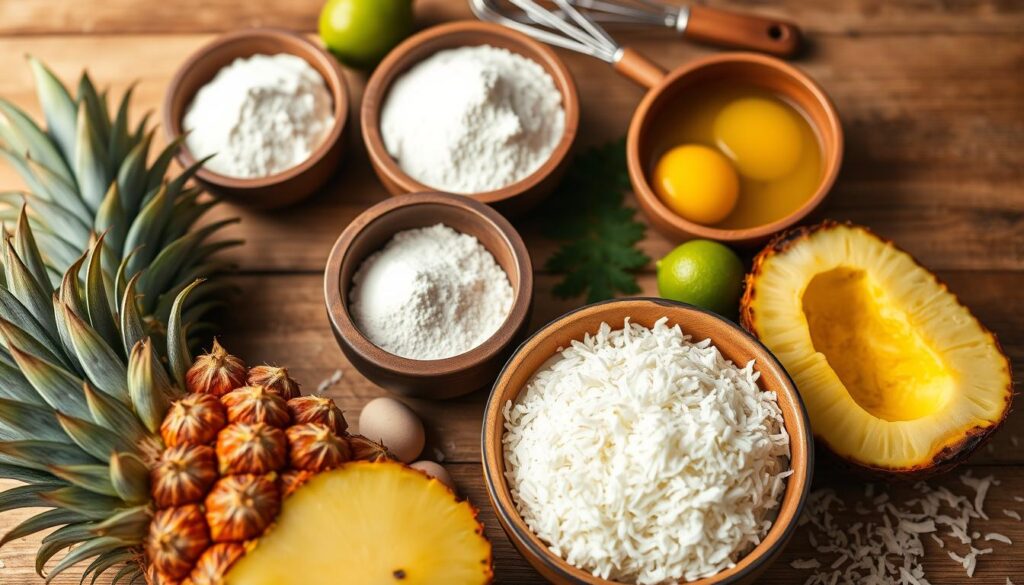
Imagine the perfect blend of ingredients that brings your cake to life, ensuring every bite is a taste of paradise. The right components are essential for achieving a moist and flavorful dessert. Here’s what you need:
- 1 ½ cups of self rising flour
- 1 cup of unrefined cane sugar
- 1 cup of desiccated coconut
- 1 can of 8 oz crushed pineapple with its juice
- ½ cup of canned coconut milk
For those who may not have self rising flour, you can substitute it with 1 ½ cups of all purpose flour plus 3 teaspoons of baking powder. This ensures your cake rises beautifully.
To enhance the flavor, consider adding 2 teaspoons of vanilla extract or 1 teaspoon of coconut extract. These little additions can elevate your cake to a bakery quality delight.
| Ingredient | Amount | Notes |
|---|---|---|
| Self rising Flour | 1 ½ cups | For a light texture |
| Unrefined cane sugar | 1 cup | Natural sweetness |
| Desiccated coconut | 1 cup | Adds richness |
| Crushed pineapple | 1 can (8 oz) | Provides moisture |
| Coconut milk | ½ cup | For fluffiness |
Preparing the cake batter and pineapple integration
Envision a delightful kitchen filled with the sound of mixing bowls and the sweet scent of baking. The process of creating your cake batter is crucial for achieving that perfect texture. Start by combining your dry ingredients in a large mixing bowl. This step ensures an even distribution of flavors throughout the batter.
Next, gently fold in the wet components. It’s essential to maintain a light and airy consistency. When adding the crushed pineapple, be careful not to overmix. This can lead to a denser cake that lacks the desired fluffiness.
- Whisk your dry ingredients together before adding the wet components to create a smooth cake batter.
- Fold the crushed pineapple into the batter gently to keep it airy.
- Stir with a rubber spatula until just combined; every step is important.
- Once ready, set aside the mixture while preparing your baking pans.
- This integration of pineapple ensures each bite is infused with tropical flavor.
Baking and cooling for moist perfection
As you step into your kitchen, the anticipation of a freshly baked treat fills the air. Baking your dessert to perfection is key to achieving that moist, flavorful experience. Start by preheating your oven to 350°F (180°C). This temperature is ideal for ensuring even baking throughout your cake.
Next, prepare your cake pans. You can use a 9 inch square pan or two 9 inch round pans. Be sure to line them with parchment paper and oil the sides for easy removal.
- Preheat your oven to 350°F (180°C) and prepare your 9 inch cake pans by lining them with parchment paper and oiling the sides.
- Bake your cake for 35-40 minutes, checking for doneness by inserting a toothpick into the center to see if it comes clean.
- If the toothpick does not come clean, continue baking in 5 minute increments until the crumb is set and the temperature is perfect.
- After baking, let the cake cool in the pans for 10 minutes before transferring it to a wire rack to cool completely.
- Proper cooling for 1 hour at room temperature is essential to ensure the cake maintains its moist texture before you add any frosting.
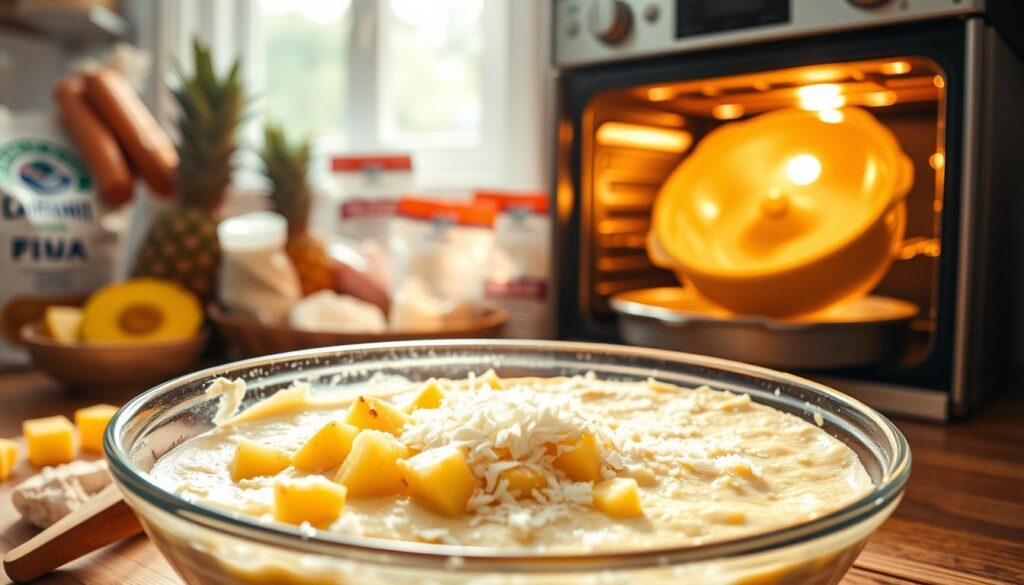
Following these steps will help you achieve a delightful dessert that everyone will love. The right baking time and cooling method ensure that your creation remains soft and flavorful.
| Step | Action | Time |
|---|---|---|
| 1 | Preheat oven | 10 minutes |
| 2 | Bake cake | 35-40 minutes |
| 3 | Cool in pans | 10 minutes |
| 4 | Cool on rack | 1 hour |
Frosting, decorating, and customizing your cake
Picture the excitement in the room as you unveil a stunning dessert that captures everyone’s attention. The right frosting can elevate your creation to new heights. You can use a dairy free vanilla frosting or a rich coconut cream frosting to finish your layers beautifully.
To achieve a professional look, garnish the top and sides of your dessert with toasted coconut and fresh pineapple slices. This adds texture and a vibrant touch to your masterpiece.
- Spread your chosen frosting over the top and sides once the cake has cooled completely.
- Consider a dairy free vanilla frosting or a decadent coconut cream frosting to enhance the tropical flavors.
- Press toasted coconut onto the sides and arrange fresh pineapple slices on top for decoration.
- If you have leftover pineapple juice, whisk it with powdered sugar for a simple glaze that adds shine.
- When assembling a multi layer cake, spread a generous amount of frosting between each layer to keep it moist.
Mastering the pineapple and coconut cake recipe with expert tips
Think of the delightful surprises that await as you master this tropical treat. Achieving the perfect flavor in your dessert can be an adventure. Here are some tips to enhance your experience.
To ensure the best results, keep all your ingredients at room temperature before mixing. This helps create a smooth batter that rises beautifully. You can enhance the coconut flavor by using high quality coconut extract or toasting your shredded coconut before adding it as a garnish.
Flavor enhancements and garnishing tips for a tropical finish
- Consider adding a splash of rum extract to the batter for a more intense tropical finish.
- Use toasted coconut as a garnish for added texture and visual appeal.
Adapting the recipe for different dietary needs
If you need to make treats for specific dietary needs, swapping the flour for a gluten free blend is simple. You can also substitute sugar with coconut sugar for a healthier option.
Always store your finished cake at room temperature if you plan to serve it within two days. For longer freshness, refrigerate it.
| Tip | Action | Benefit |
|---|---|---|
| Room temperature ingredients | Mix all ingredients at room temperature | Better emulsion |
| High quality extract | Use premium coconut extract | Enhanced flavor |
| Toasting coconut | Toast shredded coconut before use | Added texture |
| Dietary adaptation | Substitute gluten free flour | Inclusive for all diets |
Serving occasions and storage recommendations
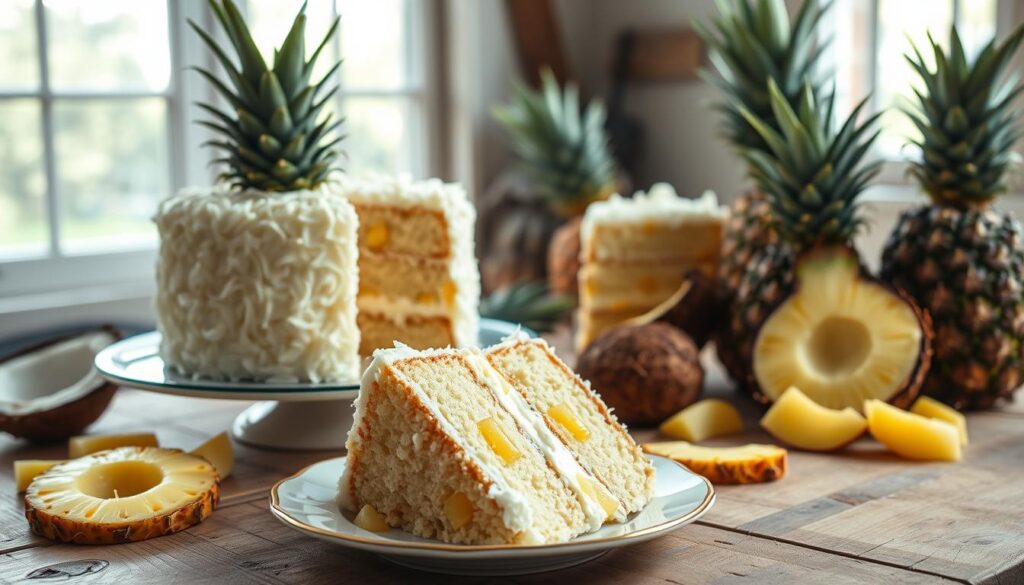
When it comes to serving your delightful dessert, presentation matters. You want to create an inviting atmosphere for your guests. For the best presentation, serve your cake on a decorative platter. Adding a dollop of coconut yogurt on the side can enhance the tropical theme.
After baking, you may wonder how to keep your cake fresh. To maintain its quality, store your cake in an airtight container in the refrigerator for up to four days. If you need to save it for a longer time, you can freeze it in an airtight container for up to one month. Just remember to thaw it in the fridge the day before you plan to serve it.
Serving the cake at the right time is crucial. Chilling it for an hour before serving ensures clean slices and enhances the flavor profile. Here are some tips to keep in mind:
- Serve on a decorative platter with coconut yogurt.
- Store in an airtight container in the fridge for up to 4 days.
- Freeze for up to 1 month if needed.
- Thaw in the fridge before serving.
- Chill for an hour for better flavor and presentation.
| Storage method | Duration | Notes |
|---|---|---|
| Refrigerator | Up to 4 days | Keep in an airtight container |
| Freezer | Up to 1 month | Thaw in the fridge before serving |
| Chilling Before serving | 1 hour | Ensures clean slices |
Final thoughts on your tropical cake adventure
As you take a moment to appreciate your efforts, the aroma of your tropical creation lingers in the air. You have successfully navigated the steps to create a delicious dessert that is sure to impress your friends.
This baking adventure proves that with just a few simple ingredients, you can whip up a professional quality treat at home. Remember, the key to a perfect dessert lies in the gentle folding of the fruit and the quality of your ingredients.
We hope this recipe becomes a staple in your kitchen for every spring and summer gathering you host this year. Thank you for joining us on this baking journey, and we look forward to seeing how you customize your next tropical creation!
Your email will not be published publicly.