
Amazing banana nut bread recipe vegan: Moist, Easy and 1 bowl
We’ve all been there. A few spotty bananas sit on the counter, past their prime for eating. Instead of tossing them, imagine transforming them into a warm, delicious loaf. That moment of kitchen inspiration is where the magic begins.
Julie from The Simple Veganista found the perfect solution. Her simple formula turns that overripe fruit into a perfectly moist treat. With just 10 minutes of prep, you’re on your way to something special.
This homemade snack uses basic pantry staples. Think flour, a bit of sugar, and baking soda. You likely have everything you need already. The batter comes together quickly in one bowl.
The result is an incredibly soft and tender texture. You can customize your loaf with mix-ins like walnuts, pecans, or chocolate chips. It bakes in about 55 minutes, filling your home with a wonderful aroma.
Enjoy a slice for breakfast or an afternoon snack. It stays fresh for days and freezes beautifully for months. This plant-based delight is a fantastic way to reduce waste and create joy.
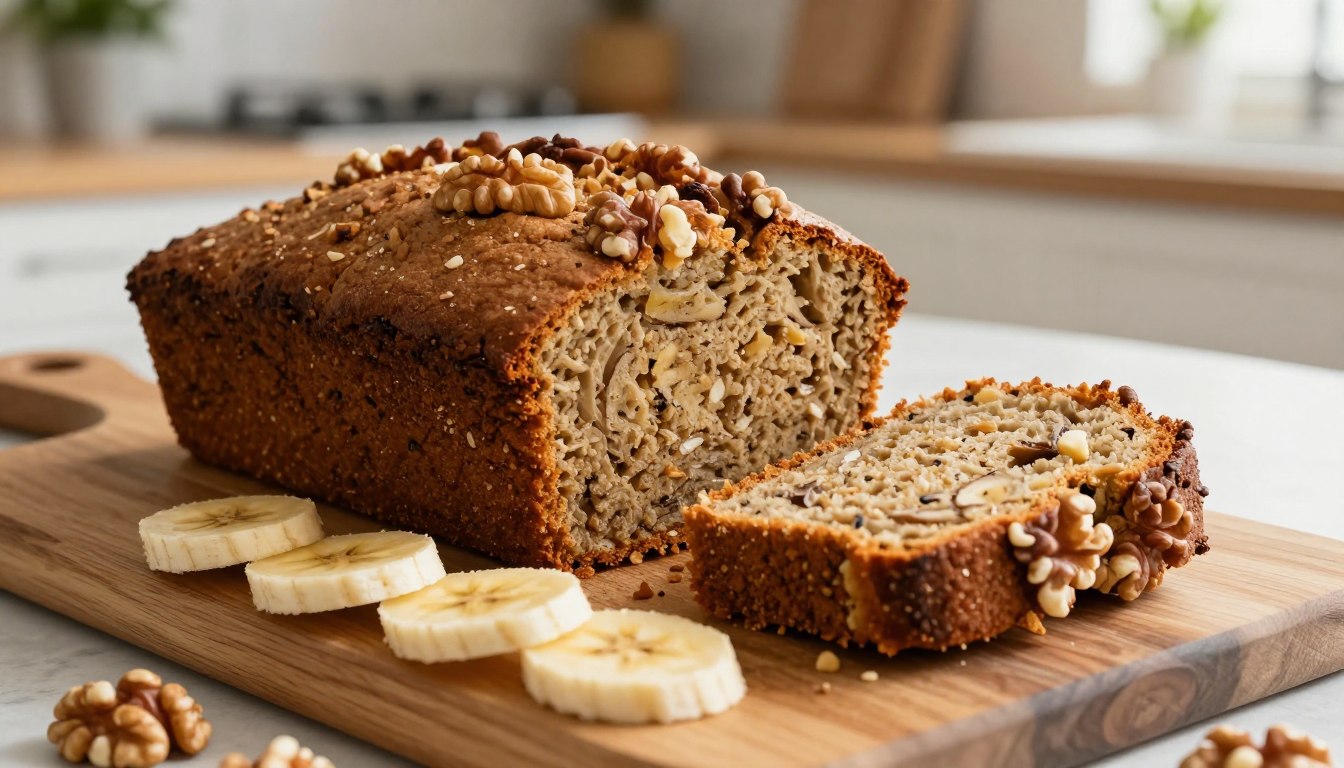
- This vegan banana nut bread is a plant based twist on the classic banana bread, a sweet quick bread made from mashed bananas. Naturally sweetened with ripe bananas, it comes together in a single bowl and bakes into a tender, moist loaf packed with crunchy walnuts. No eggs, no dairy, no fuss just pure banana nut comfort.
- Don’t miss our strawberry mille feuille recipe,Try our best mango cake recipe and strawberry icebox cake.
Introduction to Vegan Banana Nut Bread
The shift towards plant-based baking doesn’t mean sacrificing flavor or texture. In fact, it opens up a world of simple, wholesome ingredients. This particular treat stands out for its incredible ease and delicious results.
What Makes This Recipe Stand Out
You won’t need any complex egg replacers here. As Marly McMillen of Namely Marly points out, the formula is beautifully straightforward. The real secret lies in using super ripe fruit. They provide all the necessary moisture and natural sweetness.
This creates an unbelievably soft and fluffy crumb. The method is designed for efficiency. You can mix everything in just one bowl, which means less cleanup for you.
A Journey from Traditional to Vegan
Transitioning from a classic version is simpler than you think. The mashed fruit acts as a perfect binder, replacing eggs. Ingredients like brown sugar mimic that deep, caramelized flavor everyone loves.
Marly suggests using 1 3/4 cups of flour for the ideal structure. You can easily customize your loaf with warm spices or crunchy additions. The balance of wet and dry components ensures a consistent rise every time.
The final product is so satisfying that it pleases everyone. It proves that a plant-based treat can be a total crowd-pleaser.
Ingredients and Their Benefits
Each component in this formula plays a specific role in creating the perfect texture and taste. Knowing why you use them helps you bake with confidence and make smart swaps.
Key Ingredients Explained
Flour forms the structure. Measure 1 3/4 cups correctly for a light crumb. Baking soda and powder give the lift you want.
Vegan butter adds needed fat for moisture. Brands like Miyoko’s work well. Salt balances the sweetness and deepens flavor.
Plant based milk hydrates the mix. Almond or oat milk are great choices. Mashed ripe fruit provides natural sugar and binds everything.
| Ingredient | Primary Role | Key Benefit |
|---|---|---|
| All Purpose Flour | Provides structure | Creates a tender, stable crumb |
| Baking Soda & Powder | Leavening agents | Ensures a good rise and fluffy texture |
| Vegan Butter | Adds fat | Keeps the loaf moist and rich |
| Salt | Flavor enhancer | Balances sweetness and highlights other tastes |
| Plant Based Milk | Liquid component | Hydrates dry ingredients without dairy |
Healthy Substitutions for a Vegan Twist
You can replace the butter with unsweetened applesauce. This lowers the fat but keeps things moist. Brown sugar is a tasty swap for white sugar.
It adds a caramel like depth. For crunch, stir in walnuts or pecans. Always preheat your oven to 350°F for even baking.
Choosing high-quality items makes your final product nutritious and delicious. Your family will love every bite.
Step by Step Instructions for Baking
Ready to transform your kitchen into a bakery? Let’s walk through the simple steps together. This guide ensures your homemade treat turns out perfectly every time.
Preparing Your Wet and Dry Mixtures
Start by mashing your fruit in a large bowl until smooth. Then, whisk in the plant-based butter, sugar, and vanilla. This creates a creamy, incredibly moist base.
In a separate bowl, combine the all-purpose flour, baking soda, and salt. Stir these dry items until they are just blended. Keeping them separate at first is a crucial step.
Combining Ingredients Without Overmixing
Gently pour the dry mixture into the wet one. Use a spatula to fold everything together. Stop as soon as you see no more dry flour.
Overworking the batter makes the final texture dense. Now is the time to fold in extras like walnuts or chocolate chips for a tasty crunch.
Baking Time and Temperature Guidelines
Pour your finished batter into a greased loaf pan. Smooth the top with your spatula for an even rise. Preheat your oven to 350°F.
Bake the loaf for 50 to 60 minutes. Check for doneness by inserting a toothpick into the center. If it comes out clean, your creation is done.
Let it cool in the pan for about 10 minutes. Then, transfer it to a wire rack. This resting period helps the structure set for perfect slices.
Tips for Perfecting Your Bread Texture
The secret to a bakery-quality texture lies in mastering two fundamental steps before you even turn on the oven. Paying close attention here guarantees a soft, tender crumb that everyone will love.

Selecting the Perfect Ripe Bananas
Always choose fruit that is very ripe and covered in freckles. This stage provides the most sweetness and moisture for your creation. That natural liquid is key for a wonderfully moist result.
If your fruit isn’t ready, don’t worry. You can bake them in your oven at 300°F for about 20 minutes. This softens them perfectly for mashing.
Measuring Flour and Sugar Correctly
How you measure your dry ingredients is crucial. Use the spoon and level method for flour. Gently spoon it into your cup and level it off with a knife.
This prevents packing too much in, which causes a dry, dense loaf. Measuring sugar accurately ensures the right sweetness without heaviness. Also, avoid overmixing your batter to keep the texture soft.
By following these tips, you’ll achieve a consistent, delightful texture that makes your banana bread a true standout.
Ultimate banana nut bread recipe vegan: Expert Suggestions
Personalizing your creation is where the real fun begins. It turns a classic into your signature treat. A few smart additions can transform the familiar into something extraordinary.
Optional Add ins and Toppings
For a deeper, richer flavor, toast your walnuts or pecans lightly before folding them in. This simple step unlocks their natural oils. Adding dark chocolate chips provides a decadent, dessert-like quality everyone loves.
Sprinkle the top of your batter with seeds or rolled oats before baking. This adds a wonderful crunch and visual appeal. Just be sure to stir any mix-ins evenly for consistent flavor in every slice.
Creative Variations to Enhance Flavor
Experiment with warm spices like cardamom or a pinch of clove. For a tropical twist, stir in some shredded coconut. A tablespoon of maple syrup can boost the natural sweetness without affecting the texture.
Brighten the whole loaf with a bit of lemon or orange zest. It creates a refreshing twist. You can even pour the batter into a muffin tin for individual portions. Reduce the bake time to about 25-30 minutes. These ideas let you tailor the final product to your exact taste.
Baking Quantities and Measurement Essentials
The difference between a good loaf and a great one often comes down to how you measure your ingredients. Precise quantities ensure the perfect rise and a soft, tender crumb every single time.

Spoon & Level Technique for Accurate Flour
For the best texture, always measure your dry ingredients correctly. The spoon and level method is the professional’s choice.
Use a spoon to lightly fill your measuring cup. Then, level it off with the flat edge of a knife. Never scoop directly from the bag.
Scooping packs the flour down. This leads to a dry, dense final product. Your perfectly moist creation depends on this simple step.
| Measurement Method | Tool Required | Accuracy Level | Best For |
|---|---|---|---|
| Spoon & Level | Measuring Cups, Knife | High | All-Purpose Flour, Sugar |
| Kitchen Scale | Digital Scale | Highest | Flour (grams), Precise Baking |
| Liquid Measure | Liquid Measuring Cup | High | Plant-Based Milk, Oil |
| Dip & Sweep | Measuring Cup | Low | Not Recommended for Baking |
For ultimate accuracy, use a digital kitchen scale. Weighing your flour in grams eliminates all guesswork.
Always double-check your baking soda and powder. A small error here can ruin the rise. Also, ensure your vegan butter is at room temperature.
This helps it blend smoothly with other wet ingredients. Following these rules is the best way to guarantee success.
Common Baking Challenges and Their Fixes
A successful bake often comes from knowing how to troubleshoot common issues. Don’t be discouraged if your first try isn’t perfect. Most problems have simple solutions that lead to a much better result next time.
Troubleshooting Dry or Dense Results
A dry texture usually means too much flour was used. Always spoon and level your measuring cup for accuracy. A dense loaf often happens from overmixing the batter.
Stir only until the flour streaks disappear. Use a toothpick to test the center. If it comes out clean, your creation is done.
If the middle sinks, it likely needed a few more bake minutes to set. Store your finished product in an airtight container. It will stay fresh on the counter for 3-4 days.
Adjusting for Different Oven Types
If your oven runs hot, the outside may bake too fast. The inside can remain raw. For a convection oven, lower the temperature by 25°F.
Always keep the oven door closed while baking. Peeking causes temperature drops that ruin the final texture. If you forget the baking soda, your loaf may not brown well.
It will still be safe to eat. Understanding your appliance is key to consistent baking.
| Common Issue | Likely Cause | Simple Fix |
|---|---|---|
| Dry Texture | Too much flour | Use spoon & level method |
| Dense Loaf | Overmixed batter | Fold until just combined |
| Uneven Baking | Oven hot spots | Rotate pan halfway through |
Mastering these fixes will make you a more confident baker. Every challenge is a step toward a perfect slice.
Creative Variations and Serving Ideas
Your kitchen creation becomes a versatile canvas for endless delicious possibilities. Personalizing it with different add-ins and serving it with style turns a simple bake into a memorable experience.
Mix In Ideas: Nuts, Spices, and More
Fold in a handful of toasted walnuts or pecans for a classic crunch. For a sweeter twist, dark chocolate chips are always a hit.
Warm spices like cinnamon or a pinch of cardamom add depth. Dried cranberries or chopped apricots provide a chewy contrast.
Using different nuts like almonds changes the flavor profile. Fresh strawberries can create a delightful seasonal version.

Presentation and Serving Suggestions
Serve a warm slice for breakfast with a smear of cashew cream or berry jam. For dessert, drizzle with vegan chocolate syrup and add whipped coconut cream.
Wrap the cooled loaf in decorative paper for a thoughtful gift. Reheat leftovers in a toaster oven to restore that fresh-from the oven feel.
Consider dusting the top with a little powdered sugar before slicing. These ideas help turn your homemade treat into a standout for any occasion.
Conclusion
Congratulations on learning a fantastic method to turn ripe fruit into a beloved homemade snack. You now have the skills to create a moist and delicious plant based treat using simple pantry staples like flour and spotty banana.
Remember, careful measuring and gentle mixing are the secrets to a perfect texture. Avoid overworking your batter for a light, tender crumb every time.
This versatile loaf is wonderful for a quick breakfast or a sweet dessert. Feel free to make it your own by folding in chocolate chips, toasted walnuts, or pecans.
We hope you feel confident in your baking and enjoy every slice. Thank you for following along, and we’d love to hear how your creation turned out!
Your email will not be published publicly.