
Easy philadelphia cheesecake no bake required 4 ingredients
Remember that last minute party invite? You wanted to bring something impressive but your kitchen was already warm, and time was short. That familiar panic doesn’t stand a chance against this guide.
We’ve all been there. You crave a rich, tangy dessert but dread heating the oven. Good news: you can create a luxuriously smooth and creamy treat without it. This method is updated for modern tastes and simple success.
Our refreshed approach, perfected as of June 2024, focuses on essential techniques for a light, mousse like texture. Active preparation takes less than 30 minutes. Yes, you read that right.(Philadelphia Cheesecake No Bake)
This is your foolproof path to a classic style creation. It’s airy, consistently delicious, and perfect for busy families. Let’s turn that kitchen anxiety into confident, cool satisfaction.
Discover more incredible no bake recipes in our ultimate guide to no bake desserts easy to make your complete collection!
Introduction: Why You’ll Love This Delicious Dessert
Imagine a dessert that feels like a luxurious cloud yet demands nothing more than a bowl and a whisk. That’s the promise here.
This treat wins hearts for its stunning result and sheer simplicity. It’s special for a few brilliant reasons.
What Makes This Dessert Special
This minimalist approach uses only three core ingredients to create a sophisticated flavor profile. You get a silky, melt-in-your-mouth texture that feels both light and indulgent.
The high quality cream cheese delivers a perfect hint of tanginess. It balances the delicate sweetness beautifully.
Overview of the No Bake Technique
This method skips all the fuss of traditional baking. The table below shows how it simplifies your life.
| Aspect | Traditional Baked Method | This No-Bake Method |
|---|---|---|
| Equipment Needed | Oven, water bath, mixer | Mixing bowl, whisk, pan |
| Active Preparation Time | 45+ minutes | Under 30 minutes |
| Texture Profile | Dense, firm set | Light, mousse-like, creamy |
| Skill Level Required | Intermediate | Beginner-friendly |
You avoid the water bath, stovetop, and microwave entirely. This recipe is incredibly forgiving, making a professional-grade dessert possible for anyone.
It’s perfect for a special occasion or a cozy snack. You create a lighter alternative to dense cakes with zero stress.
Gathering Your Ingredients and Tools
Success begins with two simple checklists: one for your pantry and one for your counter. Having everything ready makes the entire process feel effortlessly smooth.
Essential Ingredients Overview
Quality components guarantee a rich result. Your most important item is full-fat cream cheese. It provides the luxurious flavor and body you want.
Let it soften at room temperature. This ensures a perfectly silky consistency when mixed.
Recommended Kitchen Tools
A 9-inch springform pan is the ideal choice. Its removable sides give your dessert perfect structural integrity and allow for clean serving.
You will need an electric mixer. It whips your filling to a light, smooth consistency quickly.
A flexible rubber spatula is crucial. It folds whipped cream into the base without losing those delicate air bubbles.
Finally, have some parchment paper on hand. Lining the pan prevents the crust from sticking later.
Preparing Your Perfect Crust
Your dessert’s foundation is more than just a base; it’s the first layer of flavor and texture. A great crust provides a delightful contrast to the creamy filling that follows.
Choosing the Right Cookies or Graham Crackers
Graham crackers are the classic choice for a reason. Their slightly sweet, honey like flavor pairs perfectly with a rich filling.
Feel free to get creative, though. You can use chocolate sandwich cookies or digestive biscuits for a unique twist. Just crush them into fine crumbs.
Crust Assembly and Chilling Tips
Start by mixing your crumbs with a bit of granulated sugar and melted butter. This binds everything together.
Transfer the mixture to your 9-inch pan. Use the flat bottom of a cup to press it down firmly and evenly. This creates a stable platform.
For an extra crisp texture, you can bake this crust at 350°F for 8-10 minutes. Let it cool completely if you do.
Finally, pop the pan into the freezer for about 15 minutes. This quick chill helps the butter set, locking your crust into a solid foundation.
Crafting the Creamy Cheesecake Filling
Getting the filling right requires attention to a few key details. This velvety centerpiece should be smooth, light, and utterly luxurious. Your technique here makes all the difference.
Tips for Softening and Beating Cream Cheese
Properly softened cream cheese is non negotiable. Let it sit out for 60 to 90 minutes. This brings it to the perfect room temperature.
If you’re short on time, use a microwave. Heat the block for 10-second intervals. Check it frequently to avoid melting.
Place the softened cheese in your mixing bowl. Beat it with a paddle attachment until completely smooth. Scrape down the sides often. No lumps should remain before adding sugar.
| Softening Method | Approximate Time | Best For | Watch Out For |
|---|---|---|---|
| Room Temperature Rest | 60-90 minutes | Most even texture, ideal results | Requires advance planning |
| Microwave (10-sec intervals) | 20-40 seconds total | Quick fixes, last-minute prep | Can overheat and melt edges |
| Using Cold Cheese | Not recommended | — | Guarantees a lumpy, uneven filling |

This careful preparation is your secret. It ensures a fluffy, professional consistency that sets perfectly every time. Your patience with cream cheese temperature pays off in the final, glorious slice.
Secrets to a Perfect philadelphia cheesecake no bake
Achieving that dreamy, mousse-like consistency isn’t magic it’s a matter of mastering your whipped cream. This single ingredient transforms your filling from dense to delightfully airy.
Achieving the Ideal Texture with Whipped Cream
Your choice of cream is crucial. You must select heavy whipping cream with a fat content of at least 35%. This high fat level is what allows the mixture to hold stiff peaks and provide a stable structure.
Chill your bowl and beaters before you begin. Whip the cream until it holds its shape firmly with just a slight curl at the tip. This is the perfect stage for a light, airy texture.
Be careful not to overwhip. Going too far can cause the cream to split, resulting in a grainy mouthfeel instead of a smooth one. Achieving proper stiff peaks is essential. It gives your dessert the necessary volume and prevents a runny filling.
You will notice the whipped cream creates a decadent, cloud-like mousse. It perfectly supports the rich base for a balanced, luxurious treat every time.
Step by Step Instructions to Assemble Your Cheesecake
The final assembly is where your patience and gentle touch transform separate components into a stunning, cohesive dessert. This part of the recipe is simple but requires a careful approach for the best results.

- 9″ Stainless Steel Springform Pan nonstick, removable bottom, includes 30 parchment liners. Perfect for cheesecakes & Hummingbird Cake. 👉 View on Amazon.
- Don’t miss our strawberry mille feuille recipe,Try our mochi ice cream recipe and strawberry icebox cake.
Layering Techniques and Folding Methods
Start by combining your two main elements. Use a flexible spatula to gently fold the whipped cream into the smooth cream cheese base. This technique preserves the airy volume you worked so hard to create.
Next, pour this combined filling over your firmly set crust. A steady hand helps you spread it into a perfectly even layer across the entire pan.
Follow this clear sequence for success:
- Fold the whipped component into the cheese mixture with wide, sweeping motions.
- Transfer the complete filling to your prepared crust pan.
- Use an offset spatula to smooth the surface for a clean, professional finish.
- Cover the dessert and place it in the refrigerator immediately.
The most critical step is the long chill. You must allow your creation to set undisturbed for a minimum of six hours. Overnight is even better.
This waiting period is not just about firmness. The flavors meld and the texture becomes beautifully consistent. Your patience here is the final, essential ingredient in this wonderful recipe.
Essential Tips for Texture and Consistency
Have you ever wondered why some creamy desserts turn out grainy while others are perfectly smooth? The secret isn’t a complicated technique. It’s all about the temperature of your ingredients before they meet in the bowl.
Role of Room Temperature Ingredients
Using room temperature cream cheese is your first defense against a lumpy filling. Cold cheese simply won’t blend seamlessly. This creates tiny, unpleasant granules throughout your mixture.
When your base component is properly softened, it forms a flawless emulsion with sugar and other elements. This process is what gives you that dreamy, silky consistency from edge to center.
You will also find that sugar dissolves much more effectively in a warmer base. This leads to a cleaner, more balanced flavor in every single bite.
Remember a key contrast: while your cream cheese needs to be warm, your heavy cream must stay cold. Chilled cream whips up to those essential stiff peaks that provide structure and airy volume.
Following these simple temperature guidelines guarantees your final creation has that perfect, melt-in-the-mouth quality you desire. It’s the simple science behind a spectacular dessert.
Customizing Your Cheesecake with Toppings and Flavors
Toppings transform a simple, creamy creation into a personalized masterpiece. This is your moment to add a signature touch.

The neutral, vanilla-infused base acts as a perfect canvas. It welcomes both fruity and decadent additions beautifully.
Options for Fresh Berries, Pie Fillings, and More
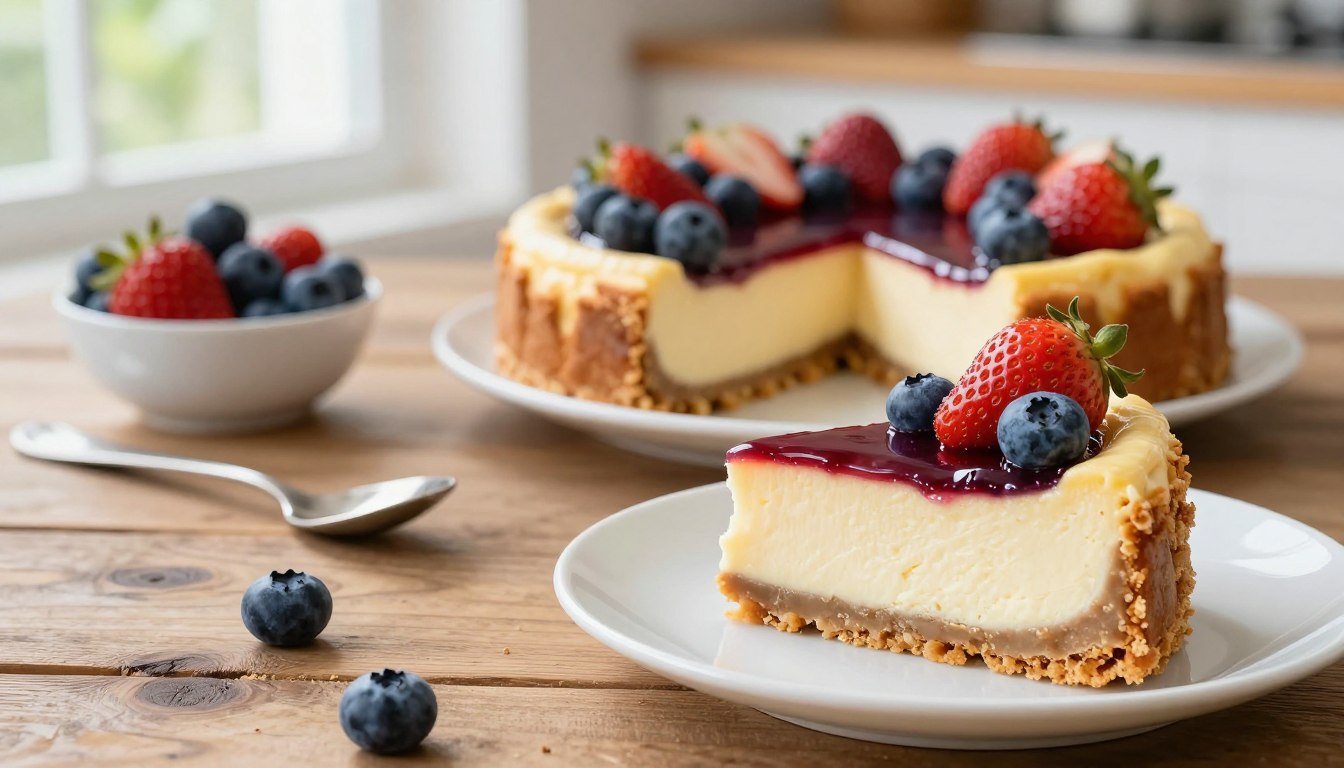
Fresh berries are a classic choice for good reason. They add a vibrant, natural sweetness that cuts through the rich base.
You can elevate your philadelphia bake cheesecake with a homemade cherry pie filling. It creates a stunning, restaurant-quality look right at home.
Using high-quality philadelphia cream cheese as your foundation allows for bold experiments. Consider swirling in lemon curd or a dark chocolate ganache.
This table helps you match toppings to your desired effect:
| Topping Category | Specific Examples | Best For |
|---|---|---|
| Fresh Fruit | Strawberries, blueberries, raspberries | A light, healthy contrast and bright color |
| Decadent Sauces | Caramel, hot fudge, salted butterscotch | Indulgent treats and richer flavor profiles |
| Textured Crunch | Chopped nuts, toffee bits, cookie crumbs | Adding interesting mouthfeel and visual appeal |
| Fruit Compotes & Curds | Blueberry compote, mango puree, lemon curd | Intense, concentrated fruit flavor and glossy finish |
For a simpler approach, a light dusting of powdered sugar works wonders. A drizzle of caramel sauce also pairs beautifully.
You will find that a handful of fresh berries provides the perfect final touch. It makes your dessert look professionally finished with minimal effort.
Troubleshooting Common Issues and Chef’s Tricks
A little troubleshooting can turn a potential kitchen mishap into a perfect slice every single time. Even experienced cooks face a soft filling or a damp crust. These simple fixes and smart strategies will save your dessert.
How to Fix a Runny Filling or Soggy Crust
If your filling seems too loose, it just needs more time. Let it set in the fridge for a full six hours, or overnight. This always firms it up beautifully.
A soggy crust often means the butter didn’t set. Press your crumbs firmly into the pan. Chill the base thoroughly before adding the filling.
For pristine servings, heat your knife under hot water. Wipe it dry before each cut. This gives you clean edges on your cake.
Time Saving Strategies for Busy Days
Make the crust a day ahead. Store it covered at room temperature. You can focus on the cream and cheese mixture when you’re ready.
Your finished dessert keeps well. It stays fresh in the fridge for up to five days. Cover it tightly to lock in flavor.
For longer storage, the freezer is your friend. Wrap the whole cake or individual slices securely. You can enjoy it for up to one month.
| Storage Method | Maximum Duration | Best For | Key Tip |
|---|---|---|---|
| Refrigeration | 5 days | Enjoying within the week | Keep covered to prevent odors |
| Freezing (Whole Cake) | 1 month | Making ahead for events | Double-wrap in plastic and foil |
| Freezing (Slices) | 1 month | Single-serving convenience | Thaw in the fridge for 3-4 hours |
Conclusion
With this guide, you’ve unlocked the secret to a cool, creamy treat any day of the week. You now possess the skills to create a professional grade dessert without complex steps.
Your patience with room temperature ingredients and proper chilling yields a perfect, silky texture every time. Remember, the long set in the fridge is your final, crucial step.
Feel confident to personalize your next creation. A swirl of fruit or a drizzle of sauce makes it uniquely yours.
You are ready to share this decadent masterpiece with loved ones. It’s sure to become a requested favorite for any gathering.
Your email will not be published publicly.