
Oreo Cake Recipe: Indulge in This Creamy Treat
Remember that one party where a single dessert became the main topic of conversation for days? Maybe it was a birthday or a simple family get together. The star of the show was always that unforgettable cookies and cream creation.
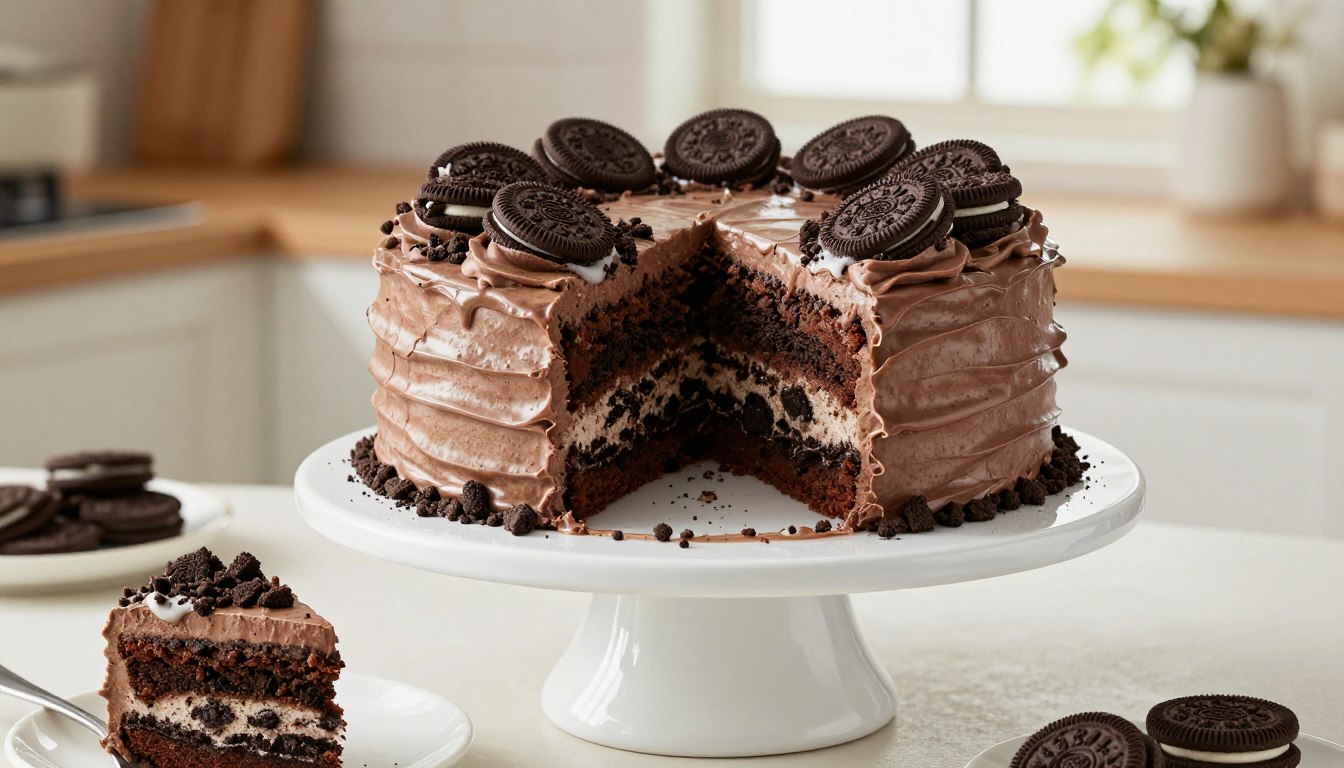
That’s the exact feeling we’re bringing to your kitchen. Imagine layers of moist, velvety vanilla, generously speckled with pieces of chopped chocolate sandwich cookies. Every slice promises a perfect mix of soft cake and delightful crunch.
This decadent treat is designed to be a total crowd-pleaser. It masterfully balances the rich, creamy notes of vanilla with the iconic flavor of those beloved black-and-white cookies. You’ll be sad when the very last bite is finally gone.
Whether you’re a beginner or a seasoned pro, this is a fun and rewarding project. By following straightforward steps, you’ll master a cookies cream masterpiece. It looks incredible and tastes even better, ensuring every guest leaves your home completely satisfied.
Introduction to Your Decadent Oreo Cake
Imagine a treat so irresistible, it becomes the nightly ritual you look forward to all day. This creation turns that dream into a delicious reality.
Why You’ll Love This Creamy Treat
You get incredibly moist and velvety layers packed with bits of chopped chocolate cookies. The texture is light and airy, making it dangerously easy to enjoy just one more slice.
Every bite delivers a nostalgic flavor that reminds you of your favorite childhood ice cream shop. It’s the perfect blend of smooth vanilla and a delightful cookies cream crunch.
| Feature | What You Get | Why It Matters |
|---|---|---|
| Texture | Moist cake with crunchy bits | Offers a satisfying contrast in every mouthful |
| Flavor Profile | Rich vanilla & cookies cream | Creates a deeply familiar and comforting taste |
| Perfect For | Sharing & celebrations | Brings people together effortlessly |
The Story Behind the Recipe
This dessert was born from a deep love for cookies and cream ice cream. The creator wanted to capture that iconic taste in a shareable, baked form.
Inspired by late-night cravings, they’d sneak into the kitchen with dad and best friend Paige. They’d shave off just a small piece each evening, until the whole thing was mysteriously gone.
Ingredients and Kitchen Prep Guide
Before you preheat the oven, a successful baking session hinges on having your kitchen organized and your components ready. Accurate measuring is your best friend for consistent, delicious results every single time.

- 4 Pcs Baking Strips Perfect for baking a flat, even red velvet cake. These absorbent cotton strips wrap around your cake pan to prevent doming and cracking. Ideal for kitchen, bakery, and restaurant use. Get professional results at home: Buy on Amazon
- Don’t miss our hummingbird cake recipe, carrot cake with brown butter frosting and pistachio cake.
Cake Ingredients and Measurements
Start with the dry components for your layers. You need 2 cups of sifted cake flour for a soft, fluffy crumb. Combine this with 1 ½ teaspoons of baking powder and ½ teaspoon of salt.
For sweetness and richness, measure 1 cup plus 2 tablespoons of granulated sugar. Also, have ½ cup of unsalted butter at room temperature. This creates a perfect, moist base.
| Component | Key Ingredients | Primary Purpose |
|---|---|---|
| Cake Layers | Cake flour, baking powder, granulated sugar | Provides structure and a tender, light texture |
| Buttercream Frosting | Unsalted butter, powdered sugar, vanilla, milk | Delivers creamy sweetness and holds decoration |
| Decorative Elements | Chopped chocolate sandwich cookies | Adds iconic flavor and satisfying crunchy bits |
Buttercream and Decoration Essentials
Your frosting requires 1 ½ cups of unsalted butter and a full 4 ½ cups of powdered sugar. Add 3 teaspoons of pure vanilla extract and 3 tablespoons of whole milk for the perfect spreading consistency.
The secret to those fantastic cookies and cream crumbs? Use 10 whole cookies, finely chopped, for the batter. Then, mix 13 more into the frosting for an extra burst of flavor in every bite.
Essential Tools and Pre Baking Tips
Achieving that perfect texture starts long before the oven beeps. Your prep work and equipment choices are the foundation for a successful bake.
Must-Have Equipment and Mixers
Using a stand mixer fitted with the paddle attachment is non-negotiable. It creams butter and sugar efficiently in a large bowl. Aim for five minutes until the mix is pale and fluffy.
Always scrape down the sides of the bowl. This ensures every bit is incorporated for a uniform batter.
Room Temperature and Dry Ingredients Insights
All ingredients, like eggs and milk, must be at room temperature. This helps them emulsify properly into the batter for a smooth texture.
Whisk your dry ingredients in a separate bowl. It distributes baking powder evenly, preventing lumps in your layers.
| Tool/Step | Primary Purpose | Pro Tip |
|---|---|---|
| Stand Mixer | Creams butter and sugar to perfect fluffiness | Use the paddle attachment and mix for 5 minutes |
| Separate Bowls | Ensures dry ingredients are evenly mixed | Whisk flour and leavening agents thoroughly |
| Room Temperature Ingredients | Promotes smooth emulsification in the batter | Let dairy and eggs sit out for 30 minutes before use |
Detailed Oreo cake recipe: Step-by-Step Process
The magic of this creation unfolds through a series of simple, methodical steps. Let’s walk through each phase to ensure your layers turn out perfectly.

Preparing Your Cake Batter and Folding in Oreos
Start by preheating your oven to 350°F (177°C). Prepare your cake pans by spraying the sides and fitting the bottom with parchment paper circles.
Roughly chop 10 chocolate sandwich cookies into 1/4-inch pieces. This size is crucial—it prevents them from sinking to the bottom during baking.
Step-by-Step Guide to Mixing and Baking
Follow this sequence for a flawless batter:
- In your stand mixer, cream the butter for two minutes. Add the sugar and oil, then mix for another two minutes until the mixture is light and fluffy.
- Add your eggs one at a time, fully incorporating each. Then, mix in the vanilla and sour cream.
- Alternately add your pre-whisked dry ingredients and milk to the batter, beginning and ending with the dry components. Mix just until combined.
- Gently fold in your chopped cookies, ensuring even distribution.
Divide the batter evenly between the prepared pans. Bake for 30-35 minutes.
The layers are done when a toothpick inserted into the center comes out clean. Let them cool in the pans for 10 minutes before transferring to a wire rack.
Baking Tips for Perfect Cake Layers
The secret to a stunning dessert lies in mastering the foundation: the layers themselves. Getting them just right ensures every slice is a delight.
Ensuring Moist and Fluffy Texture
The low protein content in cake flour is your secret weapon. It creates a softer, more tender crumb.
For incredible moisture, use both unsalted butter and vegetable oil. This duo prevents drying out during baking.
Avoiding Common Pitfalls with Cake Layers
Always check that your baking powder is fresh. Accurate flour measurement is also crucial.
Over-mixing the batter once flour is added leads to dense results. For easy stacking, level your cooled layers with a specialized tool.
Creative Decorating and Finishing Touches
The final presentation transforms your baked creation into a show-stopping centerpiece. This is where you add personality and visual flair.

Your tools and a little technique make all the difference. Let’s explore how to achieve a professional look.
Using Scalloped Cake Combs and Piping Techniques
After a smooth crumb coat, apply a generous layer of frosting to the sides. Hold a scalloped cake comb against the surface and slowly turn your stand.
This creates elegant, grooved textures. For the top, use a piping bag fitted with a Wilton Tip 1M.
Pipe decorative swirls, spacing them about a quarter-inch apart. Ensure your cookie crumbs are ground finely. This prevents clogging and ensures smooth piping.
Garnishing with Crushed Oreos and Cookie Halves
Highlight the cookies and cream theme with simple garnishes. Place a whole chocolate sandwich cookie between each piped swirl on the top.
For a different look, press finely crushed cookies onto the sides to create a mosaic. This adds fantastic crunch and visual interest.
Your masterpiece is now ready to impress. Every slice will reveal those delightful textures and flavors.
Make Ahead Strategies and Storage Solutions
Smart storage is the secret to enjoying your masterpiece whenever the craving strikes. Planning ahead lets you bake now and serve later with perfect freshness.
Freezing Versus Refrigeration Tips
Your baked layers stay fresh at room temperature for two days when wrapped tightly. For longer storage, freeze them for up to two months.
Thaw frozen layers completely before assembling. Your buttercream also keeps well.
Refrigerate it for two weeks in an airtight container. Always re-whip chilled frosting to restore its smooth, pipeable texture.
| Storage Method | Duration | Best For | Key Tip |
|---|---|---|---|
| Room Temperature | Up to 2 days | Short-term keeping | Wrap layers in plastic wrap |
| Refrigeration | Up to 2 weeks | Frosting only | Re-whip before use |
| Freezing | Up to 2 months | Long-term storage | Thaw completely at room temp |
Adapting the Recipe for Cupcakes
Want individual treats? This recipe easily makes delightful cupcakes. You’ll get about 28 to 30 perfect portions.
Fill your lined tins two-thirds full. Bake at the same temperature for just 14 to 18 minutes.
A toothpick should come out clean. Let them cool before adding your cookies and cream frosting and crumbs.
Conclusion
Your journey from mixing bowl to masterpiece is now complete. We hope you loved creating this decadent treat as much as any cookies and cream lover enjoys eating it.
The secret to its perfection lies in using high-quality ingredients and having a little patience during the decorating phase. That care makes every slice worth the effort.
This versatile recipe shines whether you make a tall layer cake or fun cupcakes. It’s perfect for any celebration. Share your beautiful results with us online!
Happy baking! We can’t wait to hear how your own cookies cream masterpiece turned out.
Your email will not be published publicly.