
Easy peach vanilla cake recipe everyone will love
Did you know that fruit based desserts are among the most requested for summer birthdays? This particular treat was born from a very special request.
A young girl named Avery wanted a perfect birthday dessert for her fifth celebration. She asked for something that tasted like real, sun ripened fruit.
Our kitchen team didn’t just bake a standard dessert. We went through multiple rounds of testing to get it right. The goal was to capture the essence of fresh summer fruit, not an artificial flavor.
The result is a beautifully balanced creation. The natural sweetness of fresh peaches melds with a delicate, tender crumb. It truly tastes like sunshine in every bite.
This easy recipe provides clear instructions for bakers of any level. You can create a stunning, professional looking centerpiece in your own kitchen. It’s the ultimate celebration dessert that everyone will adore.
This peach vanilla cake is pure summer bliss: incredibly moist, fruity and impossible to resist! Fresh peaches are not only delicious but also remarkably nutritious : Healthline highlights their impressive content of vitamins, antioxidants and fiber that support overall health. For more fruity and indulgent cake inspiration, explore our tropical Mango Cake Recipe and our elegant Earl Grey Lavender Cake both absolutely irresistible!
This recipe is also featured in our complete gluten free cake mix guide : 25 easy recipes for perfect gluten free bakes every time.
Introduction: discover your next favorite cake
Imagine a dessert that captures the essence of a summer orchard in every slice. This peach vanilla cake is that dream come true. It’s a layered masterpiece born from careful testing.

Overview of the peach vanilla cake
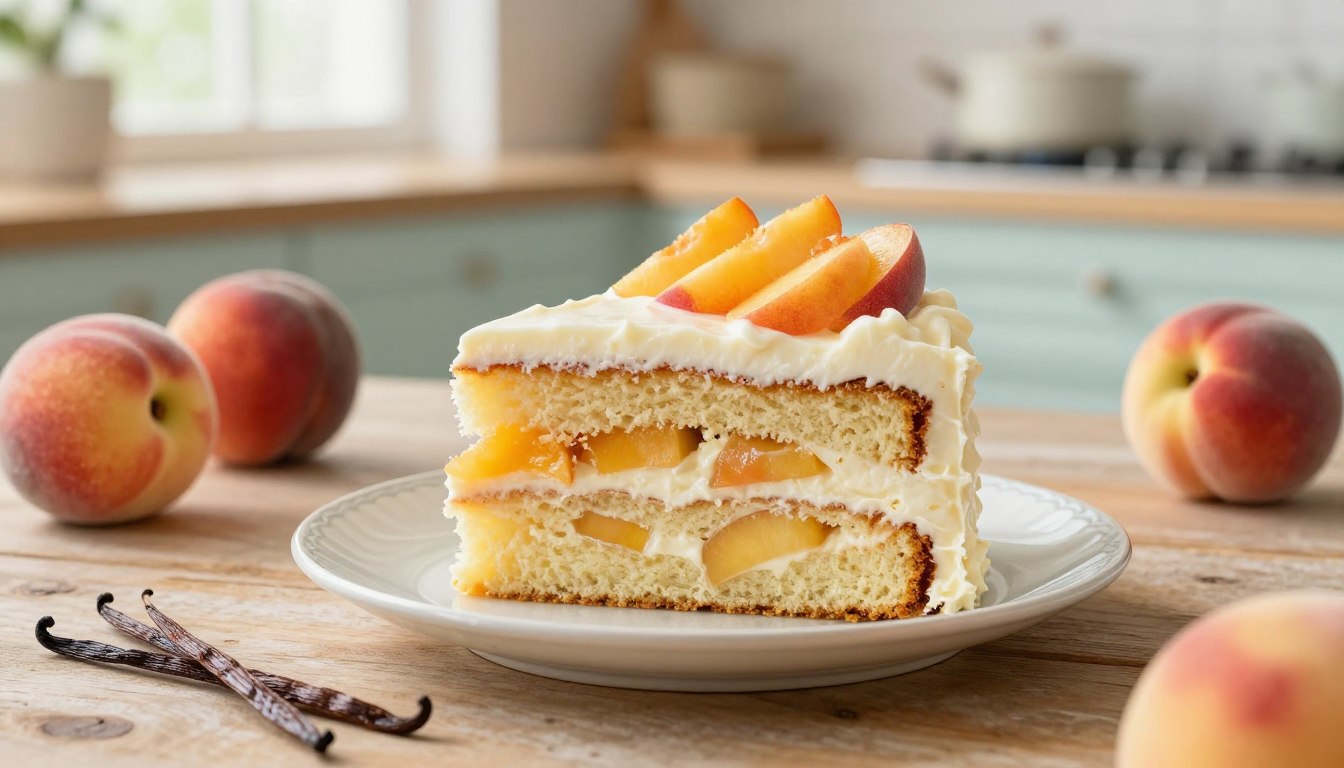
You get a tender sponge, a lush peaches and cream filling, and whipped vanilla buttercream. Our team tested it many times to perfect the balance. The result is a harmonious blend of flavors and textures.
Each bite offers a truly memorable experience. The moist crumb meets creamy frosting beautifully. It feels both indulgent and refreshing.
Why this recipe works for any occasion
This versatile treat fits summer birthdays, family dinners, or a simple weekend project. Its sophisticated profile pleases all your guests. High quality ingredients make the fruit shine.
We designed the steps to be reliable and clear. Your baking efforts will yield a stunning centerpiece. It’s a foolproof way to create something impressive and delicious.
Key ingredients & preparation essentials
Successful baking begins with quality ingredients and the proper tools at your fingertips. This guide helps you choose your fruit and gather everything you need.

Selecting fresh, frozen, or canned peaches
Your fruit choice impacts the final flavor. Fresh peaches in season deliver the brightest, most authentic taste for your compote.
Don’t worry if they’re unavailable. Frozen peaches or canned varieties work perfectly as backups. Just drain canned fruit well before using.
This table helps you decide:
| Type | Flavor profile | Ideal for | Pro tip |
|---|---|---|---|
| Fresh | Bright, authentic | Summer baking | Peel and slice just before use |
| Frozen | Consistently sweet | Year round recipes | Thaw and pat dry completely |
| Canned | Soft, syrup infused | Quick prep | Drain syrup thoroughly to avoid sogginess |
Essential pantry items and tools
For your dry ingredients, you’ll need 3 cups plus 3 tablespoons of cake flour. This precise amount creates a wonderfully light and tender crumb.
Your fat component is crucial. Use exactly 12 tablespoons of unsalted butter, softened to room temperature. It provides the necessary richness for your layers.
Having the right equipment is just as important. A high quality 8 inch or 9 inch pan ensures even baking and a perfect shape.
Always measure your ingredients with a standard cup. Consistent ratios are the secret to a reliable peach cake every time.
How to bake the perfect peach vanilla cake
Proper mixing and precise oven management are the twin pillars of a successful layer dessert. Follow these steps closely for a tender crumb and perfect bake every time.
Mixing the batter for a moist crumb
Start with room temperature butter and eggs. This allows the sugar and fat to emulsify properly, creating a smooth, homogenous batter.
Once you add the dry ingredients, mix just until combined. Overmixing develops gluten, which can make your sponge tough instead of tender and moist.

Preheating and baking time best practices
You must preheat your oven to 350°F for a full 30 minutes. An evenly hot oven is non negotiable for consistent results.
Bake your layers for 18 to 20 minutes. Check doneness by inserting a toothpick into the center. It should come out with a few moist crumbs attached, not clean.
When the baking time is complete, let the dessert cool in the pan for 10 minutes. Then, transfer it to a wire rack to cool completely before frosting.
Creative filling & frosting ideas
The final flourish of your dessert lies in the art of filling and frosting. These creamy elements add moisture, flavor, and a professional finish.
Mastering a few simple techniques will give you stunning results. Let’s explore some delicious variations and pro tips.
Peaches and cream filling variations
For a lush filling, blend two cups of your prepared vanilla buttercream with a portion of homemade peach compote. This creates a perfect peaches and cream mixture.
The fruit compote adds natural sweetness and little bursts of flavor. It pairs beautifully with the smooth, rich buttercream between each tender layer.
Tips for fluffy vanilla buttercream & mascarpone frosting
The texture of your frosting is crucial. Beat your buttercream in a stand mixer for a full five minutes. This incorporates air for a light and fluffy consistency that’s easy to spread.
Always sift your powdered sugar before adding it to the bowl. This prevents lumps for a silky-smooth finish.
For a tangy twist, substitute some of the butter with mascarpone cheese. It cuts the sweetness and pairs wonderfully with the fruit filling.
Use an offset spatula to apply the filling evenly across each layer. This ensures every bite has a consistent, delicious flavor profile.
| Frosting method | Key ingredient | Texture result | Best use |
|---|---|---|---|
| Standard Buttercream | Butter & Powdered Sugar | Rich & Holdable | Outer coating & detailed piping |
| Mascarpone Blend | Mascarpone Cheese | Light & Tangy | Between layers or as a lighter topping |
| Whipped cream frosting | Heavy Cream | Airy & Delicate | Quick, chilled desserts needing immediate serving |
Troubleshooting & pro baking tips
Even experienced bakers encounter occasional hiccups, but a few pro tips can steer you back to success. This guide helps you solve common texture and structural issues for a flawless finish every time.
Ensuring a consistent cake texture
A perfect crumb depends on precise technique and fresh ingredients. Always check your baking powder‘s expiration date. Old powder won’t give your mixture the lift it needs.
Calibrate your oven with a thermometer. An incorrect temperature is a top cause of uneven texture. If using canned fruit, drain and pat it dry thoroughly. Excess moisture ruins the batter’s balance.
Let your dessert cool completely on a wire rack. Frosting a warm layer makes the buttercream slide right off.
Avoiding common baking pitfalls
Apply a thin crumb coat of frosting first. Then, chill the entire pan for about 10 minutes. This step locks in crumbs for a smooth final coat.
If your assembled creation feels unsteady, insert a dowel or clean drinking straw into the center. It provides crucial internal support.
Always start with room temperature butter and eggs. This ensures your sugar blends smoothly in the mixing bowl. Your recipe will thank you for the attention to detail.
Presentation & serving suggestions
A beautiful presentation elevates your homemade dessert from delicious to unforgettable. This final stage is where your creativity shines.
Think about visual appeal and how you’ll serve each slice. A few simple techniques make a huge difference.
Decorating with fresh fruit and edible accents
For a stunning look, top your creation with fresh peaches or delicate edible flowers. Garden roses add a beautiful, fragrant touch.
Add these accents just before serving. This prevents the fruit from browning or making the frosting wet.
Store any leftovers in an airtight container in your refrigerator. They will stay fresh for up to five days.
Pairing your cake with complementary drinks and desserts
The right drink enhances the experience. A light sparkling wine or cold iced tea pairs wonderfully.
These choices complement the delicate vanilla and fruit flavor perfectly.
Use a sharp knife for clean slices. Let the dessert sit at room temperature for about ten minutes first.
This ensures neat edges and the best possible texture for your guests.
Conclusion
This recipe’s high rating is a testament to its reliable, crowd pleasing results. By following these steps, you’ve created a moist, flavorful dessert that highlights natural sweetness in every bite.
We hope this guide helped you master the art of balancing delicate flavors for a truly professional grade outcome. The tender crumb and perfect texture are your rewards for precise baking.
Remember, practice makes perfect. Feel free to experiment with different fillings to make this recipe your own. Thank you for choosing it to celebrate your special occasions.
We look forward to seeing your beautiful creation. Happy baking!
Your email will not be published publicly.