
Jello poke cake recipe for a delicious easy dessert
Did you know the famous gelatin that gives this treat its name was trademarked over 125 years ago? In 1897, a woman named Pearle Bixby Wait secured the Jell O name in Le Roy, New York. That simple act paved the way for countless fun and creative family desserts.
Today, that legacy lives on in a brilliantly simple creation. It’s the perfect centerpiece for any warm weather gathering. You get a refreshing and vibrant option that turns an ordinary afternoon into a special occasion.
The best part is how little effort it requires. The straightforward preparation means you can spend more time enjoying your guests. You won’t be stuck in the kitchen all day.
We focus on quality ingredients to ensure your final result is a showstopper. It will be as visually stunning as it is delicious. This easy to follow guide helps you make a moist, crowd pleasing favorite that brings a touch of nostalgia to your table.
Introduction and background
The story of this beloved chilled dessert begins in a small New York town over a century ago. Its journey from a simple idea to a family favorite is a sweet piece of American culinary history.
A brief history of jello poke cake
In 1897, Pearle Bixby Wait trademarked the gelatin brand in Le Roy, New York. This moment laid the groundwork for the fun, fruity creations we love today.
Over the decades, home bakers began experimenting. They found that adding the vibrant gelatin to a baked good created something magical. This evolution cemented its place as a staple in kitchens across the country.
Why this dessert is perfect for summer and family gatherings
During hot summer months, this chilled creation is a lifesaver. It offers a cool and refreshing sweet treat that everyone enjoys.
Many families have served it for generations. It appears at holiday celebrations and casual weekend gatherings alike. It brings people together with its bright colors and familiar taste.
You can prepare it ahead of time, letting the flavors blend perfectly. This makes it an ideal choice for busy hosts during festive days. You get a stunning, no fuss centerpiece that promises smiles.
Essential ingredients and tools
A fantastic final product relies on quality ingredients and simple, effective tools. Having everything ready before you start makes the process smooth and fun.
Must have items: cake mix, strawberry jell O, and cool whip
Your base begins with a 15.25 ounce box of white cake mix. This light and airy foundation bakes up perfectly every time.
Next, a 3 ounce package of strawberry gelatin provides the vibrant color and fruity burst. Finally, an 8 ounce tub of Cool Whip creates a creamy, cloud like topping.
| Item | Category | Key Detail |
|---|---|---|
| White Cake Mix | Ingredient | 15.25 ounce box; forms the base |
| Strawberry Jell O | Ingredient | 3 ounce package; adds flavor and color |
| Cool Whip | Ingredient | 8 ounce tub; creates fluffy topping |
| Large Mixing Bowl | Tool | For combining batter ingredients |
| Fork or Skewer | Tool | For poking holes in the baked base |

- MUSA 8in Small Aluminum Flan Double Boiler Baño Maria with Lid, 3Qt – Traditional Latin dessert pot for flan, custards, pudding, and cheesecake. Aluminum construction heats evenly. Includes lid for perfect steaming. Ideal for authentic flan recipes.
You May Also Like:
- How to make a rosette cake perfect for any occasion
- Homemade Apple Cake: A Delightful Treat
- Best yellow cake mix recipes for quick homemade treats
Tools to ensure success: poking instruments and mixing bowls
A large mixing bowl is crucial for blending your batter smoothly. You will also need a standard 9×13 inch pan for baking.
For the signature step, a simple fork or wooden skewer works perfectly. It creates the holes needed for the fruity infusion.
These items set you up for a delicious outcome. Now you’re ready to move on to the next steps.
Step by step preparation guide
Turning a boxed mix into a perfect base is easier than you think. Just follow these simple instructions for a light and airy foundation.
Mixing the boxed cake batter
First, preheat your oven to 350°F. Lightly coat your 9×13 inch pan with cooking spray. This prevents sticking.
Grab your large bowl. Combine the box of cake mix with the required water, oil, and eggs. Mix everything until the batter is completely smooth.
Baking your cake to perfection
Pour the smooth mix into your prepared pan. Spread it evenly into the corners.
Place it in the preheated oven. Baking time is 30 to 35 minutes. You’ll know it’s done when a toothpick inserted in the center comes out clean.
This proper baking creates the right structure. It needs to be firm enough to hold the upcoming fruity infusion without getting soggy.
Once finished, take it out. Let it cool on a wire rack for a few minutes before the next fun step.
How to poke the cake and infuse strawberry jell o
After your base has cooled slightly, the real fun begins with the signature poking step. This is where you’ll use your 3 ounce package of strawberry gelatin. The goal is to create channels for that fruity liquid to soak deep into every bite.
Techniques for creating poke holes (fork, toothpick, or skewer)
Your tool choice matters for the best infusion. A sturdy wooden skewer is the top pick. It makes deep, clean holes that let the mixture penetrate fully.
You can also use the handle end of a fork or a simple toothpick. These work well for a lighter infusion. The key is to make many openings across the entire warm surface.
| Tool | Best For | Hole Depth | Ease of Use |
|---|---|---|---|
| Wooden Skewer | Deep, thorough infusion | Deep | Very Easy |
| Fork Handle | Wider, shallower channels | Medium | Easy |
| Toothpick | Subtle, delicate infusion | Shallow | Easy |

Next, carefully pour your hot strawberry mixture over the top. Move slowly to ensure it fills every single one of the poke holes you created. This step is the secret to a moist and stunning poke cake.
Let the liquid settle for a minute. Then, place your creation in the refrigerator. The chilling process sets the fruity goodness inside. You’ll be rewarded with a vibrant and delicious treat perfect for any gathering.
Crafting the perfect topping
A fluffy, fruity topping transforms your baked creation into a complete summer sensation. This final layer adds a cool, creamy contrast that everyone loves.
Making this topping is quick and requires just two main ingredients. The method ensures a light, airy texture that complements the dense base perfectly.
Folding cool whip with fresh or thawed strawberries
Grab a large bowl and your 8 ounce tub of Cool Whip. Add one 10 ounce tub of thawed frozen strawberries.
Gently fold them together. This technique keeps the whip airy. You want a creamy strawberry mixture with juicy bits of fruit throughout.
Now, spread this mixture evenly over your completely cooled dessert. Cover the entire surface of your 9×13 inch pan.
| Topping Style | Fruit Prep | Flavor Profile | Ideal For |
|---|---|---|---|
| Classic Strawberry | Thawed frozen berries | Rich and sweet | Traditional gatherings |
| Fresh Berry Blend | Diced fresh strawberries | Bright and juicy | Summer picnics |
| Mixed Fruit Twist | Thawed berry medley | Tangy and colorful | Potluck presentations |
Chilling and setting the cake for ideal texture
Place your finished dessert in the refrigerator immediately. It needs at least 6 hours to set properly. Overnight is even better.
This chilling time allows the flavors to meld beautifully. The whip topping firms up slightly, creating the ideal contrast with the moist layers below.
Always cover the pan with aluminum foil while it’s in the refrigerator. This keeps the Cool Whip layer fresh and prevents it from absorbing other odors.
Patience rewards you with a perfectly set, sliceable treat. Those few extra hours make all the difference in texture and taste.
Tips and tricks for enhanced flavor and presentation
Maximizing flavor and visual appeal takes just a bit of extra know how. These simple ideas help you customize your creation for any event.

Quick adjustments and ingredient substitutions
For a unique twist, swap the standard white base with a vanilla or box white variation. This changes the flavor profile subtly.
When preparing the gelatin, use boiling water to dissolve it fully. Allow the mixture to cool for a minute before using it.
This careful step protects your baking pan and ensures even infusion into the holes cake.
Creative serving ideas for potlucks and family celebrations
This versatile poke cake recipe welcomes fresh fruit on top of the whipped topping. It creates a beautiful, colorful display.
Consider individual servings in cups for easy grabbing at parties. Your guests will love the personal touch.
Storage solutions for leftover dessert
If you have any leftover treat, store it properly. Place it in an airtight container in the refrigerator.
It will maintain its quality for up to four days. This ensures you can enjoy it over time without waste.
Mastering the jello poke cake recipe for family gatherings
For a dessert that consistently impresses a crowd, mastering the timing of each stage is essential. This reliable method yields 12 perfect servings every time. Your attention to detail transforms simple instructions into a guaranteed success.
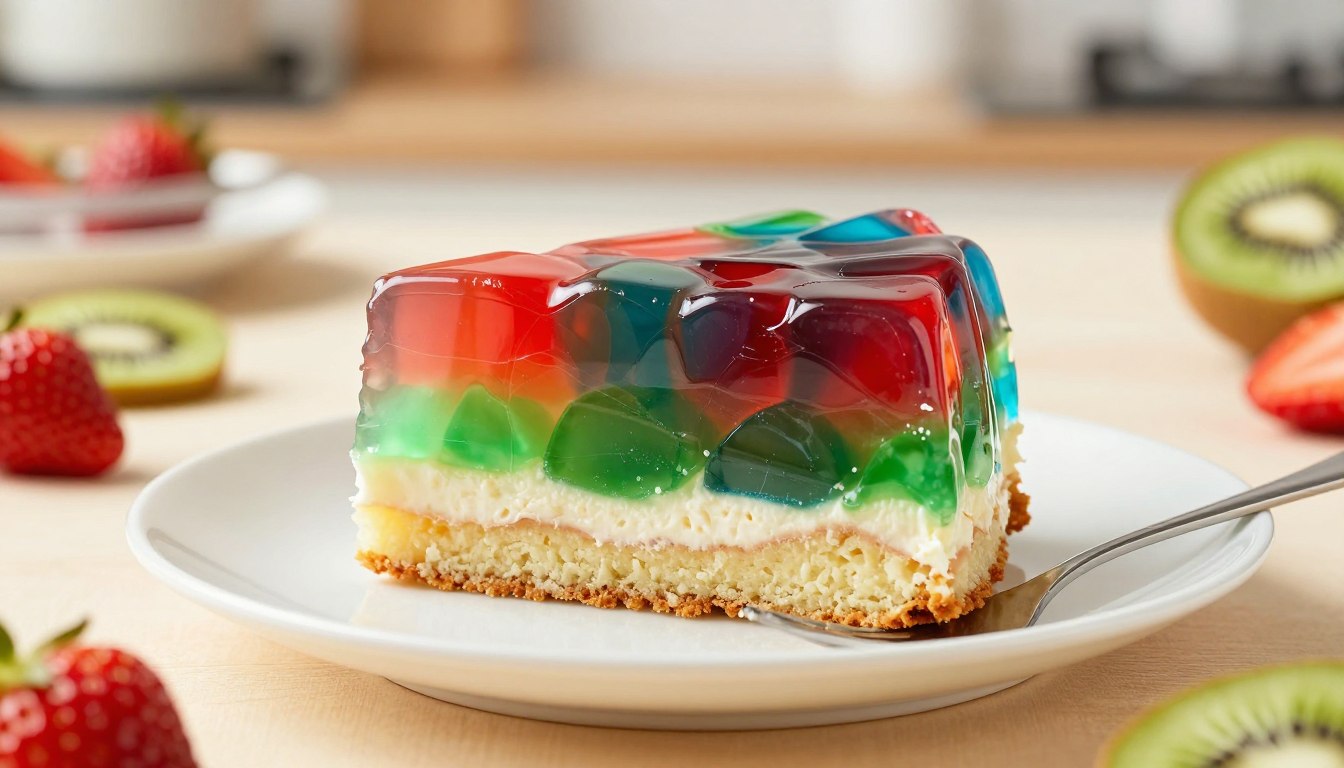
Every slice offers an ideal texture. The moist white cake beautifully contrasts with the vibrant strawberry gelatin. This combination creates a stunning visual color and a burst of fruity flavor.
When serving your guests, use a large bowl to fold the whipped topping with fresh or thawed strawberries. This ensures a consistent flavor profile across all portions. Your topping will be creamy and light.
| Stage | Key Action | Ideal Duration | Purpose |
|---|---|---|---|
| Mixing | Combine white cake mix batter | 2 minutes | Ensures smooth, airy base |
| Infusing | Pour gelatin into poke holes | Use 2 cups boiling water | Creates moist, flavorful layers |
| Setting | Chill in the refrigerator | 6 hours (minimum) | Perfects texture and blend |
Follow the recipe carefully. Use 1 cup of water for the batter and the specified box mix. This classic dessert remains a favorite because it’s easy and always delicious. It turns your 9×13 pan into the centerpiece of any family gathering.
Conclusion
Creating a memorable dessert for your loved ones doesn’t require complex techniques. This timeless treat brings pure joy to any family gathering or special celebration.
By following the simple steps in this guide, you make a moist and flavorful creation. It is sure to become a beloved staple in your home.
Remember, the secret to perfect texture is thorough chilling. Let your finished masterpiece set in the refrigerator before serving.
Whether you’re a beginner or a pro, this reliable method impresses guests with minimal effort. It’s a wonderful way to share homemade happiness.
Enjoy the process of making this colorful cake. Share the delight of a delicious dessert with everyone today.
Your email will not be published publicly.