
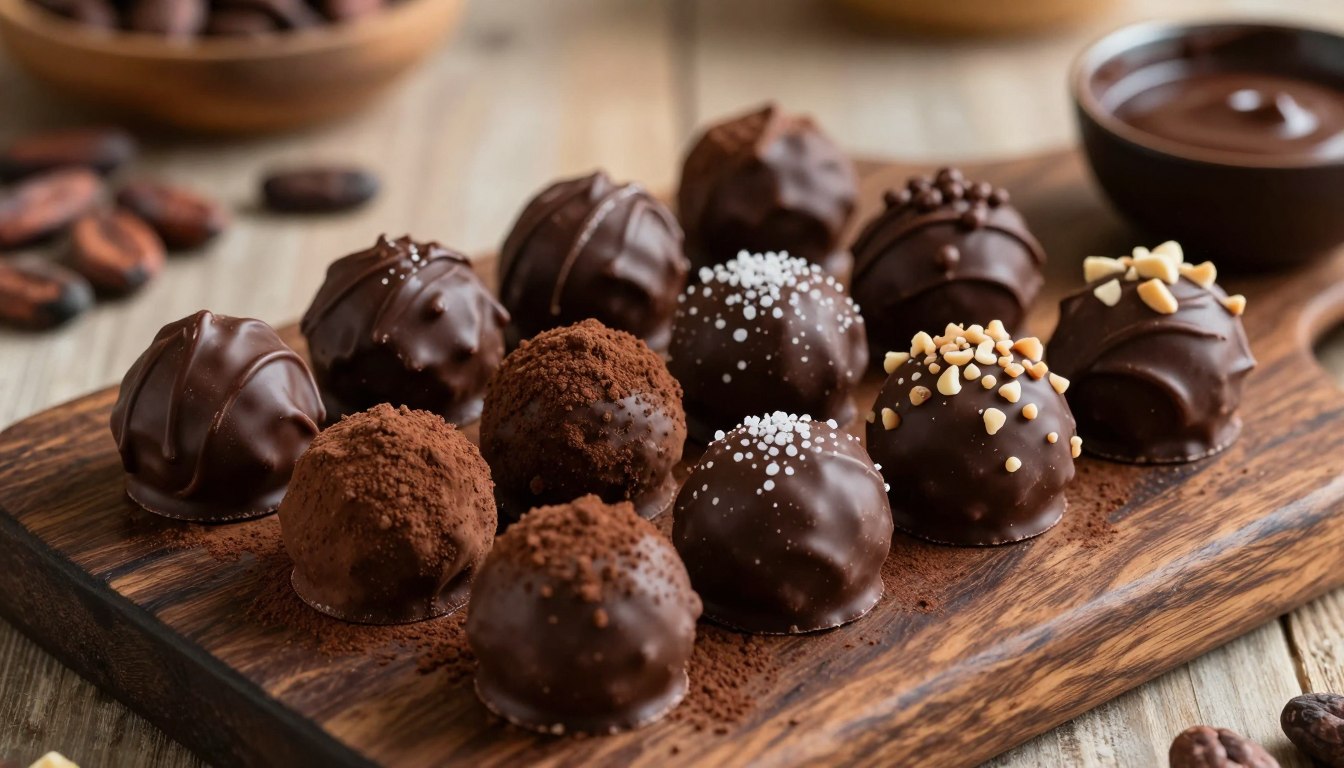
How to make black chocolate truffles at home easily
I was in my kitchen on a rainy Tuesday, craving something rich. I felt intimidated by the fancy sweets in bakeries. But, I found out making rich cocoa desserts is easy.
All you need are two things: good cocoa solids and heavy whipping cream. With these, you can make amazing treats easily. It turns your kitchen into a gourmet spot in no time.
Making black chocolate truffles at home is fun and rewarding. You don’t need special skills for a smooth, delicious texture. This guide will help you make perfect treats every time.
f you’ve ever admired the glossy, bittersweet finish of bakery style bonbons, these black chocolate truffles let you recreate that same effect in your own kitchen with almost no effort. They share the same rich, melt in your mouth base as our dark chocolate truffles, but with a deeper, more intense cocoa profile that chocolate lovers tend to crave. Pair a batch with something bright and fruity, like our fruit dip recipes, for a dessert spread that balances rich and refreshing. For more on selecting quality cocoa for truffle making, BBC Good Food has some solid guidance worth checking out.
What are black chocolate truffles?
Ever craved a rich, velvety bite? You might have tried a truffle. These treats have a ganache center covered in a thin shell or cocoa dust. Making black chocolate truffles is a sophisticated treat making art.
These treats are seen as luxurious dessert options for any event. They’re perfect for dinner parties or self treats. Their smooth texture and deep flavor make them a must try for home bakers.
A brief history of truffles
The truffle’s origin is in late 19th century France. A chef’s mistake led to the creation of this gourmet chocolate. It was named “truffle” because it looked like the rare fungus found in forests.
Over time, truffles went from simple kitchen mistakes to a global favorite. Today, they’re the top of confectionery art. The classic version is loved for its simplicity and elegance.
The difference between dark and black chocolate
Dark and black chocolate are often confused, but they differ. Dark chocolate has 50% to 85% cocoa. Black chocolate has over 90%, making it more intense and bitter.
Knowing this difference is key for making gourmet chocolate projects. The right base ensures your black chocolate truffles have the perfect balance. Here’s a quick guide to help you tell them apart.
| Chocolate type | Cocoa content | Flavor profile | Best use |
|---|---|---|---|
| Milk Chocolate | 10% – 40% | Sweet and creamy | Casual snacking |
| Dark Chocolate | 50% – 85% | Balanced and rich | Standard truffles |
| Black Chocolate | 90% – 100% | Intense and bitter | Luxurious dessert options |
Choosing the right cocoa intensity is key to making black chocolate truffles at home. This lets you tailor your recipes to your taste.
Essential ingredients for black chocolate truffles
Making top notch dark chocolate treats starts with picking the best ingredients. Choose high quality items to get a smooth, velvety texture. This texture melts perfectly in your mouth.
The key to a great treat is balancing fat and cocoa solids. Knowing this, you can make rich cocoa desserts that compare to those in fancy shops.
Choosing the right chocolate
Choosing the right chocolate is the most critical step. Opt for a high quality bar with 60% to 70% cocoa content. This ensures a deep, rich flavor.
Don’t use standard chocolate chips. They have stabilizers that stop them from melting right. Instead, go for couverture chocolate. It has more cocoa butter for a better shine and snap.
| Chocolate type | Cocoa content | Best use |
|---|---|---|
| Bittersweet | 60% – 75% | Classic dark truffles |
| Unsweetened | 90% – 100% | Intense flavor base |
| Semi Sweet | 40% – 55% | Balanced sweetness |
Additional flavor enhancements
After choosing your chocolate, add subtle flavors to make your rich cocoa desserts even better. The quality of your heavy cream is key. It helps mix the melted chocolate smoothly.
Try adding natural ingredients like vanilla bean, espresso, or sea salt to your cream. These dark chocolate delicacies come alive with unique flavors. Experiment with extracts or liqueurs to add a personal touch.
Tools you’ll need in the kitchen
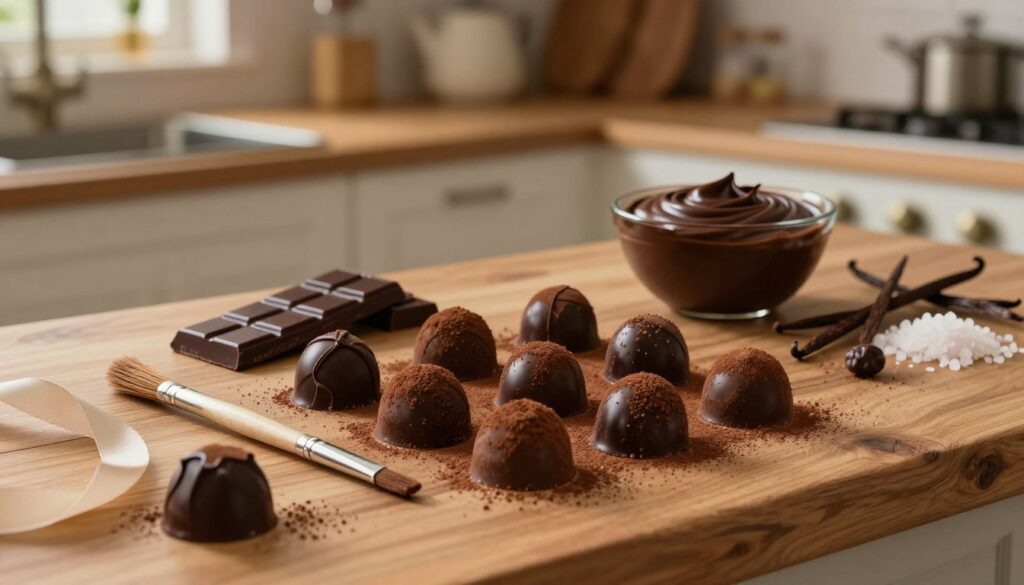
You don’t need a fancy kitchen to make tasty treats at home. A few basic tools can help you create handcrafted truffles that look and taste like they’re from a high end shop.
Having the right tools makes the process easy and stress free. Preparing your workspace well sets you up for success in making premium chocolate creations every time.
Must have kitchen equipment
First, gather essential items that handle heat and mixing well. These tools are probably in your kitchen already, so you can start right away.
- Heat resistant glass or metal bowls: Ideal for melting chocolate over a double boiler.
- Silicone spatulas: Perfect for getting every last bit of chocolate from the bowl.
- Heavy bottomed saucepan: Keeps heat even to avoid burning your ingredients.
- Parchment paper: Lines your trays to prevent sticking and makes cleaning easy.
Optional gadgets for fun
Once you’re comfortable with the basics, you might want to add some extra gadgets. These tools can help you improve your handcrafted truffles and give your work a professional look.
A digital kitchen thermometer is a big help for keeping the chocolate at the right temperature. Specialized dipping forks also make it easier to create premium chocolate creations with a clean, elegant finish.
Think about adding these items to your collection if you make sweets often:
- Digital thermometer: Keeps your chocolate at the perfect temperature.
- Dipping forks: Hold small centers securely while coating.
- Silicone molds: Perfect for making uniform shapes, beyond traditional round truffles.
Step by step guide to making black chocolate truffles
You’re about to make handcrafted truffles in your kitchen. The key is the perfect ganache. It’s what makes each bite special. Follow these steps for a smooth, velvety texture that’s top notch.
Melting the chocolate
First, chop dark chocolate into small pieces. A serrated knife makes them even and melts them quickly. Put the chocolate in a heat proof bowl for melting.
Use a double boiler or microwave on low to melt the chocolate. In the microwave, heat in 20 second bursts, stirring well each time. Avoid overheating to keep the cocoa butter in place.
Mixing in flavorings and cream
Once the chocolate is melted, heat the heavy cream until it simmers. Pour it over the chocolate and wait two minutes. This lets the heat spread evenly.
Stir the mix gently from the center out. It will become glossy and thick. Now, add flavorings like vanilla, sea salt, or liqueur to make your handcrafted truffles unique.
Shaping your truffles
After mixing, refrigerate the ganache until firm. This takes about two hours. Use a melon baller or teaspoon to scoop out portions.
Roll the portions between your palms to shape them. Work in a cool place to avoid melting. The table below shows how cooling time affects texture.
| Cooling time | Texture | Best use |
|---|---|---|
| 1 Hour | Soft/Creamy | Filling for cakes |
| 2-3 Hours | Firm/Stable | Classic rolled truffles |
| Overnight | Very Firm | Dipping in hard shells |
Mastering these steps ensures your handcrafted truffles look professional every time. Consistency is key to success.
Tips for perfecting your truffles
When making decadent chocolate treats, the secret is in handling your ingredients well. Small changes in your process can make a big difference in your kitchen.
Consistency is key
Getting the right texture for your ganache is key. If it’s too soft, you can’t roll it into neat spheres.
Chilling your ganache is a must. It lets the fats set right. Let it firm up in the fridge until it’s scoopable and pliable.
Temperature considerations
Managing heat is critical with decadent chocolate treats. Chocolate is very sensitive to room temperature. This can make your ganache lose shape fast.
Be careful of your body heat when shaping. If your hands are warm, cool them under cold water and dry them before rolling.
Keep your workspace cool to keep your decadent chocolate treats smooth and perfect. Controlling the environment ensures every piece is just right until the last bite.
Rolling and coating options for truffles
Turning your homemade truffles into stunning treats starts with the right coating. The outside of your confection makes the first impression and adds texture to your decadent chocolate treats. You can pick from classic or modern coatings to match your taste.
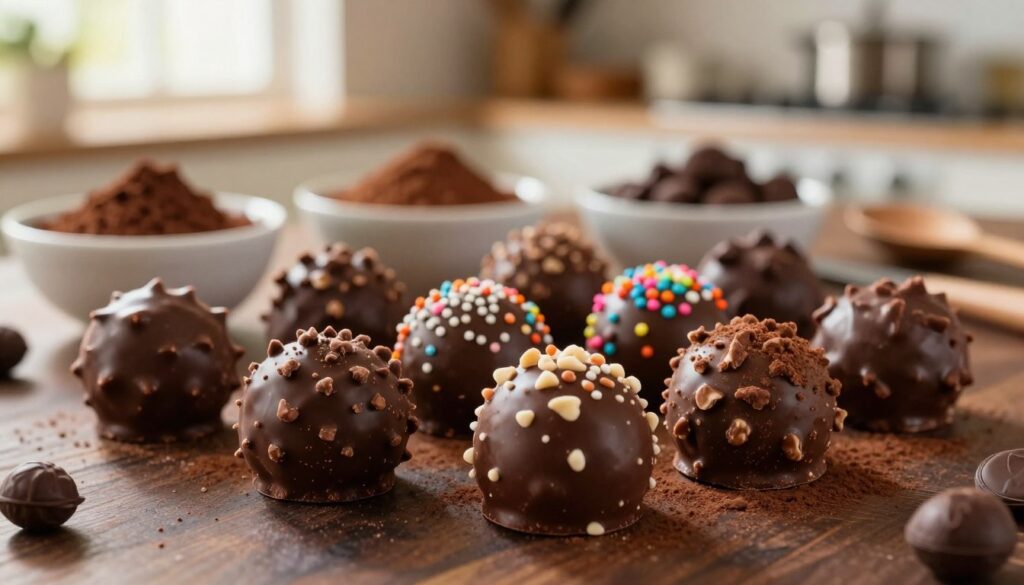
Cocoa powder vs Nuts
Using high quality cocoa powder is a traditional way to coat your truffles. It offers a sophisticated, slightly bitter taste against the sweet ganache. Just roll your chilled truffles in a shallow bowl of unsweetened cocoa until they’re evenly coated.
For a crunchy texture, try crushed nuts. Finely chopped pistachios, toasted hazelnuts, or pecans add a great earthy flavor. These decadent chocolate treats look beautiful on any dessert platter.
Creative coating ideas
Try using unusual ingredients for your coatings to explore new flavors. Shredded coconut adds a tropical twist, while crushed freeze dried raspberries bring a vibrant color. These unique touches make your decadent chocolate treats stand out at any event.
For a festive look, use edible gold leaf or high quality sea salt flakes. These small touches turn simple sweets into elegant gifts. Coat your truffles when the ganache is slightly tacky for better adhesion.
| Coating type | Texture | Flavor profile | Best for |
|---|---|---|---|
| Cocoa Powder | Velvety | Rich/Bitter | Classic Truffles |
| Crushed Nuts | Crunchy | Nutty/Earthy | Textured Bites |
| Shredded Coconut | Chewy | Sweet/Tropical | Visual Contrast |
| Sea Salt | Crisp | Savory/Sweet | Gourmet Finish |
Trying different coatings makes your decadent chocolate treats unique. Whether you go for traditional cocoa or bold toppings, your decadent chocolate treats will wow your guests.
Storing your black chocolate truffles
After making your treats, it’s key to know how to store them right. This ensures your black chocolate truffles stay fresh and flavorful for a long time.
Best practices for freshness
Always use an airtight container to keep your treats fresh. This keeps the chocolate from picking up smells from other foods in the fridge.
Also, put parchment paper between layers if you stack them. This stops the black chocolate truffles from sticking together or losing their look.
Ideal storage conditions
While the fridge is good for long storage, it’s not always best for eating right away. Cold can make the cocoa butter bloom, which makes the chocolate look dull.
For the best taste, take your black chocolate truffles out of the fridge 15 to 20 minutes before eating. Letting them warm up brings out their rich, velvety flavor.
| Storage location | Temperature | Shelf life |
|---|---|---|
| Countertop | Cool, dry place | Up to 3 days |
| Refrigerator | 35°F to 40°F | Up to 2 weeks |
| Freezer | 0°F or below | Up to 3 months |
Decorating your black chocolate truffles
Decorating your black chocolate truffles lets you show off your creativity. It adds a touch of professionalism to your kitchen creations. With basic tools, you can make these treats look amazing.
They’re perfect for any occasion, whether it’s a holiday party or a cozy night at home. The right look can make a big difference.
Simple decor techniques
You don’t need to be a pro to get great results. A drizzle of melted white chocolate looks stunning against the dark chocolate. Dusting with cocoa powder gives a classic, smooth finish.
For more advanced designs, transfer sheets are great. They have cocoa butter designs that stick to the chocolate. Press the sheet on, let it cool, and peel it off for a pro look.
Using sprinkles and other toppings
Adding texture makes your black chocolate truffles more fun to eat. Roll them in crushed nuts for a nice crunch. A bit of flaky sea salt balances the chocolate’s richness.
For a festive touch, try edible glitter or sprinkles. They’re perfect for parties and add a fun twist. Apply these toppings when the chocolate is soft so they stick well.
| Decoration method | Difficulty level | Best for |
|---|---|---|
| Cocoa Dusting | Beginner | Classic Elegance |
| Chocolate Drizzle | Intermediate | Visual Contrast |
| Nut Coatings | Beginner | Added Texture |
| Transfer Sheets | Advanced | Professional Finish |
Pairing suggestions for black chocolate truffles
Pairing your homemade treats with the right drink makes for a memorable experience. Finding the right balance of bitter and sweet brings out the best in your gourmet chocolate. This balance lets you enjoy the full flavor of your cocoa based desserts.
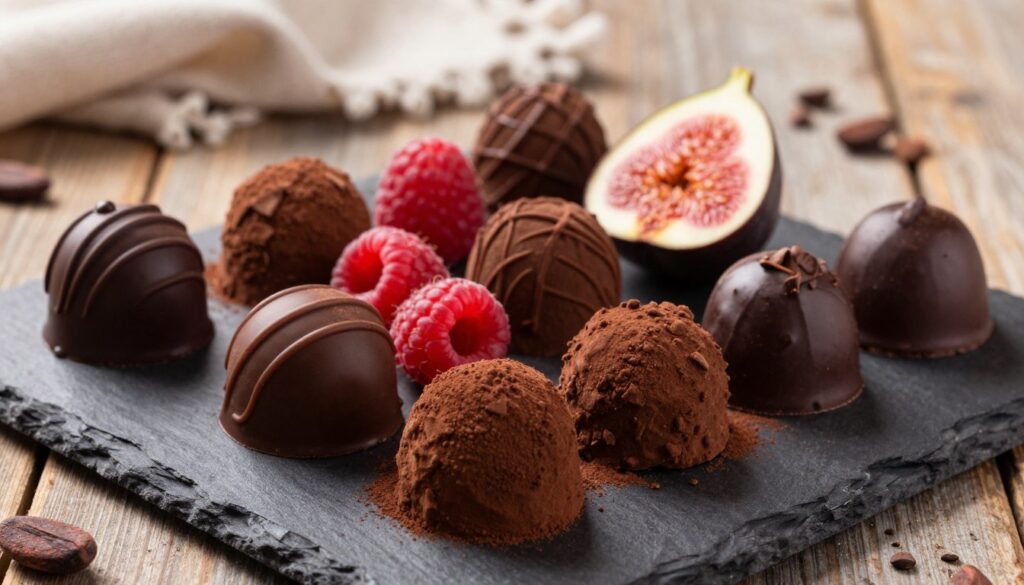
Wine and beverage pairings
Dark, intense flavors go well with bold red wines. A glass of Cabernet Sauvignon or a rich Port can enhance your premium chocolate creations. These wines have tannins that match the deep cocoa flavors perfectly.
For those who don’t drink alcohol, a strong espresso or dark roast coffee works well. The coffee’s acidity balances the truffle’s creaminess. A light Earl Grey tea adds floral notes that brighten the taste.
Serving suggestions for events
How you present your gourmet chocolate matters. Use a slate board or tiered ceramic stand for a fancy look. Adding fresh berries or edible flowers adds color and makes your premium chocolate creations pop.
Think about the event’s vibe when choosing how to serve. A casual event might use a wooden platter, while a formal dinner needs crystal plates. Offer small napkins and tasting forks to keep things tidy.
| Pairing item | Flavor profile | Best for |
|---|---|---|
| Cabernet Sauvignon | Bold and Tannic | Evening Dinners |
| Dark Roast Coffee | Roasted and Acidic | Afternoon Treats |
| Earl Grey Tea | Floral and Citrus | Light Refreshments |
| Ruby Port | Sweet and Fruity | Dessert Courses |
Creative variations to try
Making top notch treats at home is fun once you start tweaking your ganache. Once you master the basics, you can try new things. This lets you create dark chocolate delicacies that show off your unique taste.
Spiced truffles
Adding spices to your sweets can make them truly special. Try mixing in cinnamon, cardamom, or a bit of cayenne pepper for a unique flavor. Make sure to add these spices to the hot cream first, then strain it over the chocolate.
Vegan black chocolate truffles
You don’t need dairy for creamy treats. Use full fat coconut milk or almond cream instead. These plant based versions are perfect for those who follow special diets but want a fancy treat.
When using vegan fats, pick ones that mix well with cocoa. This trick keeps your luxurious dessert options smooth and firm. Use the table below to pick the right flavor for your next batch.
| Variation type | Key ingredient | Flavor profile | Best occasion |
|---|---|---|---|
| Spiced Classic | Ground Cinnamon | Warm and Aromatic | Winter Holidays |
| Vegan Coconut | Coconut Cream | Rich and Tropical | Summer Parties |
| Spiced Heat | Cayenne Pepper | Bold and Complex | Dinner Parties |
| Vegan Almond | Almond Milk | Nutty and Smooth | Casual Gatherings |
Common mistakes to avoid
Getting great results in your kitchen means avoiding common mistakes. Even with a good recipe, small errors can affect your artisanal confectionery. Knowing these issues early helps save your ingredients and keeps your treats perfect.
Overheating chocolate
One big mistake is heating chocolate too much. When it gets too hot, it can become grainy or seize. This messes up the smooth feel you want. Use a double boiler or short microwave bursts to control the heat.
If your chocolate looks dull or clumpy, it’s too hot. Patience is key when melting high quality chocolate. Take the bowl off the heat before the last bits melt to avoid burning.
Too much cream
The right mix of cream and chocolate is key for a good ganache. Too much cream makes it soft and hard to shape. This ruins your truffles’ professional look.
Too little cream makes the ganache hard and hard to bite. You need to measure carefully for the perfect consistency. Paying attention to these ratios is essential for artisanal confectionery.
| Issue | Cause | Solution |
|---|---|---|
| Grainy Texture | Overheating | Add a teaspoon of warm cream |
| Soft Ganache | Excess liquid | Chill longer or add melted chocolate |
| Hard Truffles | Insufficient fat | Gently reheat and add more cream |
| Seized Chocolate | Water contact | Discard and start with dry tools |
Frequently asked questions
Mastering chocolate making brings pride to your kitchen. You now can make sweets as good as those in fancy shops. These answers will help keep your sweets perfect for any time.
Freezing your creations
You can freeze your truffles to make them last longer. Put them in an airtight container with parchment paper between layers. This stops them from sticking together. Let them thaw slowly in the fridge before you eat them.
Understanding shelf life
Fresh truffles are tasty for up to two weeks in a cool, dry spot. If you use cream or fruit fillings, keep them cold. This keeps the flavors you worked so hard to get just right.
Try different dark chocolate brands like Ghirardelli or Lindt to find your style. Share your sweets with friends or enjoy them alone. Your adventure in fine sweets begins with these easy steps.
FAQ
Can I freeze black chocolate truffles?
Yes, freeze them for up to three months. Wrap them tightly in plastic wrap and put them in a heavy-duty freezer bag. Thaw them slowly in the fridge to keep them fresh.
How long do they last?
They last about one to two weeks in the fridge. Always check the cream’s expiration date for the best results.
What makes them “black” chocolate truffles?
They use ultra-dark chocolate with 80% or higher cocoa. This gives them a less sweet, more intense flavor.
Why is my ganache grainy?
Graininess comes from overheating the chocolate or adding liquid. Keep your tools dry and avoid boiling the cream too hard.
Can I use milk chocolate instead?
You can, but milk chocolate has a different ratio of fat to sugar. You’ll need to use less cream to get the right texture.
Your email will not be published publicly.