
Easy Birthday Tart Recipe for Beginners
Picture this: a loved one’s special day is coming up. You want to make a dessert that wows everyone, but you’re not a trained pastry chef. That familiar pinch of kitchen doubt starts to creep in.
Back in April 2020, home baker Urvashee shared a brilliant solution. She published a straightforward fruit tart method designed to help anyone create a stunning, professional-looking sweet treat.
The best part? You don’t need years of experience. This guide breaks everything down into simple, foolproof steps. You’ll be amazed at what you can achieve with one clear recipe.
It’s perfect for any gathering, big or small. You can easily swap in your favorite seasonal fruits to make it your own. The final product looks like it came from a fancy bakery case.
By following along, you’ll gain the confidence to master this beautiful dessert. It’s your turn to create something delicious and impress your guests.
Introduction: Celebrate with a Delicious Tart
You can bring a touch of Parisian pastry artistry home with a method learned alongside a celebrity chef. On every cobblestone block in Paris, patisseries display stunning, colorful creations.

I learned the secrets of a classic version while training at the prestigious Le Cordon Bleu. During an intensive session, I worked with Giada de Laurentiis to master the delicate balance of crust and custard.
While traditional French fruit tarts can be complex, this guide captures the same beautiful essence. The simplified approach uses high-quality, fresh ingredients and straightforward techniques.
| Aspect | Traditional French Method | This Simplified Approach |
|---|---|---|
| Skill Level | Requires advanced pastry training | Designed for confident home bakers |
| Time Commitment | Often multi-day process | Focuses on efficient, key steps |
| Core Focus | Technical precision | Fresh flavor and visual appeal |
| Final Result | Exquisite bakery-style tart | Equally stunning, professional-looking dessert |
You don’t need professional skills to replicate this elegant style. Focus on simple methods and let the fresh fruit shine for a gorgeous result.
Ingredients & Essential Tools
A professional-looking result hinges on two simple foundations: what you use and what you use it with.
Having the right items streamlines your process and guarantees success.

- 11 & 9 inch tart pans + 2 mini pans. Removable bottom, non stick, carbon steel. Perfect for quiche & pie: HERE.
- Don’t miss our hummingbird cake recipe,Try our earl grey lavender cake and strawberry icebox cake.
Key Ingredients for a Perfect Tart
Your dough starts with a pro formula. Use one part fat (like butter), two parts sugar, and three parts flour by weight.
Leave your butter out for one hour to soften. This helps it blend smoothly with the egg and a pinch of salt.
High-quality vanilla extract is key for flavor. It enhances your creamy filling.
For the filling, a mix of mascarpone and heavy cream is a great shortcut. It’s simpler than a cooked pastry cream.
| Aspect | Traditional Pastry Cream | Simplified Mascarpone Filling |
|---|---|---|
| Preparation | Requires cooking on the stove | Just mix cold ingredients |
| Skill Level | Needs careful tempering | Almost foolproof |
| Texture & Flavor | Rich, custardy, classic | Light, fluffy, subtly sweet |
| Best For | Purists who love tradition | Quick, elegant results |
Essential Baking Tools and Equipment
A tart pan with a removable bottom is non-negotiable. It lets you release your creation cleanly.
You’ll need a large bowl for your mixture. Using a hand mixer or wooden spoon, beat until the dough comes together.
Keeping these tools ready makes your baking organized and efficient.
Method & Preparation Steps
Follow this clear sequence to build your dessert from the crust up. Each stage is straightforward and leads to a stunning final result.

Mixing and Preparing Your Dough
Combine your flour, sugar, and a pinch of salt in a large bowl. Cut in cool butter until the mixture resembles coarse crumbs.
Add one egg and mix gently with your hand. The dough comes together quickly. Press it evenly into your pan.
Use a fork to dock the bottom thoroughly. This prevents puffing during baking.
Baking, Cooling, and Assembling the Tart
Preheat your oven to 350°F. Bake the crust for 10-12 minutes until golden. Let it cool completely.
While it cools, make the pastry cream. Whip heavy cream to soft peaks. Fold it into mascarpone with vanilla extract.
Chill this filling for a few hours. Once the shell is cool, spread the cream on top.
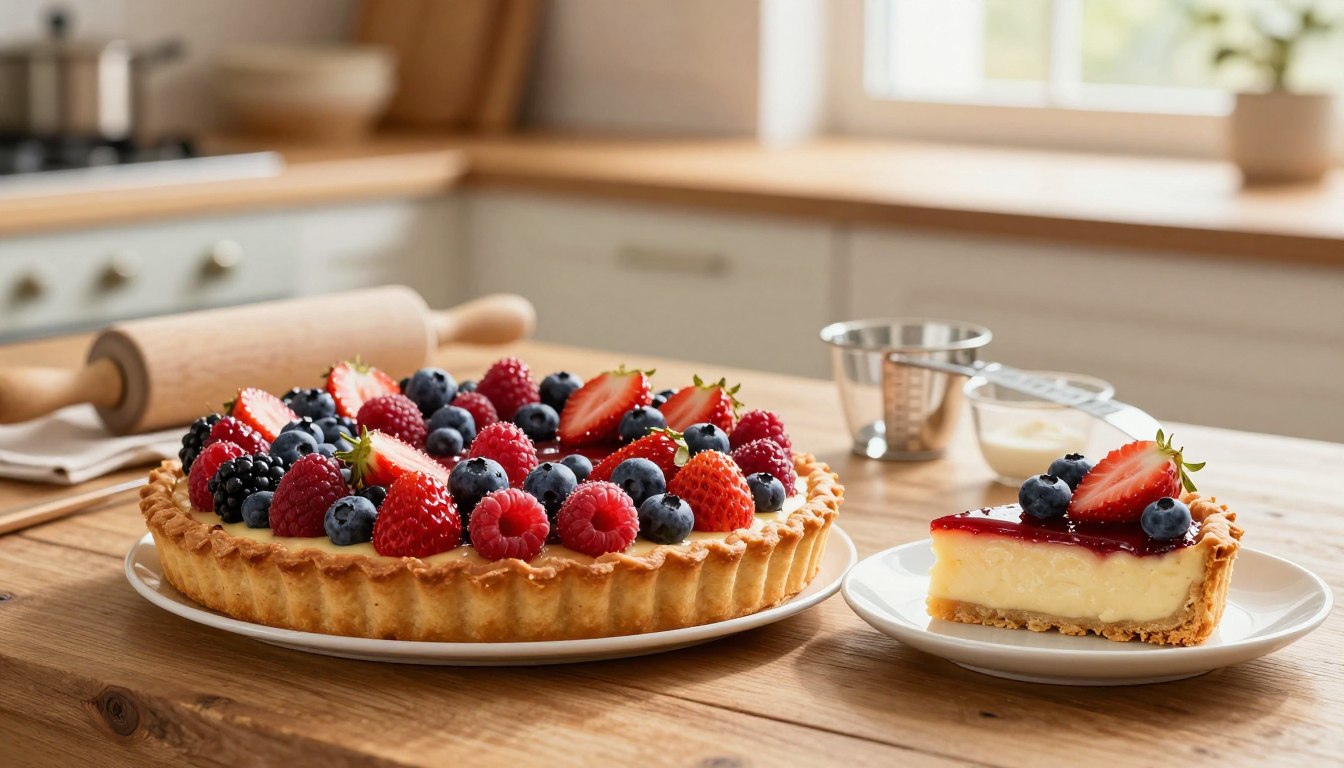
Arrange fresh fruit beautifully. Your creation is ready to serve.
| Stage | Key Action | Time & Temperature |
|---|---|---|
| Mixing Dough | Combine dry ingredients, cut in fat, add egg | About 5 minutes |
| Baking Shell | Bake docked crust until golden | 10-12 minutes at 350°F |
| Cooling & Chilling | Let shell cool; refrigerate filling | 1-2 hours minimum |
| Final Assembly | Spread filling and decorate with fruit | 15 minutes before serving |
Tips for Perfecting Your Tart Presentation
The final flourish of fresh fruit is what transforms a simple baked good into a stunning centerpiece. This is your chance to get creative and make your dessert uniquely beautiful.
Creative Fruit Arrangements and Garnishes
Start by patting your fruit slices completely dry. This prevents colors from bleeding into the cream below. For a polished look, arrange them in overlapping circles or a sunburst pattern on top of the filling.
Mix berries with citrus or kiwi for vibrant contrast. The stable pastry cream base supports even intricate designs. For a gorgeous shine, gently heat a spoonful of apricot jam and brush it lightly over the arranged fruit. This simple glaze adds a professional finish.
If you’re making mini versions, try a different fruit combination for each one. Your arrangement turns your delicious creation into a true work of art.
Troubleshooting & Common Pitfalls
Let’s tackle common baking snags so your dessert turns out perfectly every time. A few simple fixes can solve most issues with your crust and filling.
Overcoming Dough Challenges and Crust Issues
If your dough feels too soft, chill it for two hours. This makes it firm and prevents cracking.
To stop shrinkage, dock the pan bottom with a fork. Always ensure the dough is properly chilled before baking.
Avoid the soggy bottoms bakers like Paul Hollywood warn about. Always blind-bake your tart shells with pie weights or dried beans.
This shortbread-style dough is more forgiving than a traditional pie crust. It’s a great choice for beginners.
| Issue | Likely Cause | Simple Solution |
|---|---|---|
| Soggy Crust | Filling added to unbaked shell | Always pre-bake (blind-bake) the shell with weights |
| Shrinking Shell | Dough wasn’t chilled; gluten was overworked | Chill dough for 2+ hours; dock with a fork before baking |
| Lumpy Pastry Cream | Custard cooked too fast or not stirred enough | Whisk custard constantly over low heat |
| Soft Crust Over Time | Moisture from the filling and fridge | Serve fruit tarts within 24 hours of assembly |
For a clean edge, trim excess dough with a sharp knife. Your tart will look professionally made.
Step-by-Step Guide: birthday tart recipe for beginners
With your crust baked and filling chilled, the assembly process is both simple and rewarding. This final guide ensures every element comes together perfectly for a stunning result.
Preheating Your Oven and Timing Essentials
Begin by preheating your oven to 375°F. This precise temperature helps your crust bake evenly without burning.
In a large bowl, cream the butter and sugar until light. Add the egg and mix well. Gradually incorporate the flour until a soft dough forms.
Press this mixture firmly into your pan. Bake for 10 to 12 minutes until golden. Let it cool completely on a rack.
| Step | Critical Action | Time & Temperature |
|---|---|---|
| Preheating | Heat oven to correct temperature | 10-15 minutes at 375°F |
| Baking Shell | Cook until edges are golden | 10-12 minutes |
| Cooling | Let crust reach room temperature | 30-45 minutes |
| Chilling Filling | Refrigerate pastry cream | 1-2 hours minimum |
| Final Assembly | Add fruit and glaze | Just before serving |
Final Touches and Serving Suggestions
Once your shell is cool, spread the chilled cream evenly. Arrange fresh fruit slices in a beautiful pattern. A light apricot glaze adds shine.
This recipe yields 12 generous portions. It’s ideal for celebrations. For variety, try almond extract in the pastry cream.
Serve your creation within hours for the best texture. The crisp crust and fluffy filling will delight your guests.
Conclusion
You’ve just completed a journey from simple ingredients to a stunning dessert. The magic lies in using real butter and fresh fruit. This approach turns a basic tart into a celebration centerpiece.
This versatile method adapts to any season. Your first crust or pastry cream might need practice. Don’t be discouraged. Each time you bake, your skills will grow.
For the best results, keep your oven temperature steady. Also, ensure your cream and filling are properly chilled. We hope this post gives you the confidence to create beautiful fruit tarts.
Thank you for baking along. We can’t wait to see the delicious pastry creations you make for your next gathering.
Your email will not be published publicly.