

How to make a tart with pears that everyone will love
Surprising fact: Inger’s original version claimed a 10 minute prep, though you may need about 15 minutes to get it right.
This quick pear tart turns simple ingredients into a showstopper dessert. You’ll find the method practical and elegant. It suits family dinners and holiday events.
The recipe guides you step by step so you can master caramelization and a golden finish. Preheating the oven matters; it helps each slice brown evenly and taste professional.
Whether you are new to baking or you bake often, this (tart with pears) recipe offers clear directions. Follow the timing and you’ll impress guests without fuss.
Ready to try it? Gather your ingredients and set aside about 15 minutes of prep time. The result is a versatile addition to your favorite recipes.
A good pear tart doesn’t need to be complicated. It needs ripe fruit, a buttery shell that holds its shape, and a filling that caramelizes around the pears as it bakes creating that golden, slightly crisp edge that makes every slice feel like something special. That’s exactly what this recipe delivers, and it does it in about 15 minutes of actual hands on prep.
Pears are one of those fruits that become more themselves in the oven. The heat concentrates their delicate sweetness, softens their texture into something almost custardy, and brings out a warm, honeyed flavor that raw pears never quite have. Paired with an almond frangipane filling butter, sugar, almond flour, eggs they create a combination that has been a staple of French pastry kitchens for centuries, and for good reason. It works every single time.
This recipe guides you through each step clearly, from prepping the tart shell to arranging the pears in their characteristic fan pattern to brushing on the apricot glaze that gives the finished tart its signature glossy finish. Preheating the oven properly matters here it’s what gives the frangipane its golden color and the pears their caramelized edges. Follow the timing and the result looks like it took considerably longer than it did.
If you love fruit forward tarts, our Peach Tart recipe uses the same apricot glaze technique in summer the natural companion to this pear version for different seasons. And for a more rustic, individual portion alternative built on the same buttery pastry foundation, our Pecan Tarts give you the same refined tart shell technique in a completely different flavor direction.
For the most detailed and tested pear and almond tart technique including the exact almond crust ratio and the fanning method that gives every tart its professional finish King Arthur Baking’s Pear & Almond Tart recipe is the most reliable reference available 40 reviews, 4.8 stars, tested by professional bakers in their Vermont test kitchen.
Buttery shell. Almond frangipane. Caramelized pears. 5 steps between you and the most elegant tart you have ever made. Scroll down — the recipe is ready.
Why you will love this tart with pears
You’ll fall for this pear dessert thanks to its simple assembly and stunning presentation. The layout is beginner friendly, so you can pull off a bakery style finish without stress.
The natural sweetness of ripe fruit shines when glazed lightly. That calm flavor feels sophisticated and cozy at the same time. Serve it warm or at room temperature to let the subtle notes open up.
A small dollop of whipped cream or cream adds a smooth contrast that lifts every bite. Guests praise this recipe for being a crowd pleaser at holiday spreads and casual brunches.
The concentric slices create a pretty display that makes your effort look like hours of work. Try it when you want an impressive, easy dessert that tastes as good as it looks.
- Easy to assemble
- Elegant presentation
- Comforting, refined flavor
Essential ingredients for your dessert
Before you preheat, assemble the staples that will give your pastry its best texture.
Pantry staples
Start with sturdy basics: unbleached all purpose flour, granulated sugar, and cold unsalted butter for a flaky crust.
Add a pinch of salt to balance sweetness and a splash of quality vanilla to deepen flavor. Use ice cold water when you mix the dough so the butter stays solid and the crust stays tender.
Choosing the best fruit
Select firm, ripe pears that hold their shape during baking. For a classic pear tart, pick fruit that is fragrant but not mushy.
- Use an 11 inch tart pan with a removable bottom to release the crust cleanly.
- Consider a thin layer of almond cream or frangipane for extra richness.
- Keep a small amount of cream or melted butter on hand for glazing after baking.
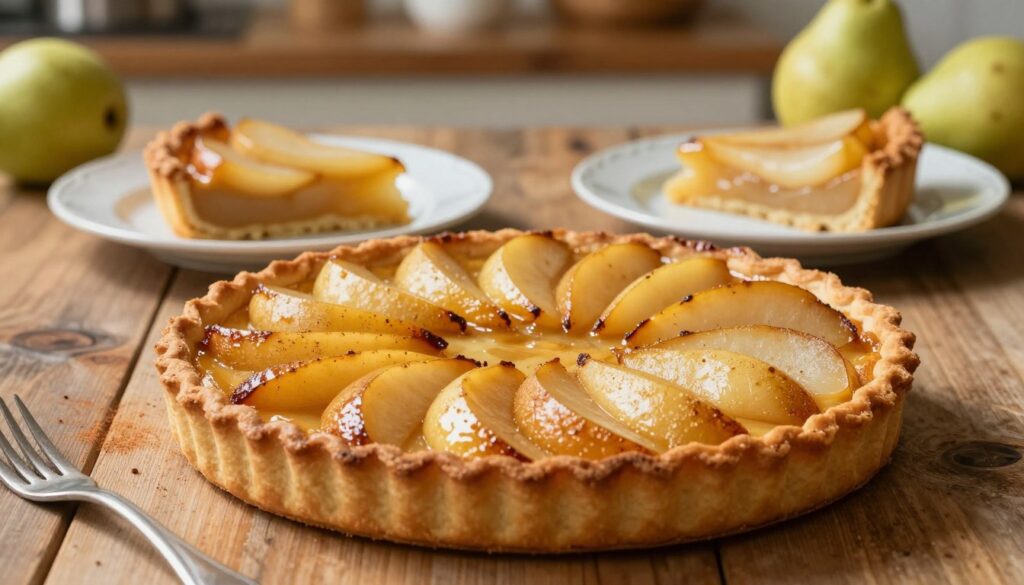
Preparing the perfect crust
Begin with a cold, crumbly dough that you can press into the pan without overworking. This keeps the final crust flaky and strong enough to hold the filling.
Mix dry ingredients in a large bowl: flour, sugar, and a pinch of salt. Cut in cold butter using your hand or a food processor until the mixture looks like coarse crumbs. If you want a smoother texture, substitute part of the flour with Wholesome Yum blanched almond flour for a less gritty feel.
Techniques for a press in dough
- Press the mixture into an 11 inch tart pan, covering the bottom and reaching halfway up the sides.
- Poke the base with a fork to vent; bake blind for 8–10 minutes to set the crust.
- Use a baking sheet under the pan to catch juices and ease the move to a cooling rack.
If the mixture seems dry, pulse or knead just until it clumps. Chill the pan for at least one hour this step locks the fat and helps a crisp, lightly golden finish. Once baked, the crust should resist sogginess and provide a sturdy base for your pear filling.
| Step | Quick tip | Why it helps |
|---|---|---|
| Combine dry ingredients | Use a large bowl | Even distribution of sugar and salt |
| Incorporate butter | Keep pieces pea sized | Creates flaky layers |
| Chill before baking | At least 1 hour | Prevents shrinkage and soggy bottom |
Selecting and slicing your fruit
Choose fruit that is ripe but still firm. This keeps each slice intact and prevents excess liquid from soaking your crust.
When you pick Harry & David Royal Riviera pears, you get fruit known for a buttery texture and great juiciness. Those qualities give the filling a rich mouthfeel without turning mushy.
Slice the fruit into uniform pieces about 1/3 inch thick. Even thickness helps all slices cook at the same pace and form a pretty surface.
If you use poached fruit, pat the slices dry on paper towels before arranging. This stops extra moisture from weakening the base and keeps the glaze glossy.
Arrange slices in concentric circles to create a bakery style look. Leaving the skin on adds color and subtle texture; just wash them well first.
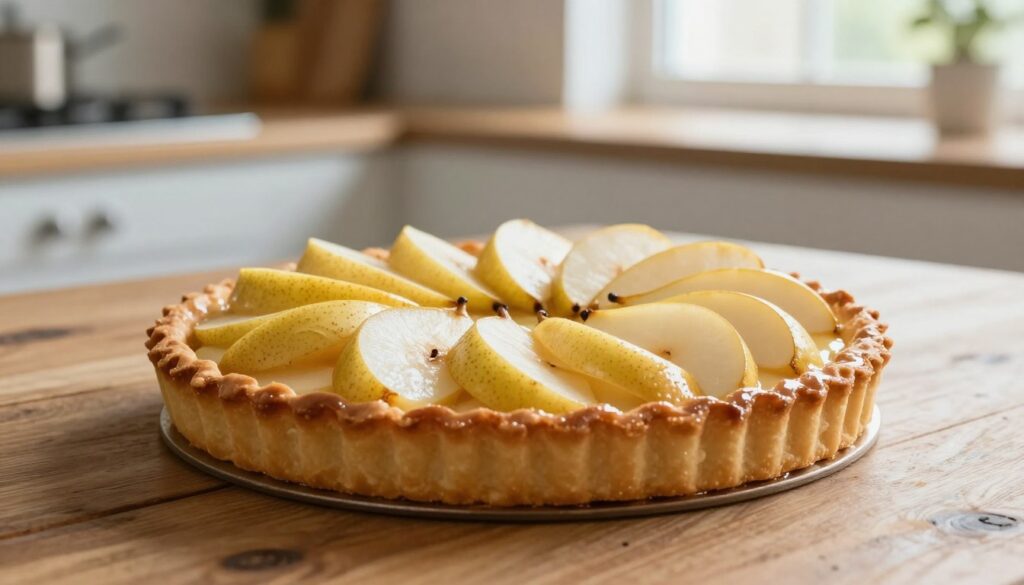
- Use firm, ripe pears that hold shape.
- Cut even slices for uniform baking.
- Dry poached pieces to protect the crust.
| Tip | Thickness | Result |
|---|---|---|
| Uniform cuts | 1/3 inch | Even baking |
| Use Royal Riviera | N/A | Buttery, juicy filling |
| Dry poached fruit | N/A | Less soggy crust |
Assembling and baking the tart
Now you bring the layers together. Arrange the slices in overlapping arcs; this simple step makes the top sing when it browns.
Start at the edge of your tart pan and work inward. Keep slices even so the filling cooks at the same rate. If you used a frangipane layer, preheat to 375 degrees F; otherwise set the oven to 425 degrees F.
Arranging the concentric circles
Place each slice so edges meet slightly. This keeps the filling neat and helps the glaze cling.
Achieving the golden glaze
Sprinkle the crumb mixture evenly over the fruit. Use your hand to press the topping lightly so it adheres.
Bake 35 to 45 minutes until the glaze bubbles and the crust turns golden brown. If edges darken too fast, wrap a ring of foil around the sides.
Monitoring oven temperature
Keep an eye on the oven to maintain 425 degrees F for caramelization. Place a baking sheet on the lower rack to catch drips and protect the oven.
When done, move the pan to a wire rack. Let the dessert cool to room temperature so the filling sets and slices cut cleanly.
- Arrange slices from outside in.
- Sprinkle crumbs and press gently.
- Bake 35–45 minutes at recommended temp.
- Cool on a rack before serving.
| Step | Temp | Outcome |
|---|---|---|
| Standard bake | 425 °F | Caramelized top, crisp crust |
| Frangipane option | 375 °F | Even set, no overbrowning |
| Cooling | Room temp | Filling firms, slices hold |
Creative variations and flavor twists
With minor tweaks to spices and alcohol, you can push this recipe toward cozy or elegant notes.
Add spice or booze for depth. Stir a pinch of cinnamon and cloves into the crust for a Linzer style base.
For a boozy note, fold a splash of Calvados or dark rum into the fruit mixture before arranging slices in your tart pan. Bake as directed so the alcohol melds without overpowering the filling.
If you need gluten free, swap the flour for an almond blend. That keeps structure while lending a nutty, tender crumb that pairs well with butter and vanilla.
Finish ideas: scatter sliced almonds on top before baking for crunch. Or brush a sugar free cinnamon honey glaze after the oven run to get a golden brown shine.
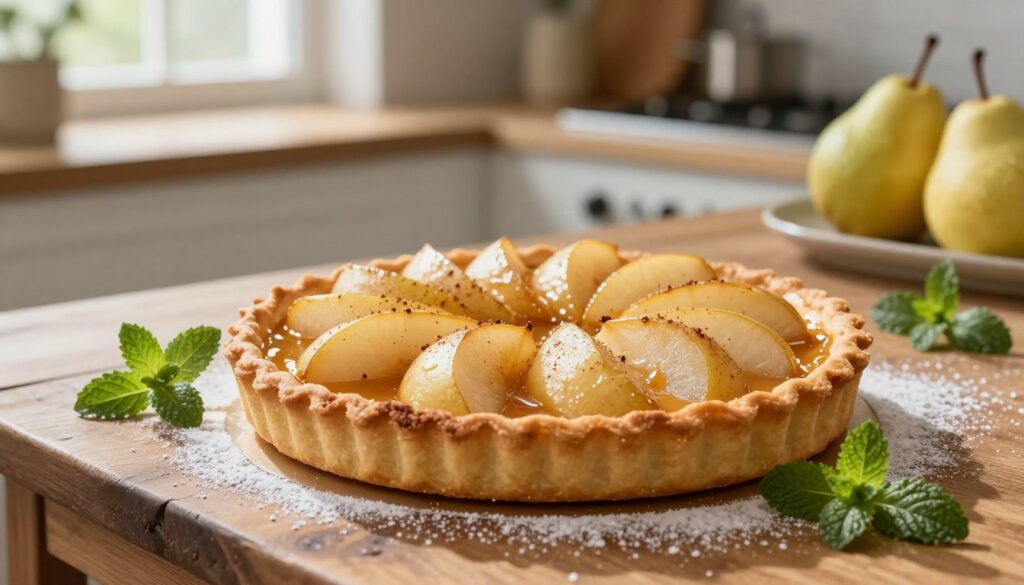
- Fan slices for a bakery look in a 9 inch or 11 inch pan.
- Serve warm with a scoop of almond ice cream for contrast.
- Always preheat to protect the crust and set the filling.
| Variation | Main swap | Effect |
|---|---|---|
| Spiced crust | Cinnamon & cloves | Warmer aroma, bakery style depth |
| Boozy fruit | Calvados or dark rum | Richer, more complex filling |
| Gluten free | Almond flour blend | Tender crumb, nutty flavor |
| Crunchy top | Sliced almonds | Textural contrast to soft slices |
Serving suggestions for a memorable finish
Small finishing moves lift the whole pastry and help the filling shine on each slice. These final touches make your dessert look and taste like it came from a bakery.
Presentation matters: spend a few extra minutes arranging slices and garnishes before you bring the plate out.
Pairing with whipped cream
Serve a generous dollop of lightly sweetened whipped cream beside each slice. The soft cream balances the caramel notes and adds a silky contrast.
For a delicate sparkle, dust a light coating of powdered sugar across the top just before serving.
- Offer a cup of hot coffee or tea for brunch pairing — it complements the fruit and sugar nicely.
- Store leftovers in the refrigerator and bring them to room temperature for about 30 minutes before serving.
- Add a fresh mint leaf or a small bowl of fresh berries to brighten the plate.
- Take 5 to 10 minutes to plate thoughtfully; a neat slice and simple garnish create a memorable finish.
| Action | Timing | Effect |
|---|---|---|
| Whipped cream dollop | Serve immediately | Silky contrast to baked fruit |
| Chill then rest | Refrigerate, then 30 minutes at room temperature | Filling firms, slices cut clean |
| Garnish and plate | 5–10 minutes | Elevates visual appeal and guest enjoyment |
Conclusion
Finish confidently: let the pastry rest on a wire rack so slices hold and the filling firms. This final step saves you time and gives neat cuts.
Follow each step in the recipe, from chilling dough to glazing, and use a baking sheet under the pan to protect your oven and make moving easy.
Choose quality vanilla, sugar, and flour. A good crust and a bit of care during baking turn simple ingredients into a memorable dessert that friends ask for among your recipes.
FAQ
How do I make a tart everyone will love?
Start by preheating your oven and prepping a sturdy crust. Use room-temperature butter, cold water, and a light hand when pressing dough into the pan so the base stays flaky. Slice ripe fruit thin and arrange in concentric circles for even baking and a pretty finish. Bake until the edges are golden brown and the filling bubbles slightly, then cool on a rack before serving.
Why will this dessert stand out at your table?
The mix of buttery pastry, tender fruit, and a touch of vanilla or glaze creates layers of flavor that please many palates. It’s adaptable: swap spice, add nuts, or brush a simple sugar syrup to boost shine. The result is a fresh, crowd-pleasing bake that looks as good as it tastes.
What pantry staples should you have on hand?
Keep flour, sugar, salt, butter, and a bit of cream or milk in your pantry. Vanilla extract and an egg for an egg wash help with color and flavor. Having a small bowl of lemon juice or water helps prevent fruit browning and creates a bright finish.
How do you pick the best fruit for baking?
Choose ripe but firm fruit so slices hold shape during baking. Avoid overripe or mushy pieces. Look for smooth skin and even color. If you’re unsure, a gentle press should yield slightly but not stay indented.
What technique makes the perfect press-in dough?
Work quickly so butter stays cold. Use your fingertips to press dough evenly into the pan, pushing up the sides gently. Chill the pan if the butter softens. Poking small holes with a fork helps prevent bubbling during blind baking.
How should you slice the fruit for best results?
Aim for uniform, thin slices so they cook evenly. A mandoline or a sharp knife helps. Arrange slices slightly overlapping for a neat pattern and even heat distribution through the filling.
What’s the best way to arrange fruit in concentric circles?
Start at the outer edge and overlap each slice slightly as you spiral inward. Keep slices consistent in thickness and orientation. This method promotes even baking and creates an elegant presentation without extra effort.
How do you achieve a glossy, golden glaze?
Warm a bit of apricot jam or sugar syrup and brush it over the hot fruit after baking. An egg wash before baking can help the pastry brown, while the glaze adds shine and seals in moisture for a beautiful finish.
How do you monitor oven temperature to avoid overbaking?
Use an oven thermometer for accuracy. Check the pastry edges for a deep golden color and the filling for gentle bubbling. Rotate the pan halfway through if your oven has hot spots. Reduce time slightly if the fruit browns too quickly.
What creative variations can you try?
Add a crumble topping, sprinkle chopped nuts, or fold spices like cinnamon or cardamom into the filling. Try a brown-butter crust or swap in ricotta for a creamy layer. Small twists like these keep the recipe fresh and interesting.
How should you serve the dessert for a memorable finish?
Let it cool slightly, then top with a dollop of whipped cream or a scoop of vanilla ice cream. Dust lightly with powdered sugar or add a few toasted nut bits for texture. Serve on a warm plate to highlight the flavors.
How do you pair it with whipped cream?
Whip cream until soft peaks form and add a touch of vanilla and a teaspoon of sugar to taste. Spoon a generous dollop beside each slice or pipe a decorative border. The cream’s coolness balances the warm, buttery pastry beautifully.
Your email will not be published publicly.