
Homemade milano cookies recipe: 5 secrets for the perfect crispy treat
Did you know that the original Milano cookie was introduced by Pepperidge Farm in 1956? This iconic treat has captured the hearts of many with its delightful blend of buttery crispness and sophisticated flavor.
But what if you could recreate this beloved snack right in your own kitchen? With a few simple techniques, you can make homemade Milano cookies that are not only larger but also packed with flavor. These cookies, often referred to as Monaco Cookies in Canada, are based on traditional Italian treats that are both crisp and slightly crumbly.
In this guide, you will learn how to elevate your baking skills and impress your friends and family with professional grade results. By focusing on high quality ingredients and mastering the art of creaming butter and sugar, you can achieve the perfect shortbread like texture that makes these treats so popular across the United States.
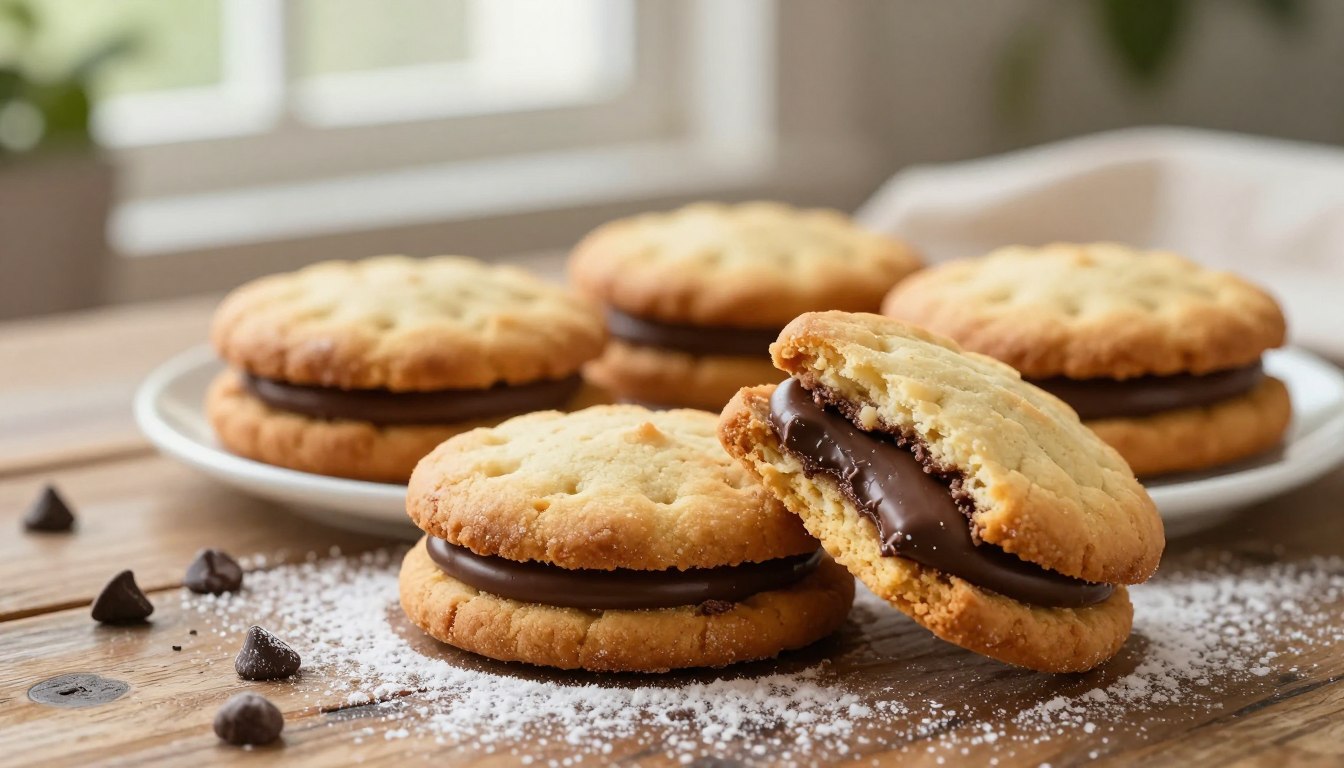
Homemade milano cookies are proof that the most iconic store bought treats are always better when you make them yourself. Thin, delicate almond shells with a satisfying crisp snap. A whisper thin layer of smooth dark chocolate sandwiched between them. And that signature oval shape that makes every cookie look like it came from a professional Italian pasticceria.
The five secrets that separate a perfect milano from a disappointing one are all technique: the egg white ratio that
creates the crisp snap without brittleness, the piping consistency that gives the oval its clean edges, the exact
oven temperature that dries the shell without browning too fast, the chocolate tempering shortcut that gives a glossy
finish without a thermometer, and the resting time that lets the filling set into that distinctive firm but yielding bite.
All five are covered step by step in this recipe.
If you love refined cookie baking, our Sable Cookies recipe uses a similar French butter technique for a
melt in your mouth result that pairs beautifully alongside milanos on any cookie platter. For a fruit forward
alternative with the same elegant chocolate finish, our White Chocolate Raspberry Cookies bring a bright,
berry forward contrast that completes the trio. And for more refined cookie inspiration across the full Step44
collection, our recipe blog has everything from French pastry classics to American comfort bakes.
For the most authoritative technique guide on making thin, crispy sandwich cookies reminiscent of the classic
Milano including the almond flour ratio and chocolate filling method used by professional bakers,
King Arthur Baking’s Almond Crisp Sandwich Cookies guide is the most reliable professional reference available explicitly designed to recreate the classic Milano at home.
5 secrets. 45 minutes. The most elegant homemade cookie you have ever made. Scroll down — your perfect Milano is one recipe away. 🍪
A delicious introduction to your cookie adventure
The journey of crafting your own version of the beloved Milano cookie begins here. These treats are not just delicious; they are a nostalgic experience that many cherish. Making them at home allows you to enjoy a rewarding process that surpasses buying a package from the store.
Many bakers, like Tessa Arias, find the challenge of recreating these cookies enjoyable. You’ll discover that they are perfect for pairing with coffee or milk, making them a delightful snack for any time of day.
Here are a few reasons why you’ll love making these cookies:
- Accessible for Everyone: Once considered an adult treat, these cookies are now easy for anyone to bake.
- Beginner Friendly Recipe: The recipe is simple enough for novices while delivering the rich flavor that defines a classic cookie.
- Perfect Pairing: Enjoy them as a sophisticated snack with your favorite beverage.
- Customizable Flavors: You can tailor the taste to suit your preferences, making each batch unique.
- Fun for All Ages: Baking these cookies is a fantastic activity to share with children.
Ingredients and tools you can’t skip
To create the perfect homemade treat, you’ll need a few key ingredients and tools. These essentials ensure that your baking experience is smooth and enjoyable. Each component plays a vital role in achieving the ideal texture and flavor for your delightful snacks.
Essential ingredients: butter, sugar, flour, and more
Start with these fundamental ingredients:
- Unsalted butter: 113 grams at room temperature is crucial for the right consistency.
- Granulated sugar: This adds sweetness and helps with texture.
- Large egg: Provides structure to your cookie dough.
- All purpose flour: Tessa Arias recommends weighing 159 grams for accuracy.
- Fine sea salt: Enhances the flavors of your cookies.
- Vanilla extract: A touch of this elevates the taste.
Must have tools: piping bag, offset spatula, and baking sheet
Equipping yourself with the right tools is just as important:
- Piping bag: Use one with a 3/4 inch hole to pipe uniform dough logs.
- Offset spatula: This helps spread the chocolate filling smoothly.
- Baking sheet: A high quality rimmed sheet ensures even baking without burning.
- Parchment paper: Line your baking sheet to prevent sticking and for easy cleanup.

| Ingredient | Amount | Purpose |
|---|---|---|
| Unsalted Butter | 113 grams | Texture and flavor |
| Granulated Sugar | To taste | Sweetness |
| Large Egg | 1 | Structure |
| All Purpose Flour | 159 grams | Base of the dough |
| Parchment Paper | As needed | Prevents sticking |
Step by step guide to crafting perfect cookies
Baking your own version of these delightful treats is a rewarding experience. With the right techniques, you can create cookies that are both delicious and visually appealing. Let’s dive into the process!
Preparing your cookie dough with care
Start by preheating your oven to 325°F. This temperature is crucial for achieving that signature crisp texture. In a mixing bowl, cream together butter and sugar for about 3 minutes until the mixture is light and fluffy. Then, add one egg and a teaspoon of vanilla extract to enhance the flavor.
Next, pipe 3 inch logs of cookie dough onto parchment paper, leaving about 1/2 inch between each log for optimal airflow. Remember to chill the piped dough for 30 minutes to help maintain its shape during baking.
Baking techniques for a consistently crisp texture
Once your dough is ready, it’s time to bake! Place the baking sheet in the oven and bake the cookies for approximately 15 minutes. Rotate the sheet halfway through to ensure even browning. When the edges turn light golden, they are ready!
After baking, let the cookies cool completely on a wire rack. Then, melt your chocolate filling in the microwave for 1 1/2 minutes, stirring every 15 seconds until smooth. Use an offset spatula to spread the filling on one cookie and sandwich it with another.
| Ingredient | Amount | Purpose |
|---|---|---|
| Unsalted Butter | 113 grams | Texture and flavor |
| Granulated Sugar | To taste | Sweetness |
| Large Egg | 1 | Structure |
| All Purpose Flour | 159 grams | Base of the dough |
| Parchment Paper | As needed | Prevents sticking |

Expert tips for baking milano cookies perfection
Perfecting your baking skills requires a few expert tips to elevate your cookie game. The right techniques can make all the difference in achieving that ideal texture and flavor.
First, achieving the perfect butter temperature of 67°F is crucial. This ensures your treats do not lose their shape during baking. Tessa Arias emphasizes that this temperature helps maintain the cookies’ integrity.
Next, measuring your flour correctly is vital. Use the spoon and level method to avoid over compaction, which can lead to dry or hard cookies. A digital scale is a great tool for ensuring precision.
Since this recipe does not use leavening agents, the time you spend creaming the butter and sugar is essential for the final texture. If your dough feels too soft, chill it for a few minutes before piping.
Lastly, keep an eye on the edges of your cookies while they bake. They should reach a light golden brown color for the best results.

Innovative flavor variations and customizations
Exploring new flavors can elevate your homemade treats to a whole new level. With a few simple tweaks, you can transform your classic recipe into something extraordinary.
One exciting option is to substitute the standard chocolate filling with dark, milk, or even white chocolate. Each choice offers a unique taste that can cater to your preferences.
Peppermint, chocolate, and other exciting twists
For a refreshing twist, consider adding a few drops of peppermint extract to your chocolate filling. This can give your cookies a festive flair.
You can also experiment with fruit extracts like raspberry or orange for a vibrant flavor. Just remember, extracts vary in strength, so start small and adjust to your taste.
Adapting the recipe for dietary preferences
If you have dietary restrictions, don’t worry! You can easily make these treats gluten free by using a high quality 1:1 baking mix, such as the one from King Arthur Flour.
These variations allow you to personalize your treats, making them not just delicious but also reflective of your unique culinary style.
Storing, freezing, and serving your cookie masterpiece
Storing your homemade treats properly can significantly enhance their taste and texture. After baking, it’s essential to know how to keep your cookies fresh for as long as possible.
To maintain freshness, always store your finished cookies in an airtight container at room temperature for up to 5 days. This method prevents them from becoming stale and keeps their delightful crunch intact.
If you want to freeze milano cookies, it’s best to freeze them before adding the filling. You can freeze them for up to a month to preserve their crisp texture. Amanda Powell notes that while freezing can make them slightly softer, she enjoys them even while still frozen.
When you’re ready to enjoy your frozen treats, thaw them for a few hours at room temperature before applying the chocolate filling. This allows the filling to reach the perfect consistency for assembly.
For a professional presentation, consider placing your cookies in jumbo paper cupcake liners before serving. This simple touch elevates the look of your homemade masterpiece.
| Storage method | Duration | Notes |
|---|---|---|
| Airtight Container | Up to 5 days | Keeps cookies fresh |
| Freezing (Unfilled) | Up to 1 month | Preserves crispness |
| Thawing | Few hours | Prepare for filling |
| Serving in Liners | N/A | Enhances presentation |
A heartwarming send off to your baking journey
Congratulations on mastering the art of baking delicious homemade delights! You have now created a recipe for homemade milano cookies that rivals any store bought version.
By following expert techniques, you’ve learned how to achieve the perfect crisp texture and buttery flavor in every cookie. Your journey into baking these treats has equipped you with skills to customize flavors and store your creations properly.
We hope this guide inspires you to explore the world of baking further and share your delicious results with loved ones. Remember, practice makes perfect, so don’t hesitate to experiment with new extracts and fillings to make this recipe truly your own!
Your email will not be published publicly.