
Easy apple slab pie recipe for a cozy homemade dessert
Did you know a single homemade treat can serve a crowd of ten in about ninety minutes? That’s the magic of a well crafted slab style dessert. It turns a cozy gathering into a memorable feast without you spending all day in the kitchen.
After over sixteen years of sharing kitchen adventures, I’ve found this method is a game changer. This particular apple slab pie is my go to recipe for its perfect balance of simplicity and flavor.
You’ll appreciate how the total time investment is just an hour and a half. From prep to the final golden bake, the process is streamlined for cooks of any level.
Imagine pulling a warm, fragrant pie from your oven. It’s designed for easy serving right from the tray. This is about creating joy and connection, one delicious slab at a time.
Introduction
When you need a dessert that’s both generous and comforting, this is the answer. This slab style creation turns any meal into a celebration with minimal effort.
Let’s explore what sets this treat apart and the best moments to enjoy it.
What makes this recipe special
One standout feature is its impressive yield. A single batch produces between 18 and 24 generous slices. That makes it perfect for large family gatherings.
You’ll also love how it stays fresh. When stored properly, your delicious dessert remains enjoyable for up to three days. This is a practical choice for busy weeks.
The baking process is straightforward. The structure holds up well, allowing it to be eaten by hand. This quality is ideal for casual parties.
Perfect occasions for a cozy homemade dessert
Think about holiday feasts, backyard barbecues, or community events. I recently delivered two of these to a local homeless resource center. They were a hit, proving how wonderful it is for sharing.
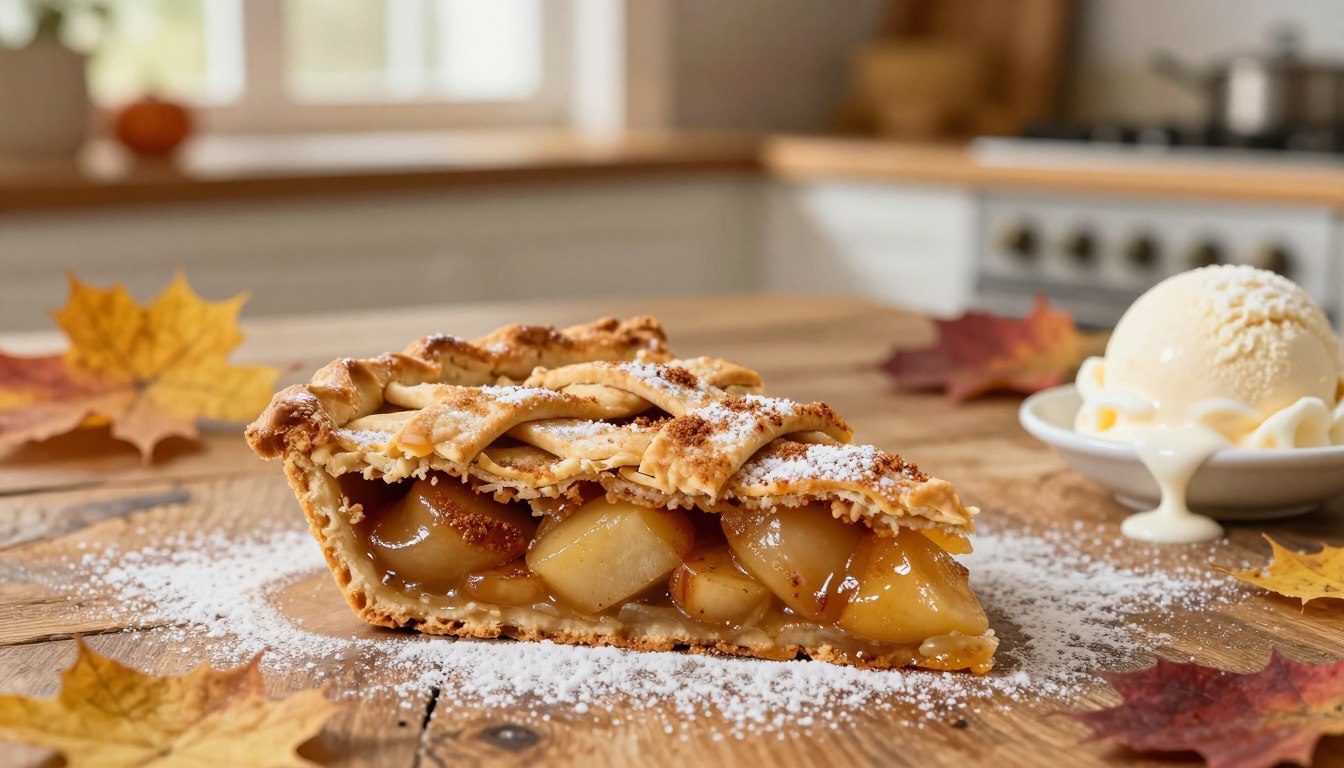
For the ultimate experience, serve it warm. A scoop of vanilla ice cream on the side melts into a perfect sauce. It’s the definition of a heartwarming, comfort treat.
It’s also great for school bake sales or office parties. Everyone appreciates a homemade touch that brings people together.
Ingredients and tools for your apple slab pie recipe
The foundation of any great homemade dessert is a well stocked pantry and a few key pieces of equipment. Having everything measured and ready before you start makes the whole process smoother and more enjoyable.

- OXO Good Grips Non Stick Pro Cake Pan – 9″ x 13″ – Commercial grade aluminized steel with ceramic reinforced nonstick coating. Straight side walls for even baking and easy release. Oven safe to 450°F. Perfect for apple slab pie, bars, brownies, and sheet cakes.
- Homemade Tart Shell & Easy Pistachio Frangipane– Two perfect recipes for any occasion. A buttery, golden tart shell from scratch + a creamy pistachio frangipane filling that’s easier than you think. Elegant, delicious, and totally doable for home bakers.
Essential ingredients overview
Your crust begins with 2.5 cups of all purpose flour. The star for a flaky texture is 16 tablespoons of very cold butter. Keeping your fat cold is the most important step for a tender result.
For the sweet filling, you’ll need about four pounds of your favorite tart fruit. This amount perfectly fills the pan without overflowing during baking.
Recommended kitchen equipment and tools
A large bowl is essential for mixing your dry components. It gives you space to work the butter in without warming it up too much. Use a pastry cutter or your clean fingers to blend until the mixture looks like coarse crumbs.
You will also need a sturdy rolling pin to handle the big sheet of dough. A standard 10×15 inch jelly roll pan is the perfect vessel. Don’t forget your measuring cups for accuracy.
Step by step process to creating your apple slab pie
Follow this clear guide to transform your ingredients into a golden, flaky masterpiece. The method is broken into three logical phases.
You’ll move from preparing the foundation to finishing the bake. Each stage ensures your dessert turns out perfectly.
Preparing and rolling out the pie crust
Begin with your chilled dough. Divide it into two equal pieces. Wrap each tightly in plastic wrap.
Let them rest in the fridge for at least thirty minutes. This chill time makes the pastry much easier to handle.
On a floured surface, roll one portion into a 13×18 inch rectangle. Carefully lift and fit it into your 10×15 inch jelly roll pan. The edges should overhang slightly.
Mixing and seasoning the apple filling
Take your sliced apples and place them in a large bowl. Add sugar, spices, and a splash of lemon juice.
Toss everything together until every piece is coated. This sweet mixture is the heart of your treat. A pinch of salt balances the flavors beautifully.
Assembling, sealing, and venting the pie
Spread the filling evenly over the bottom crust. Roll out the second dough piece to a similar size.
Lay it on top. Fold the overhanging edges of the bottom layer over the top and press to seal. Use a sharp knife to cut several slits in the top. These vents let steam escape during baking.
Place the whole pan on a baking sheet to catch any drips. Bake for about one hour. The crust should be golden and the filling bubbly.
If the top browns too quickly, loosely cover the sheet with aluminum foil. This prevents burning while the center finishes cooking.
Mastering the apple slab pie recipe
Let’s dive into the core principles that elevate a homemade creation from simple to spectacular. Success hinges on a few non negotiable techniques and understanding how your ingredients work.
These fundamentals ensure a flaky crust and a perfectly balanced filling every single time.
Understanding the importance of chilled dough
Your dough must stay cold. This is the golden rule for a tender, layered crust. Chilling the dough for at least thirty minutes in plastic wrap prevents the butter from melting too soon.
Solid butter chunks create steam during baking. That steam is what gives you those beautiful, separate layers. Always use ice cold water when mixing.
Handle the dough with a light touch. If it tears while transferring, just pinch it back together.

How to use key ingredients like lemon juice and cinnamon
Lemon juice is your secret weapon against brown, mushy fruit. Toss your sliced apples in it right away. The acid keeps them bright and adds a pleasant tang.
For the spice mixture, cinnamon and a pinch of nutmeg create that classic, warm flavor. A little salt in your crust enhances the sweetness of the filling.
Spread the mixture evenly over the bottom layer. This guarantees every bite is consistent.
| Ingredient/Tool | Purpose | Pro Tip |
|---|---|---|
| Chilled Dough | Creates flaky layers in the crust | Rest wrapped in plastic for 30+ minutes |
| Lemon Juice | Prevents browning; adds brightness | Toss apples immediately after slicing |
| Cinnamon & Nutmeg | Provides warm, classic spice flavor | Mix with sugar before adding to apples |
| Ice Water | Keeps butter solid for maximum flakiness | Use water straight from a chilled bottle |
| Salt | Balances and enhances all flavors | Add a pinch to both crust and filling |
Master these elements, and your dessert will not only look professional but taste incredible. It’s a deeply rewarding process.
Tips and tricks for a perfect pie crust
The secret to a standout homemade treat lies in mastering the details of its pastry shell. A few professional techniques can make the difference between a good dessert and an unforgettable one.
Utilizing crust dust and baking techniques
Create a simple barrier called “crust dust” for your bottom crust. Mix equal parts flour and sugar and sprinkle it in the pan before adding the dough. This layer absorbs excess moisture during baking.
Position your oven rack in the lower third. This placement helps the base cook evenly. For extra heat conduction, place your baking sheet or a pizza stone in the oven while it preheats.
Slice your apples into uniform pieces. Consistent size ensures they soften at the same rate. Always opt for a metal sheet or pan. Metal transfers heat more efficiently for a golden brown finish.
Preventing sogginess for a flaky finish
If the top darkens too quickly, loosely tent the sheet with foil for the last 20 minutes. You can prepare your dough up to three days ahead. Keep it wrapped tightly in the refrigerator to save time.
The salt and lemon juice in your filling are not just for flavor. They balance sweetness and prevent a mushy texture. Your pie is fully cooked when you see the filling bubbling actively through the vents.
Follow these methods for a crust that is tender and flaky. It will rival the finest pastry you’ve ever tasted.
How to customize your apple slab pie
One of the joys of baking is making a recipe truly your own with simple tweaks and additions. This versatile dessert welcomes creativity, allowing you to adjust flavors and presentations to match any event or personal craving.
Ingredient variations to suit your taste
Start with the fruit. While tart Granny Smiths are classic, mixing in Gala or Honeycrisp varieties adds a sweeter, firmer texture. Feel free to experiment with the spice blend too.
You can easily reduce or increase cinnamon and nutmeg to your liking. A pinch of cardamom or allspice introduces a warm, complex note.
- For a crunchy element, stir a half-cup sugar of chopped walnuts or pecans into the filling.
- A handful of dried cranberries or raisins offers a chewy, sweet contrast.
- If you prefer a less sweet treat, slightly reduce the sugar in the filling.

Serving suggestions and flavor pairings
Presentation elevates the experience. Serving this dessert warm is highly recommended, as it softens the filling and makes the crust extra flaky.
The classic partner is a scoop of rich vanilla ice cream. Its cool creaminess melts into a luxurious sauce. For a gourmet touch, drizzle with salted caramel or homemade creme anglaise.
Freshly whipped cream is another excellent topping. This treat fits beautifully at both formal dinners and casual backyard gatherings.
Preventing common pitfalls in slab pie making
Even the most experienced bakers can encounter a few hiccups when crafting a large-format dessert. Knowing how to spot and fix them ensures your final creation is flawless and delicious.
Addressing underbaked or overbaked crust issues
A perfectly cooked crust is golden and flaky. To avoid a pale, underbaked bottom, always start with a fully preheated oven. Using a metal baking sheet underneath your pan improves heat transfer dramatically.
If the top browns too quickly, loosely tent the sheet with foil for the last 20 minutes. Your treat is done when you see the filling bubbling actively through the vents. If it’s not bubbling, it needs more baking time.
Troubleshooting juiciness in the apple filling
Using 10 to 12 cups of apples provides the right structure. Cut them into uniform pieces so they cook evenly. To bind the natural juices, use enough flour or cornstarch in your spice mix.
Ensure you crimp the pastry edges tightly to seal in the filling. Proper venting on top prevents a soggy texture. Let your apple pie cool for at least two hours before slicing. This allows the filling to set perfectly.
A dash of cinnamon adds a warm aroma that complements the sweet fruit. Follow these tips for a dessert that holds together beautifully.
Conclusion
The true reward of this baking project comes when you see the smiles it brings to your table. Creating this slab pie is a deeply satisfying experience. It turns a simple gathering into a moment of shared comfort and joy.
By mastering the flaky crust and perfectly spiced filling, you make a dessert that rivals any bakery. Remember, practice builds confidence. Each time you follow this recipe, your skills will grow.
This method is designed to save you time while delivering a high quality, homemade treat everyone will absolutely love. We hope this guide inspires you to get into the kitchen and bake a cozy dessert for your loved ones.
Your email will not be published publicly.