
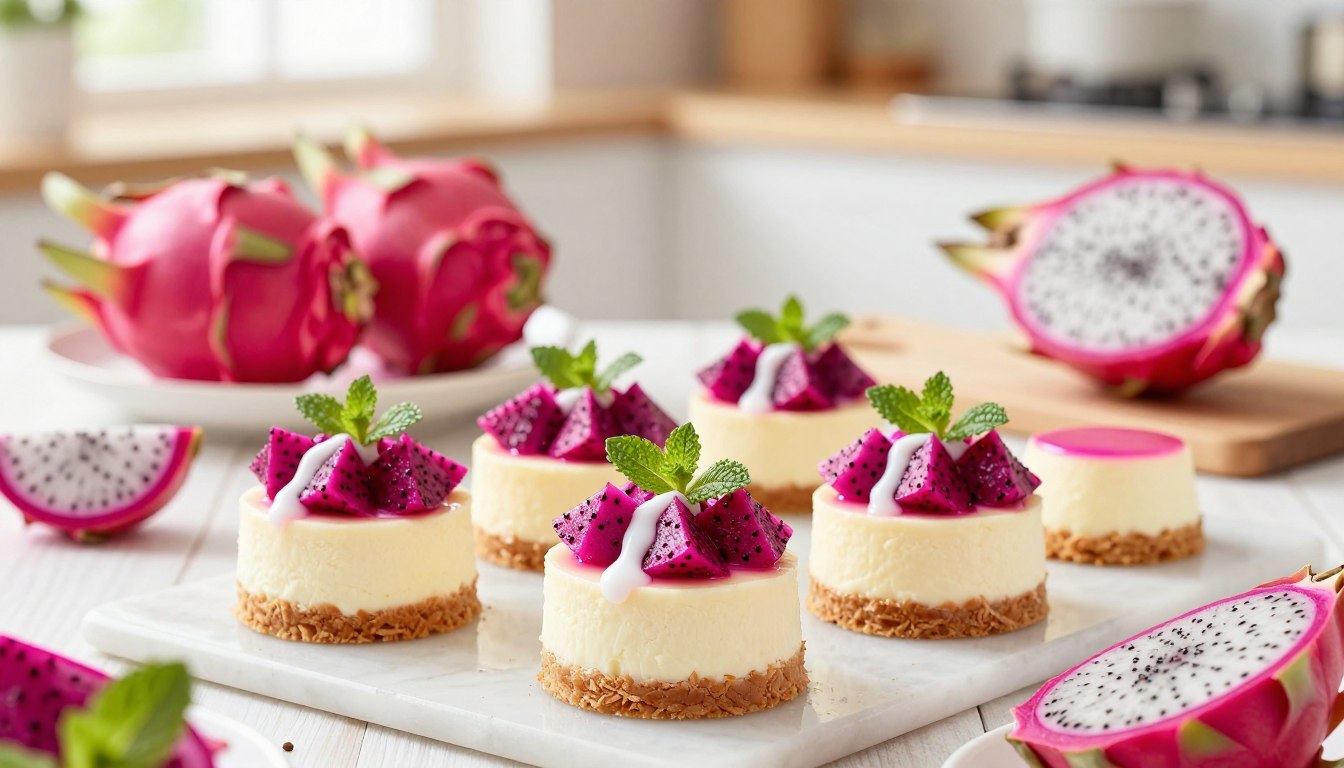
Dragon fruit mini cheesecakes: 3 wonderful exclusive hacks
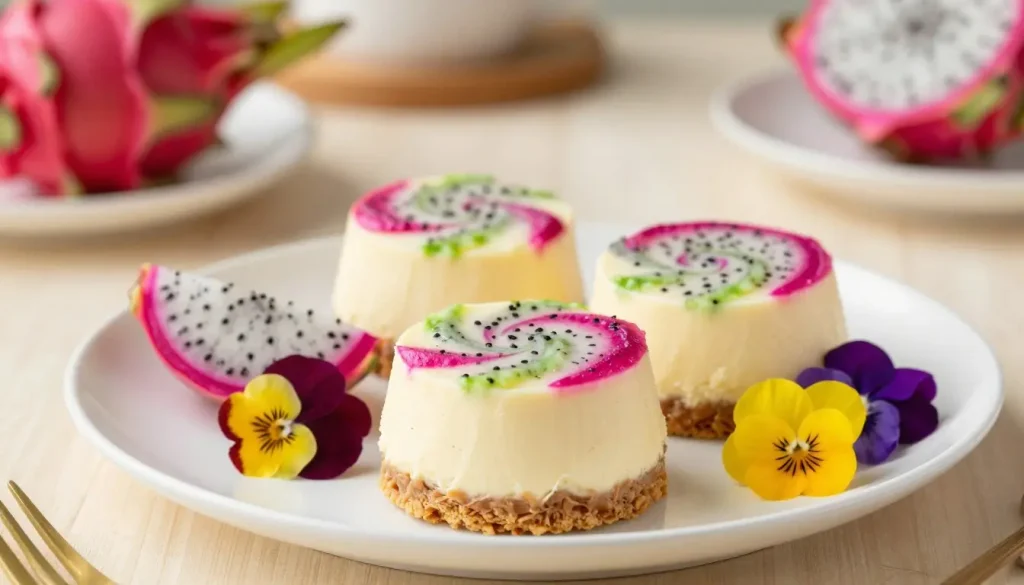
You can make two Dragon Fruit Mini Cheesecakes at home with a short hands on prep. Each small cake has a crumb crust, creamy filling, and a bright dragon fruit swirl.
A springform pan is a cake pan with a removable side that releases the cheesecake without flipping it. The small size makes these cakes a sweet choice when you want dessert for two, not a full size cake.
The hands on prep takes minutes, but the full time runs longer because the cakes need to cool and chill after baking. That wait helps the filling firm up, so plan for more than the prep time alone.
You can make the fruit swirl bold or leave it softly marbled. Either way, the recipe gives you a colorful homemade treat without a large batch to finish.
Follow a clear path from setting out the ingredients to serving your two cakes, with each step explained along the way.
These dragon fruit mini cheesecakes are creamy, vibrant pink and completely no bake, so there is no oven and no water bath to worry about. A buttery graham crust holds a silky filling swirled with fresh dragon fruit for a stunning color and a light tropical flavor. If you love easy cheesecake desserts, our no bake cheesecake with condensed milk is another great option, and our blueberry mini tarts make a lovely pairing on a dessert table.
To learn more about the fruit itself, see this dragon fruit benefits guide on Healthline. Use red fleshed dragon fruit for the brightest color and chill the cheesecakes for at least 4 hours.
Explore more:
What Goes Into Dragon Fruit Mini Cheesecakes?
This recipe makes two mini cakes in springform pans about 4 inches in diameter. The pan size matters: larger pans make thinner cakes, while smaller pans may need more baking time.
Set out the ingredients, two pans, and parchment paper before you start. Digestive biscuits make a fine crumb base, and graham cracker crumbs are an easy U.S. alternative
Ingredients for the crumb crust
The crust needs only three ingredients. Use plain digestive biscuits or graham crackers, then crush them into fine, even crumbs so the base holds together.
- 150 g (5.3 oz) crushed digestive biscuits, or graham cracker crumbs
- 50 g (1.8 oz) melted unsalted butter
- 1/2 teaspoon salt
Ingredients for the creamy filling
Red dragon fruit gives the filling its pink color and mild fruit taste. Mash the fruit before mixing, and use a small fruit for this two cake batch.
- 1 small red dragon fruit, mashed
- 250 g (8.8 oz) cream cheese
- 100 ml (3.4 fl oz) cream
- 1 large egg
- 1/4 cup granulated sugar
Use full fat cream cheese for a rich, creamy texture. Let it soften so it blends with the sugar without leaving small lumps in the mixture.
There is no need to add a separate graham cracker layer or extra sugar to the base. The fruit brings a gentle sweetness, while the salt balances the buttery crust.
These ingredients make a simple dragon fruit cheesecake with a neat swirl rather than a thick fruit topping. Once everything is set out, you can shape the crust and mix the filling.
How do you prepare the crust and filling?
A crumb crust is ready to press when a handful clumps together after you squeeze it. If the crumbs fall apart, mix them again until the melted butter coats them evenly.
Keep the fruit swirl gentle, too. A smooth cream cheese mixture gives the cheesecake a soft texture, while visible streaks of dragon fruit make each cake look distinct.
Mix and press the crumb base
- Mix the crushed biscuits with the salt in a bowl. Pour in the melted butter and stir until the crumbs look evenly damp.
- Press the crumbs into the bottom of each parchment lined springform pan. Use the back of a spoon to make an even layer, especially around the edges.
- Chill the pressed crust in the refrigerator for about 15 minutes. This helps the base hold its shape when you add the filling.
Beat the cream cheese mixture
Beat the cream cheese with the sugar until the mixture looks smooth. Scrape the sides and bottom of the bowl as needed, since firm cheese can stick there.
Add the egg and mix on low speed just until it disappears. Then pour in the cream and mix gently until the filling looks even.
A mixer can make this step quick, but you do not need high speed. Avoid vigorous mixing after you add the egg, since extra air can make the cakes puff and then sink.
Some cheesecake recipes use vanilla, but this mixture keeps the fruit in focus. Leave the cream cheese filling plain so the dragon fruit flavor stays clear.
Swirl in the dragon fruit
Set aside a little mashed dragon fruit if you want a topping later. Add the rest to the filling in small spoonfuls, then fold it through lightly.
Stop while the fruit still forms visible pink ribbons. If you stir until the batter turns one solid shade, the marbled look will disappear.
Divide the batter between the two pans and smooth the tops with a spoon. Keep the pans level so each cake has a similar layer of filling.
Check that the crusts remain firmly packed beneath the batter. Leave the filled pans ready to bake, then prepare the oven and water bath.
How do you bake and chill the mini cheesecakes?
Heat the oven to 250°F (130°C) and bake the cheesecakes in a water bath. A water bath is a larger pan filled with hot water around the cheesecake pans, which moderates the heat.
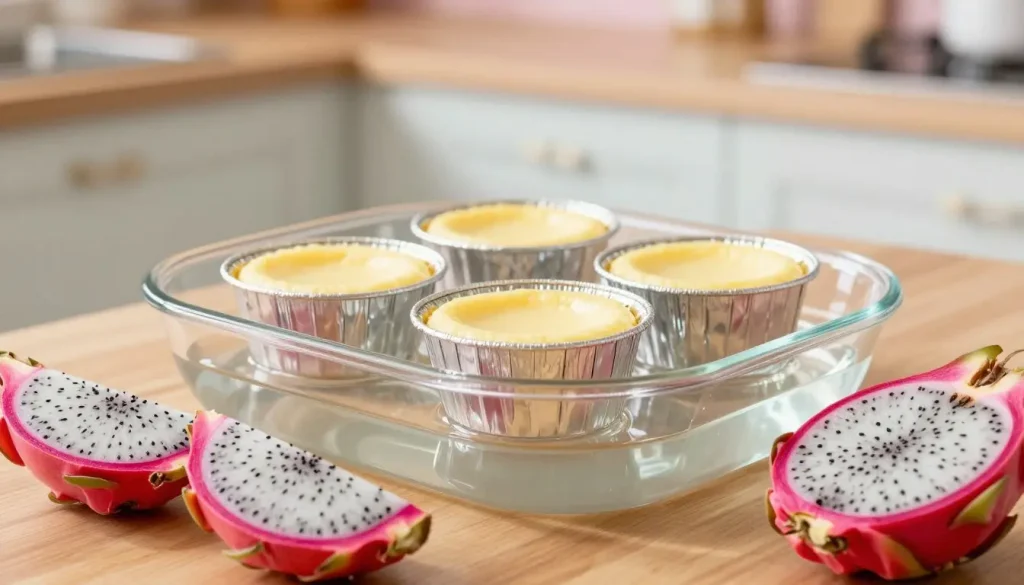
Wrap the outside of each springform pan with foil before placing it in the water. The foil helps block water from leaking through the pan seam and soaking the crust.
Bake gently in a water bath
Set the foil wrapped pans in a larger baking pan, then carefully pour in hot water. The water should surround the small pans without spilling into their tops.
Slide the larger pan into the oven with care. Bake for about 1 hour, or until the edges look set and the center still has a slight wobble.
The cakes should look just set, not firm all the way through. They will continue to settle as they cool, so do not wait for the centers to become solid in the oven.
Keep the oven door closed during most of baking. A sudden change in temperature can make the tops crack, though a small crack does not always mean the cakes are overbaked.
Cool before chilling
Take the larger pan from the oven and lift the small pans out of the water bath. Set them on a safe surface and let the cakes cool to room temperature.
Cooling first matters because warm cheesecake can trap steam in a covered container. A gradual change in temperature also helps the filling settle without a sharp drop in heat.
Once the cakes cool completely, chill them in the refrigerator for about 30 minutes before serving. The one hour oven time is only part of the total time from prep to dessert.
Cooling and chilling add time after baking, so allow for both before you plan to serve. When the centers feel cold and firm, the cakes are ready to finish and serve.
How should you serve, store, and troubleshoot them?
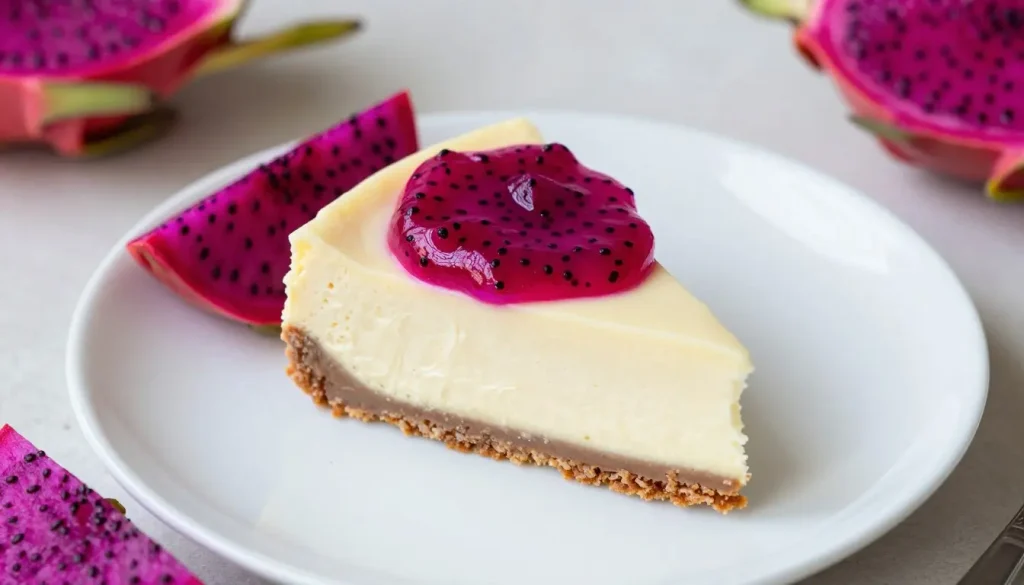
Add a small spoonful of mashed dragon fruit to each chilled cake for an easy finish. The fresh puree adds color without covering the fruit swirl inside.
Release each cake carefully from its springform pan, then lift it from the base with a thin spatula. Serve the cakes chilled for the firmest texture.
Add a simple topping and serve
If parchment paper lines the base, use its edge to help guide the cake onto a plate. Move slowly, since the crust can break if you pull the paper sharply.
You can leave the tops plain or add a little extra fruit. Keep the topping light, so it does not hide the marbled layer or make each portion too sweet.
For a tidy cut, wipe the knife between slices. The chilled filling should hold its shape, while the crumb crust gives each bite a buttery base.
Keep leftovers chilled
Store leftover cheesecake in a covered container in the refrigerator. Refrigerate it within 2 hours, and keep room temperature time to 1 hour when the temperature is above 90°F.
Covering the cakes helps protect their creamy surface from drying out and picking up food odors. Keep dairy based leftovers cold until you are ready to eat them.
Fix common texture and pan issues
A cracked top is usually an appearance issue, not proof that the cheesecake failed. A small spoonful of fruit can cover a crack, and a longer chill can help the filling firm.
If the center feels loose after chilling, return the cake to the refrigerator and give it more time. A slight wobble while warm is normal, but a chilled center should feel more set.
Water in the bath can leak through a springform pan seam if the foil wrap has gaps. Wrap the pan exterior fully, and use a wide sheet of foil that reaches above the water line.
If the crust crumbles when you remove a slice, press the crumbs more firmly into an even layer next time. Fine crumbs and good contact with the pan help the base stay together.
A batter that looks loose before baking may also come from watery fruit. Drain excess liquid from mashed fruit before adding it, so the filling keeps its shape.
Check the pan edge before releasing the cake, and loosen any filling that clings with a thin knife. Keep dairy-based leftovers cold, then choose one simple next step: set out the cream cheese for your next batch.
Conclusion
Try this recipe when you want a small dessert with a bright fruit finish. The dragon fruit swirl adds color and a mild taste to the creamy cheesecake.
The two cake batch suits sharing without leaving you with a full cake to store. Set out the cream cheese to soften and choose ripe red dragon fruit, then enjoy making these little treats.
Your email will not be published publicly.