
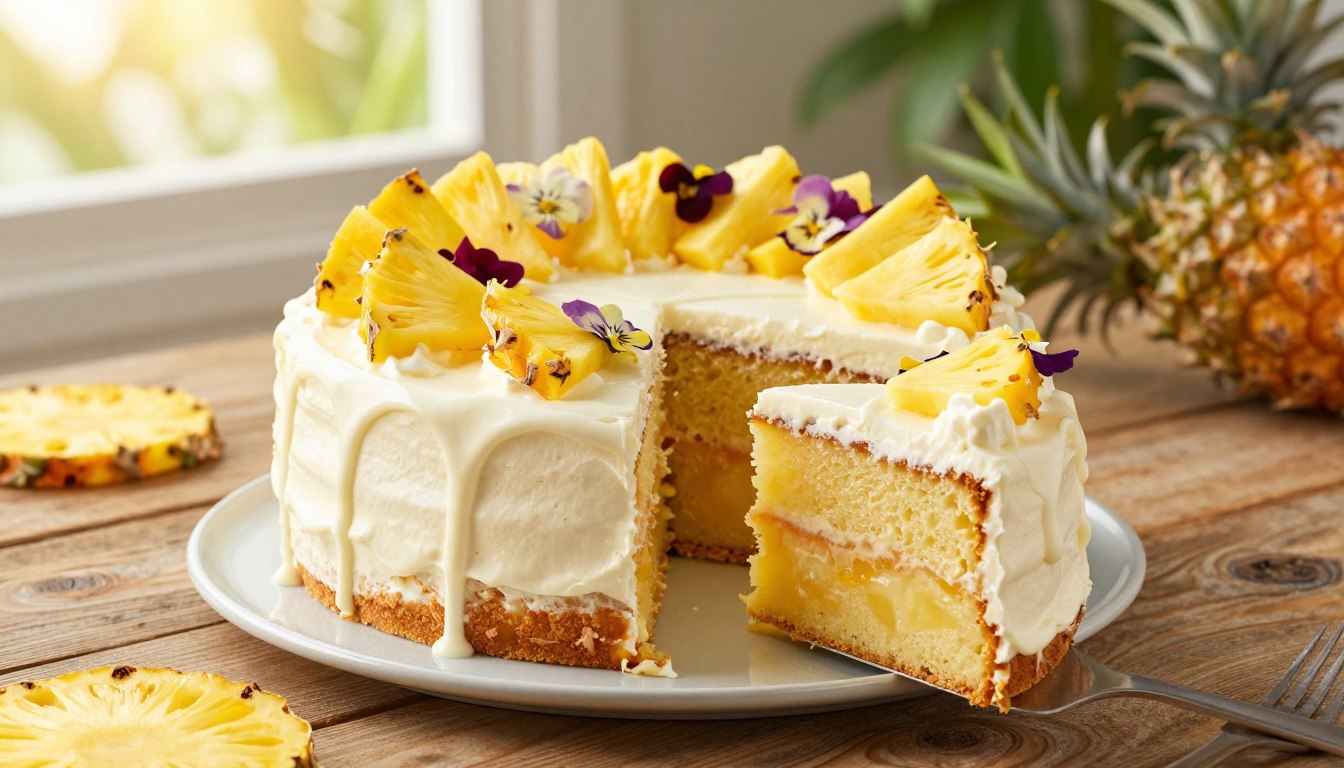
How to make pineapple heaven cake at home easily
Did you know that over 70% of home bakers still prefer vintage recipes over modern trends? There is something truly magical about returning to the classics that defined family gatherings for generations. One such timeless treasure is the pineapple heaven cake, a dessert that brings a bright, tropical flair to any kitchen table.
You might think that creating such a decadent treat requires professional skills, but that is far from the truth. This recipe is famous for being incredibly foolproof, making it the perfect project for bakers of all levels. Whether you are a novice or a seasoned pro, you will find the process simple and rewarding.
In this guide, we will walk you through every step to ensure your baking journey is a success. Get ready to fill your home with the sweet, nostalgic aroma of a perfectly baked masterpiece. Let’s dive into the simple steps that make this vintage delight a staple in your recipe collection.
- Discover why this vintage dessert remains a top choice for home bakers.
- Learn the secrets to achieving a moist and flavorful result every time.
- Master a simple, stress free method that guarantees delicious results.
Pineapple heaven cake is the kind of recipe that gets passed down in families not because it’s complicated, but because it’s perfect. A moist, tender yellow cake with crushed pineapple baked straight into the batter, topped with a tangy cream cheese frosting that balances the sweetness in a way that keeps every bite from feeling too heavy. One bowl. One pan. Three steps. And a result that stays beautifully soft for days.
The detail that makes this cake exceptional and the one that most recipes gloss over is the hot pineapple pour. The moment the cake comes out of the oven, you pour the remaining pineapple juice directly over the warm cake while it’s still in the pan. The juice soaks into every layer as the cake cools, creating a moisture level that no amount of oil or butter could replicate on its own. That is the secret behind the texture that makes people take a second piece before the first one is gone.
This recipe works because every element is doing its job. The crushed pineapple adds natural sweetness and moisture without requiring any additional fat in the batter. The cream cheese frosting adds tang and richness. The chopped pecans on top add the crunch that keeps the whole thing from feeling too soft. Three components, one result that is far greater than the sum of its parts.
If you love tropical fruit cakes, our Pineapple and Coconut Cake takes the same bright tropical flavor and adds a coconut layer that makes the whole thing feel like a vacation on a plate the natural companion to this vintage classic. For something a little different in the same crowd feeding sheet cake territory, our White Texas Sheet Cake uses the same one pan approach with an almond flavored crumb and warm pourable frosting that makes it equally perfect for potlucks and family gatherings.
And for a frozen dessert that pairs beautifully alongside a warm slice of this pineapple cake at any summer gathering, our Oreo and Cake Ice Cream is the most popular no churn frozen treat on Step44 : cool, creamy, and the perfect contrast to the warm tropical richness of this cake.
For the most tested and consistently reviewed pineapple sheet cake technique including the exact baking soda ratio that gives the cake its characteristic deep color and the cream cheese frosting that sets perfectly every time Taste of Home’s Pineapple Sheet Cake recipe is the most reliable reference available 59 home baker reviews, Culinary Institute of America author, and a recipe that has fed crowds at potlucks across America for decades.
One bowl. One pan. Three steps. The most comforting vintage cake you will ever pull out of the oven. Scroll down — the recipe is ready.
What is pineapple heaven cake?
Few treats evoke the feeling of a tropical vacation quite like a slice of homemade pineapple heaven cake. This beloved 9×13 dessert has become a staple in many home kitchens because it is incredibly easy to prepare and always delivers a burst of sunshine in every bite.
Overview of pineapple heaven cake’s origin
The roots of this tropical dessert trace back to the mid century era of American baking. During this time, home cooks began embracing convenience items like boxed cake mixes and canned fruits to create impressive results with minimal effort.
This specific recipe gained popularity as a go to potluck favorite. It perfectly balances the convenience of modern pantry staples with the nostalgic, homemade taste that families crave during weekend gatherings.
Unique ingredients that make It special
What sets this cake apart is the clever combination of simple components that transform into a moist, flavorful masterpiece. The secret lies in how the juices from the canned pineapple soak into the yellow cake base, creating a texture that is both light and decadent.
When topped with a fluffy, sweetened whipped cream, the flavor profile achieves a perfect harmony of sweet and tangy notes. You will find that these ingredients work together to create a dessert that feels far more complex than its humble origins suggest.
| Component | Primary function | Flavor profile |
|---|---|---|
| Yellow Cake Mix | Provides the structure | Rich and buttery |
| Crushed Pineapple | Adds moisture and acidity | Sweet and tangy |
| Whipped Topping | Creates a light finish | Creamy and smooth |
Essential ingredients for pineapple heaven cake
You can easily master this pineapple cake recipe by stocking your pantry with a few simple staples. Having everything ready before you start ensures a smooth and enjoyable baking process.
The secret to a moist, flavorful dessert lies in the quality of your components. When you select the right items, you set the stage for a truly professional result in your own kitchen.
Common baking ingredients needed
To build the foundation of your cake, you will need a standard box of yellow cake mix. This provides the perfect structure and crumb for your sweet treats.
You will also need large eggs and a neutral vegetable oil to bind the batter. Most importantly, always use crushed pineapple in its own juice rather than syrup. This specific choice keeps the cake incredibly moist and adds a natural, bright flavor that defines this classic dessert.
Optional ingredients for extra flavor
If you want to customize your creation, consider adding a few extra textures. Many bakers enjoy folding in chopped walnuts or pecans for a satisfying crunch.
To lean into a tropical theme, shredded coconut makes a wonderful addition to the batter. These small adjustments allow you to tailor your sweet treats to your personal preferences while keeping the core pineapple cake recipe intact.
| Ingredient | Purpose | Pro tip |
|---|---|---|
| Yellow Cake Mix | Base Structure | Sift for fluffiness |
| Crushed Pineapple | Moisture & Flavor | Do not drain the juice |
| Vegetable Oil | Richness | Use room temperature |
| Chopped Nuts | Texture | Toast lightly first |
Equipment you’ll need for baking
You will find that creating this treat is quite straightforward with standard kitchen gear. Many easy baking recipes are designed to be accessible, meaning you do not need professional grade tools to achieve great results in your own home.
Essential baking tools
To get started, you only need a few basic items found in most kitchens. A 9×13 inch baking pan is the standard size for this cake, ensuring it bakes evenly throughout.
You will also need a set of mixing bowls to combine your dry and wet ingredients. A sturdy whisk or a hand held electric mixer will help you achieve the perfect batter consistency with minimal effort.
Optional appliances to simplify your process
While you can certainly mix by hand, using an electric mixer can save you time and energy. It is a fantastic addition to your collection of easy baking recipes tools, especially when you want to ensure your batter is perfectly smooth.
Additionally, a wire cooling rack is highly recommended for the best results. Placing your cake on a rack allows air to circulate underneath, which helps maintain the ideal texture of your finished dessert.
Step by step instructions for the cake base
You are about to transform simple pantry staples into a light and airy masterpiece. Mastering this foundation is the secret to a successful pineapple cake recipe that will impress your friends and family.
By following these clear steps, you ensure your dessert turns out moist and flavorful every single time. Let’s get started on your journey to creating the perfect treat.
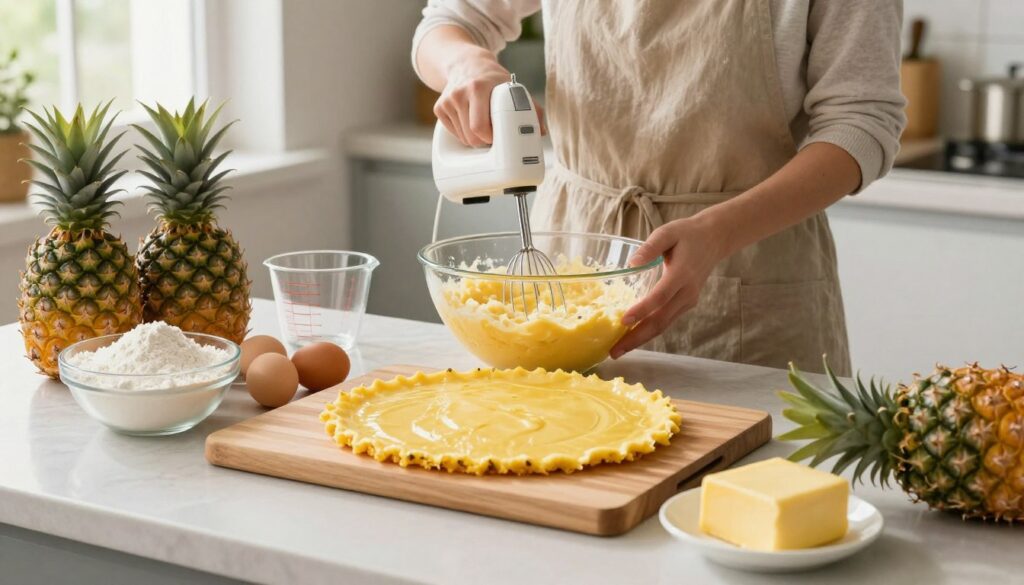
Preparing your cake batter
Begin by combining your dry ingredients in a large mixing bowl, ensuring they are well sifted to avoid any lumps. Gradually add your wet ingredients, mixing on a low speed until the batter is smooth and consistent.
The most crucial step involves adding your pineapple. You must fold the fruit into the batter very gently using a spatula to maintain the airy structure of the cake.
This careful technique is a hallmark of many easy baking recipes. Over mixing at this stage can lead to a dense texture, so take your time and be patient with the process.
Baking the cake to perfection
Preheat your oven to the recommended temperature before you even think about sliding the pan inside. A consistent heat is vital for an even rise and a beautiful golden brown crust.
Place your pan on the center rack to allow for optimal airflow. Use the following guide to help you manage your baking time effectively for the best results.
| Pan Size | Temperature (°F) | Baking time (Min) |
|---|---|---|
| 9 inch Round | 350°F | 30-35 |
| 8 inch Square | 350°F | 35-40 |
| Bundt Pan | 325°F | 45-50 |
Once the timer goes off, test the center with a toothpick to ensure it comes out clean. This simple check is a staple of easy baking recipes and guarantees your pineapple cake recipe is fully cooked through.
Allow the cake to cool in the pan for ten minutes before transferring it to a wire rack. This cooling period helps the structure set, making it much easier to handle later.
Making the pineapple filling
Achieving the perfect pineapple filling is the key to making delicious desserts that everyone will love. This component acts as the heart of your creation, providing a burst of tropical flavor that balances the richness of the cake base. When you master this step, you transform a simple treat into a professional grade masterpiece.
Choosing the right pineapple
The quality of your fruit directly impacts the final result. While fresh pineapple offers a vibrant, zesty punch, high quality canned crushed pineapple is often more consistent for baking. Always check the label to ensure the fruit is packed in juice rather than heavy syrup to maintain better control over the sweetness levels.
If you choose to use fresh fruit, ensure it is fully ripe for the best flavor profile. A ripe pineapple should have a sweet, fragrant aroma at the base and firm, healthy looking leaves. Using the right fruit is essential for crafting high quality fruit filled cakes that leave a lasting impression on your guests.
Techniques for achieving the perfect filling
To create a filling that spreads like velvet, you must carefully balance the sugar and pineapple juice. Start by simmering the pineapple with a small amount of sugar to draw out the natural juices. This process intensifies the flavor and creates a beautiful, glossy finish.
Follow these expert tips to ensure your filling reaches the ideal consistency every time:
- Strain carefully: Remove excess liquid if the mixture seems too thin to prevent the cake from becoming soggy.
- Use a thickener: A small amount of cornstarch or arrowroot powder helps the filling hold its shape between layers.
- Cool completely: Never apply warm filling to your cake, as it can melt your frosting and ruin the structure.
- Balance the acidity: If the pineapple is too tart, add a tiny pinch of salt to round out the flavors.
By following these simple steps, you will achieve a smooth, flavorful filling that elevates your baking. Your friends and family will surely rave about the delightful texture and bright taste of your homemade creation for years to come.
Preparing the whipped cream topping
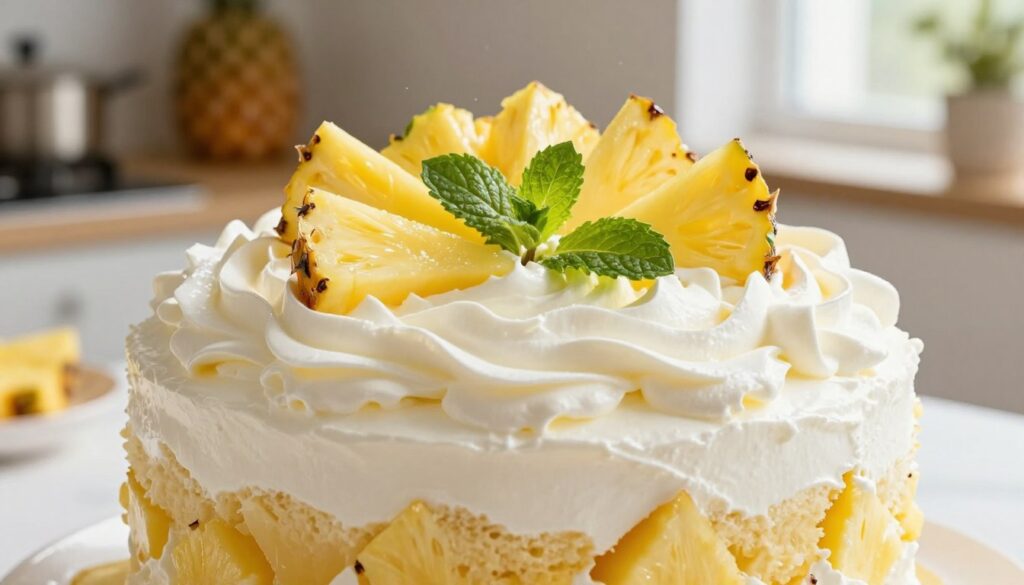
A light, airy topping is the secret to turning a simple cake into one of the most delicious desserts you will ever serve. Whether you prefer the rich taste of homemade cream or the convenience of a store bought alternative, the right finish makes all the difference. This final layer adds a refreshing contrast to the dense, fruity base of your cake.
Whipping cream tips and tricks
To achieve the perfect consistency, start with chilled heavy whipping cream. Cold temperatures help the fat molecules stabilize, allowing you to reach those beautiful, stiff peaks much faster. If you are short on time, a high quality whipped topping is a reliable substitute that still provides a lovely texture.
Follow these simple guidelines to ensure your topping stays fluffy and stable:
- Chill your bowl: Place your mixing bowl in the freezer for ten minutes before you begin.
- Watch the speed: Start on low speed and gradually increase to medium high to avoid splattering.
- Check for peaks: Stop mixing as soon as the cream holds its shape to prevent it from turning into butter.
Flavor variations for your topping
You can easily customize your cream to create one of the most delicious desserts your guests have ever tasted. A simple splash of extract can completely transform the flavor profile of your topping. Consider these popular additions to enhance your creation:
| Flavor Add in | Best For | Intensity |
|---|---|---|
| Vanilla Bean Paste | Classic richness | Mild |
| Coconut Extract | Tropical flair | Strong |
| Almond Extract | Nutty depth | Moderate |
Experimenting with these extracts allows you to tailor the sweetness to your personal preference. Don’t be afraid to fold in a little citrus zest for an extra pop of brightness. These small adjustments ensure your cake stands out as one of the most delicious desserts at any gathering.
Assembling your pineapple heaven cake
You have reached the most exciting part of the process: assembling your homemade treat. This is where your hard work turns into one of those delicious desserts that everyone talks about at parties. Before you begin, ensure your cake base is completely cool to prevent the topping from melting.
Layering your cake like a pro
Start by placing your cake on a flat, stable surface or a decorative platter. Use an offset spatula to spread your pineapple filling evenly across the top, leaving a small border near the edges. This professional technique ensures that your filling stays contained while providing a consistent flavor in every bite.
Once the filling is set, gently spread your whipped topping over the surface. Use light, sweeping motions to create soft peaks or a smooth, polished finish. If you prefer a rustic look, you can use the back of a spoon to create small swirls across the top of the cake.
Adding the finishing touches
Now that your base is covered, it is time to explore creative dessert ideas to elevate your presentation. A sprinkle of toasted coconut adds a wonderful crunch and a tropical aroma that pairs perfectly with the pineapple. You can also place thin, fresh pineapple wedges or maraschino cherries on top for a pop of vibrant color.
Consider the following table to help you choose the best garnishes for your specific occasion:
| Garnish Type | Texture Profile | Visual Impact |
|---|---|---|
| Toasted Coconut | Crispy and light | Rustic and golden |
| Fresh Pineapple | Juicy and firm | Bright and tropical |
| Whipped Swirls | Creamy and soft | Elegant and smooth |
Remember that the best dessert ideas are those that reflect your personal style. Whether you choose a minimalist approach or a heavily decorated top, your cake will surely impress your guests. Enjoy the process of crafting these delicious desserts and sharing them with your loved ones.
Serving suggestions for pineapple heaven cake
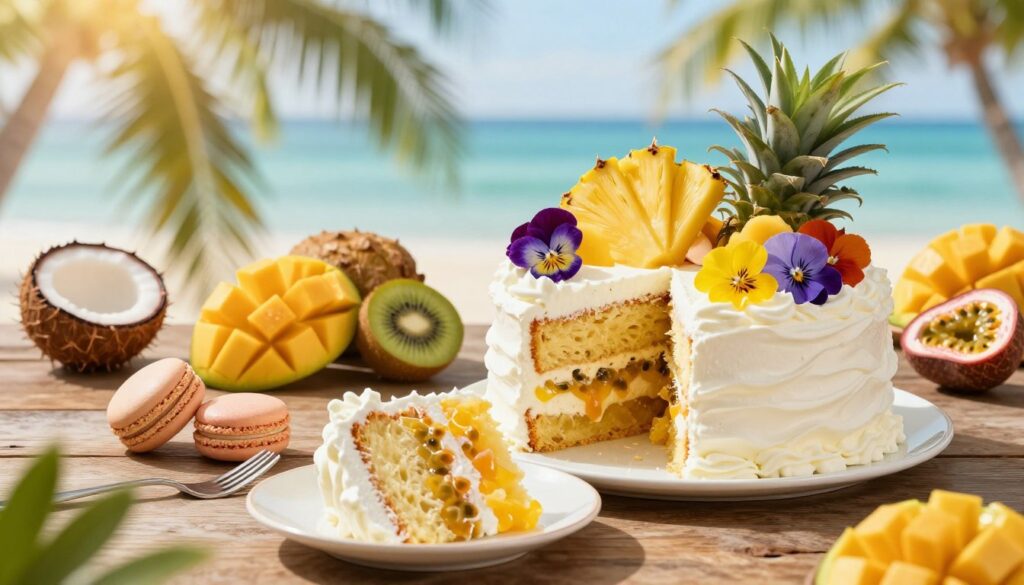
Elevating your dessert presentation turns a simple slice into a memorable event. When you share this tropical dessert with friends and family, the way you plate it can make all the difference. Thoughtful touches ensure your guests feel truly special.
Ideal pairings with beverages
Finding the right drink can balance the rich, sugary profile of your cake. A hot cup of medium roast coffee provides a bold contrast that cuts through the sweetness of the pineapple. If you prefer something lighter, a fragrant Earl Grey or jasmine tea works beautifully to cleanse the palate.
For those who enjoy cold drinks, consider serving a glass of chilled coconut water or a sparkling pineapple spritzer. These sweet treats pair perfectly with the fruity notes of the cake. You will find that these combinations enhance the overall dining experience for everyone at your table.
Creative ways to serve the cake
If you are looking for fresh dessert ideas, consider how you display the cake at your next gathering. For a casual weekend brunch, serve individual slices on colorful plates with a small sprig of fresh mint. This adds a pop of color that highlights the vibrant yellow pineapple layers.
When attending a potluck, you can pre slice the cake and arrange it on a tiered stand to create a stunning centerpiece. Adding a light dusting of powdered sugar or a few toasted coconut flakes can also provide a professional finish. These simple dessert ideas will surely impress your guests and make your homemade creation the star of the show.
Storing leftovers properly
Proper storage ensures that your homemade creation stays just as delicious as the moment it left the oven. When you take the time to protect your sweet treats, you preserve the delicate balance of moisture and flavor that makes this dessert so special.
Tips for keeping it fresh
To maintain the best texture, always store your cake in an airtight container. This prevents the sponge from drying out and stops it from absorbing unwanted odors from your refrigerator.
If you plan to eat the cake within three days, the refrigerator is your best friend. Make sure to keep it on a shelf away from strong smelling foods to ensure your sweet treats remain perfectly delicious.
Freezing your cake for future enjoyment
If you cannot finish the cake quickly, freezing is a fantastic option. Wrap individual slices tightly in plastic wrap, followed by a layer of aluminum foil to prevent freezer burn.
When you are ready to indulge again, simply thaw the slices in the refrigerator overnight. This slow thawing process helps maintain the integrity of the whipped cream and pineapple layers, keeping your sweet treats tasting fresh.
| Storage method | Temperature | Maximum duration |
|---|---|---|
| Countertop | Room Temp | 1 Day |
| Refrigerator | 40°F or below | 4 Days |
| Freezer | 0°F or below | 2 Months |
Pineapple heaven cake variations
Exploring new ways to bake your favorite treat allows you to express your creativity in the kitchen. You do not have to stick to the original recipe every time you crave a tropical dessert. By making small, thoughtful changes, you can turn your kitchen into a personal bakery.
Different flavor combinations to explore
If you want to add a unique twist to your fruit filled cakes, consider experimenting with different extracts or crunchy additions. A splash of coconut extract can enhance the island vibe, while a dash of cinnamon or nutmeg adds warmth to the pineapple base.
You might also enjoy adding texture to your dessert ideas. Here are a few ways to customize your cake:
- Toasted Macadamia Nuts: Sprinkle these over the whipped cream for a buttery crunch.
- Zesty Lime Glaze: Drizzle a little lime juice and zest over the top to brighten the flavors.
- Toasted Coconut Flakes: Add these to the sides of the cake for a beautiful, textured finish.
- Vanilla Bean Paste: Use this instead of extract for a more intense and aromatic vanilla profile.
Gluten free and vegan alternatives
Everyone deserves to enjoy delicious dessert ideas, regardless of their dietary needs. You can easily adapt this recipe to be gluten free by using a high quality, 1 to 1 gluten free flour blend. These blends are designed to mimic the texture of wheat flour, ensuring your cake remains light and fluffy.
For those looking to create vegan fruit filled cakes, simply swap the dairy ingredients for plant based alternatives. Use coconut cream or a high fat oat milk whip instead of traditional heavy cream. You can also replace eggs with a flaxseed meal mixture or a commercial egg replacer to keep the structure intact.
Making these adjustments ensures that your tropical dessert remains inclusive for all your guests. With these simple swaps, you can confidently serve a treat that fits any lifestyle while maintaining that signature heavenly taste.
Frequently asked questions about pineapple heaven cake
Mastering your kitchen skills brings joy to every dessert lover. You might have specific questions as you prepare your first pineapple heaven cake. Addressing these common inquiries helps you achieve professional results with ease.
Common baking queries and solutions
Many bakers wonder about the ideal texture for their pineapple cake recipe. If your batter seems too thin, check your measurements for the crushed pineapple. Draining the fruit well prevents excess moisture from ruining the crumb structure. You can trust your instincts when testing for doneness with a wooden skewer.
You may find that easy baking recipes require patience during the cooling phase. Letting the layers reach room temperature ensures the whipped topping stays light and fluffy. This simple step prevents the cream from melting upon contact with the warm sponge.
Troubleshooting tips for new bakers
Creating fruit filled cakes becomes second nature with a bit of practice. If your glaze appears uneven, use a warm offset spatula to smooth the surface gently. You can store your creation in a sealed container to maintain the perfect moisture balance for days.
Share your results with friends and family to spread the love for this tropical dessert. Your journey into baking starts with one delicious slice. Keep experimenting with fresh ingredients to make every batch your own unique masterpiece.
FAQ
How long will my pineapple heaven cake stay fresh in the refrigerator?
When you store your cake in an airtight container or tightly covered with plastic wrap, it will remain moist and flavorful for about 3 to 5 days. This is one of those sweet treats that often tastes even better the second day, as the pineapple juice has more time to infuse the cake layers with tropical dessert goodness.
Can I use fresh pineapple instead of canned for this pineapple cake recipe?
While you certainly can use fresh pineapple, most vintage versions of this pineapple cake recipe call for canned crushed pineapple, such as Dole. The consistent juice-to-fruit ratio in canned pineapple ensures your cake achieves the perfect moisture level every time. If you choose fresh, make sure you finely mince the fruit and retain all the natural juices to keep it among the most delicious desserts in your repertoire.
What is the best way to prevent fruit-filled cakes from becoming too soggy?
To ensure your fruit-filled cakes have the ideal texture, you must bake the cake base thoroughly before adding the pineapple glaze. Follow the timing for a standard 9×13 pan using a reliable brand like Duncan Hines or Betty Crocker. Letting the cake cool slightly before applying the glaze allows the liquid to soak in without breaking down the structure of the sponge.
Are there any easy baking recipes for a gluten-free version of this cake?
Absolutely! You can easily adapt this into your collection of easy baking recipes by substituting the traditional yellow cake mix with a gluten-free alternative from King Arthur Baking Company. The texture remains light and fluffy, ensuring that everyone at your table can enjoy these fruit-filled cakes regardless of dietary restrictions.
Can I use a different topping if I don’t have heavy cream on hand?
If you are looking for more dessert ideas or a quicker shortcut, you can use Cool Whip as a convenient alternative to homemade whipped cream. For an extra layer of flavor, you might try folding in a teaspoon of McCormick vanilla or coconut extract to give your pineapple heaven cake an even more authentic island vibe.
Can I freeze the cake for later use?
Yes, you can freeze your pineapple heaven cake quite successfully. For the best results, freeze the cake base and the pineapple glaze, but wait to add the whipped topping until you are ready to serve. This keeps the topping from losing its airy consistency, ensuring you always have delicious desserts ready for unexpected guests.
What makes this considered one of the best tropical dessert ideas for parties?
This cake is a crowd-pleaser because it strikes the perfect balance between sweet and tangy. Because it is baked in a 9×13 pan, it is incredibly easy to transport and serve, making it a staple for potlucks and family gatherings. It stands out among other sweet treats because it feels light and refreshing rather than overly heavy.
Your email will not be published publicly.