
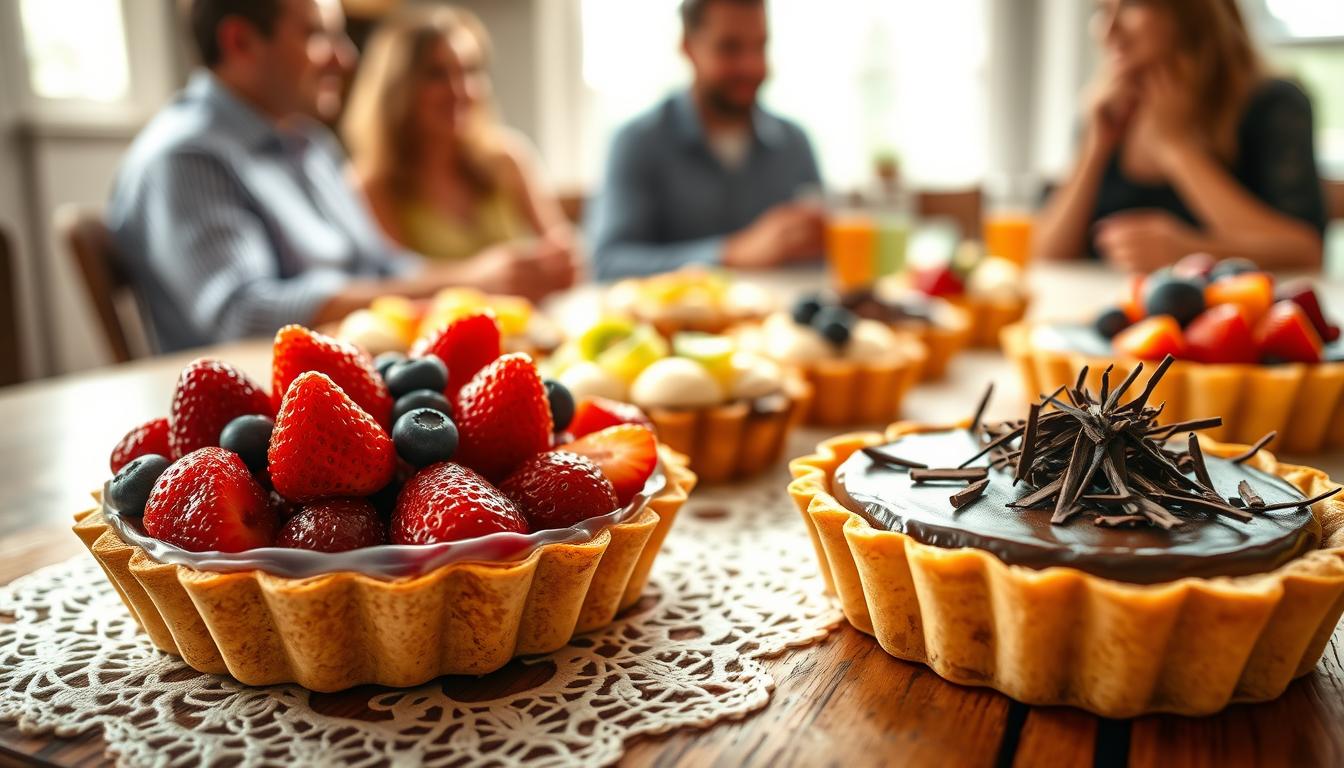
12 tart dish recipes everyone will love this season
Imagine this: you’re hosting a gathering, and the table is beautifully set. The aroma of fresh coffee fills the air, and laughter echoes around you. Suddenly, you unveil a stunning dessert that captures everyone’s attention. It’s not just any treat; it’s a delightful creation that looks like it came from a high end bakery.
If you consider yourself a dedicated pie person, you might find that the elegant tart is the perfect choice for your next event. These treats are not only visually appealing but also offer a variety of flavors that can cater to any palate. Mastering the art of these delightful confections can elevate your baking skills and make you the star of the evening.
Throughout this article, you will discover essential techniques to create impressive tarts that will surely delight your family and friends. Whether it’s a dinner party or a casual brunch, these elegant desserts can be the centerpiece that brings everyone together.
Tart dish recipes offer endless possibilities for both sweet and savory creations that impress at any gathering. Whether you’re looking for an elegant dessert or a show stopping main course, tarts deliver French inspired sophistication with surprisingly simple techniques.
For those who love citrus flavors, our Orange Tart Recipe: 6 Perfectly Elegant Steps showcases how bright, zesty fillings create memorable desserts. If you prefer individual portions perfect for entertaining, explore our Classic french dessert recipes from france you’ll love featuring buttery crusts .
Beyond sweet options, savory tarts shine as versatile dishes for lunch or dinner. Food Network’s Savory Sweet Potato Tart demonstrates how ingredients like goat cheese, pancetta, and curry powder transform simple vegetables into restaurant quality meals ready in just one hour.
Understanding the art of tarts
The elegance of a beautifully crafted tart can transform any gathering. These delightful desserts are more than just sweet treats; they are a celebration of flavors and artistry. The construction of a tart allows for clean, precise slices, making it a sophisticated choice for any occasion.
Here are some key distinctions that set tarts apart from pies:
- While pies are often considered rustic and homey, tarts are defined by their elegant, shallow, and straight sided pan design.
- The crust of a tart is typically short and crumbly, in contrast to the flaky texture of a pie crust.
- Unlike pies, which may feature a top crust, tarts showcase a beautiful, exposed filling that highlights fresh ingredients and vibrant colors.
- Understanding these differences helps you appreciate why tarts are the preferred choice for bakers aiming to create impressive, professional looking desserts.
Getting your kitchen ready for tart making
Setting the stage for your baking adventure starts with a well prepared kitchen. To create stunning desserts, you’ll need a few essential tools and ingredients. First, invest in a 9 inch tart pan with a removable bottom. This ensures your creation releases cleanly every time.
Next, stock your pantry with high quality ingredients. Unsalted butter, granulated sugar, and all purpose flour are vital for a successful baking session. A reliable oven is also necessary to achieve that perfect golden brown finish on your crust, especially when preparing a classic fruit tart.
Having the right equipment, such as a microplane or a ceramic ginger grater, makes preparing zesty fillings much easier. Additionally, always ensure you have fresh eggs on hand, as they provide the necessary structure and richness for many custard based fillings.
| Essential tools | Purpose |
|---|---|
| Tart Pan with removable bottom | Easy release of baked tarts |
| Oven | Achieves perfect baking results |
| Microplane | Grates ingredients for fillings |
| Mixing bowls | Combines ingredients efficiently |
Mastering “tart dish recipes”: tips and tricks
Crafting impressive desserts requires a blend of skill and attention to detail. When you are mastering tart dish recipes, remember that patience is key. Allow your dough to chill for the recommended time to achieve the best results.
Every great tart recipe begins with a solid foundation. Do not rush the process of pressing your crust into the pan edges. This ensures a perfect fit and a beautiful finish.
Additionally, organizing your workspace before mixing ingredients can save you significant time. This preparation reduces stress during the assembly process.
Many successful recipes suggest keeping your butter cold until the last moment. This tip helps ensure your crust remains tender and crisp.
By focusing on these small details, you can transform simple recipes into professional grade desserts. Impress everyone at your dinner table with your newfound skills!
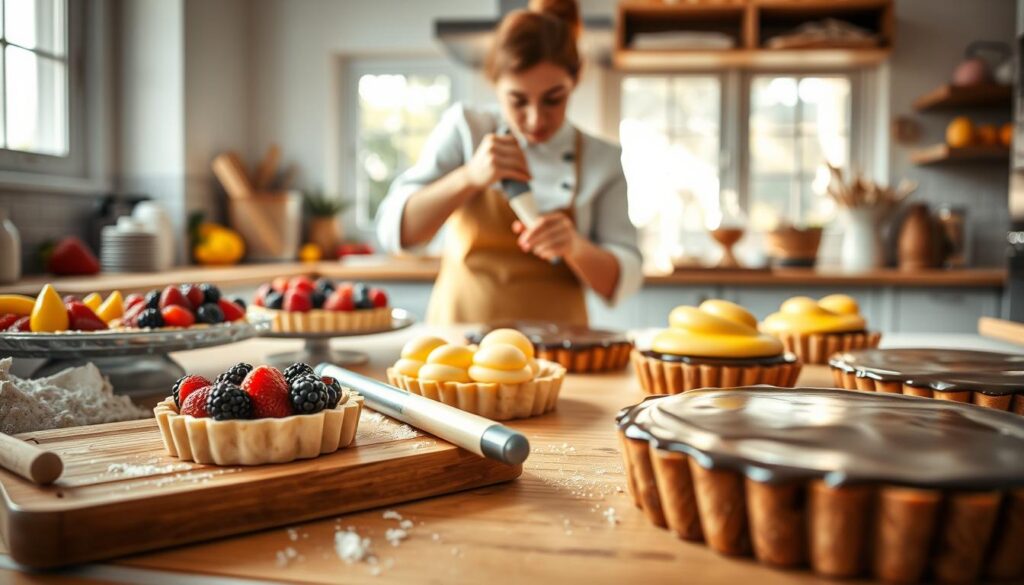
Building the perfect tart crust
Creating a delightful crust is the first step in your baking journey. A well crafted crust provides the essential base for your dessert. You can choose from various styles to suit your taste and the filling you plan to use.
Alice Medrich is renowned for her versatile press in shortbread crust. This simple method requires just a bit of flour, sugar, butter, and salt. It’s a fantastic choice for beginners and seasoned bakers alike.
If you’re looking for a decadent twist, consider using high quality Dutch process cocoa powder like Valrhona. This rich chocolate crust pairs perfectly with mousse, creating a luxurious experience.
For a bolder flavor, a gingersnap crust can add a spicy kick to your dessert. It’s an easy way to elevate the taste profile of your creation.
Always ensure your dough is pressed evenly into the pan. This prevents thin spots that might burn or break during baking. Experimenting with different crust variations allows you to customize your pastry base to complement the specific filling you have chosen.
| Crust type | Main ingredients | Flavor profile |
|---|---|---|
| Shortbread | Flour, sugar, butter, salt | Sweet and buttery |
| Chocolate | Cocoa powder, flour, butter | Rich and decadent |
| Gingersnap | Gingersnap cookies, butter | Spicy and bold |
Exploring creative tart fillings and flavors
Unlocking the potential of unique fillings can elevate your dessert game. A luscious fruit filling often combines cream cheese and sour cream. This mixture creates a light, tangy texture that perfectly balances the sweetness of fresh fruit.
You can easily measure out a cup of vibrant berries or mango slices. These colorful toppings not only taste great but also look stunning on any dessert.
If you’re feeling adventurous, consider infusing your custard with fresh ginger or orange zest. This adds a complex flavor profile that will impress your guests.
The secret to a smooth filling is to whisk your ingredients thoroughly. Make sure they are perfectly combined and free of lumps or air bubbles.
Whether you choose a rich chocolate ganache or a bright lemon curd, the filling is the heart of your creation. It deserves your full attention to make your dessert truly memorable.
| Filling type | Main ingredients | Texture |
|---|---|---|
| Fruit filling | Cream cheese, sour cream | Light and tangy |
| Custard | Eggs, cream, flavorings | Smooth and rich |
| Chocolate ganache | Chocolate, cream | Silky and decadent |
Step by step guide to assembling and baking your tart
The secret to a stunning dessert lies in how you assemble and bake it. Start by preheating your oven to 400°F. Ensure your crust is properly docked with a fork to prevent puffing during baking.
After baking for 12 to 14 minutes, your crust should achieve a beautiful golden brown color, providing the perfect crunch. Once baked, allow it to cool completely.
When it’s time to assemble, spread your creamy filling evenly across the cooled crust. Make sure to reach the edges for a professional look.
If you’re using a tart pan with a removable bottom, wait until the tart is fully chilled before attempting to release it from the pan. A well made crust should have a crisp texture that holds up against the filling without becoming soggy.
| Step | Action |
|---|---|
| 1 | Preheat oven to 400°F |
| 2 | Dock crust with a fork |
| 3 | Bake for 12-14 minutes |
| 4 | Cool completely before filling |
| 5 | Spread filling evenly |
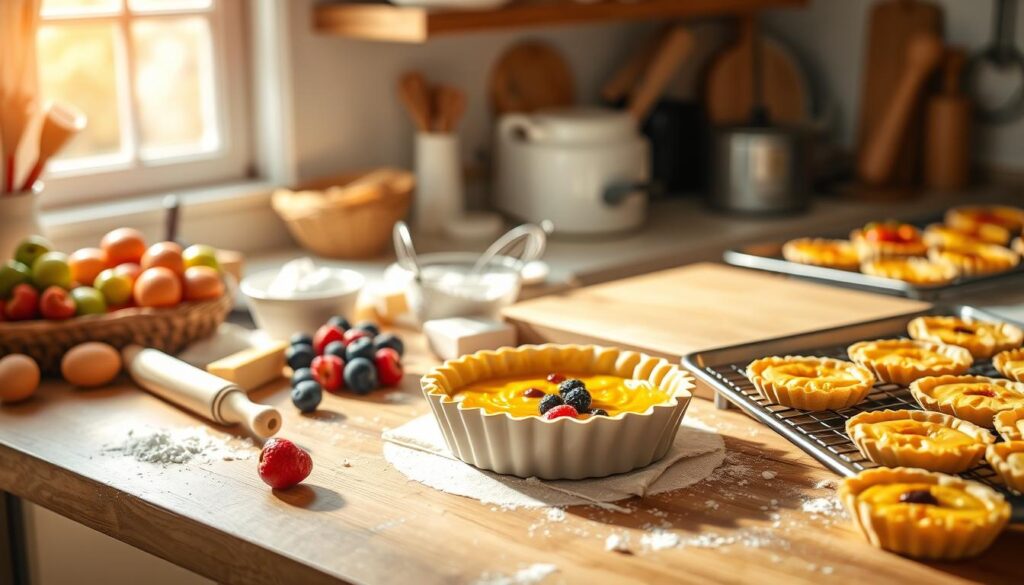
Crafting a classic lemon ginger tart
Bringing together the zesty flavors of lemon and ginger makes for a refreshing dessert. To create this delightful treat, you will need to gather a few key ingredients.
- Grate fresh ginger and squeeze it to extract the juice for a potent flavor.
- Use a press in shortbread crust, which you can prepare up to two days before serving.
- For the filling, whisk eggs, sugar, and lemon juice over low heat until it thickens into a smooth mixture.
- If you have extra egg whites, whip them into a meringue and pipe it on top for an elegant finish.
- Chill the tart for several hours to ensure the filling sets properly, making it easy to slice and serve.
Innovative recipes to elevate your tart game
Ready to take your dessert skills to the next level? Crafting unique variations can truly impress your guests. For instance, a chocolate peanut butter creation can shine when you use high quality cocoa powder like Droste. This ensures the crust delivers a rich flavor that complements the smooth mousse.
Consider enhancing a fruit dessert by artfully arranging fresh strawberries, kiwi, and mango on top of the filling. This colorful layer not only looks beautiful but also adds a delightful burst of flavor.
It’s smart to prepare these innovative treats ahead of time. However, always wait to add fresh fruit until just before serving to maintain its vibrant look and taste.
If you decide to make a frozen version, like a Thai tea treat, remember to let it thaw for at least three hours before adding any final touches. These creative desserts are sure to wow your guests, combining unique flavors with a polished presentation that resembles a work of art.
Time saving strategies for busy bakers
Don’t let a hectic lifestyle keep you from making delicious treats. You can save significant time by preparing your crust dough up to three days in advance. Store it in the refrigerator until you’re ready to bake.
Many fillings, like a lemon curd or a cream cheese mixture, can be cooked and chilled for up to a week before assembly. This makes it easy to have everything ready when you need it.
If you’re short on time, consider using a press in crust. This type of crust doesn’t require rolling or chilling, simplifying your baking process.
Maintaining a consistent oven temperature is crucial. It ensures your crust bakes evenly and achieves that perfect crisp texture every time.
By breaking down the preparation into smaller tasks, you can manage your baking schedule, even during busy weeks. With these strategies, you can enjoy creating delightful desserts without the stress!
Tackling common tart troubles
Baking can sometimes lead to unexpected challenges, especially when crafting delightful desserts. Here are some tips to help you navigate these common issues.
- Prevent a soggy bottom: Always bake your crust until it is fully golden brown before adding any moist filling to the shell.
- Crumbly crust: If your crust crumbles when you remove it from the pan, consider increasing the amount of butter or ensure your dough is chilled properly.
- Underbaked crust: An underbaked crust can often be fixed by returning it to the oven for a few extra minutes, provided the filling has not yet been added.
- Setting issues: If your tarts are not setting correctly, check that your custard or cream filling has been cooked to the appropriate thickness before chilling.
- Stay encouraged: Remember that even experienced bakers encounter issues, so do not be discouraged if your first attempt at a pie or tart does not turn out perfectly.
Enhancing presentation and serving your tarts
A well presented dessert can turn an ordinary gathering into a memorable event. To make your creations truly shine, consider these simple yet effective tips.
- Top your tart with a dollop of lightly sweetened whipped cream or a dusting of powdered sugar for an elegant finish.
- For a lemon tart, garnish with fresh mint leaves or candied lemon peel. This adds a pop of color and a refreshing aroma.
- When serving, use a sharp knife to slice your tart. Pair it with a light tea or a crisp white wine to complement the flavors.
- If you’re serving a fruit tart, a light glaze made from melted apple jelly can give the fruit a beautiful, professional shine.
- Remember, presentation is just as important as taste. Take a moment to arrange your garnishes carefully to ensure your dessert looks as good as it tastes.
| Presentation tip | Description |
|---|---|
| Whipped cream | Adds sweetness and creaminess |
| Mint leaves | Enhances color and aroma |
| Sharp knife | Ensures clean slices |
| Apple jelly glaze | Gives a professional shine |
Embracing seasonal flavors in your tarts
Using fresh, seasonal flavors in your pastries can transform your baking experience. In spring, incorporate vibrant berries or zesty lemon to create light, refreshing desserts. These ingredients not only taste amazing but also add a pop of color to your creations.
As autumn approaches, think about spiced fillings like pumpkin or apple. These flavors pair beautifully with a buttery crust and a dollop of whipped cream, making for a cozy dessert option.
You can easily adapt any basic tart recipe to include seasonal fruit. This ensures your desserts are always made with the freshest ingredients available that day. Embracing the seasons allows you to explore various flavor profiles, from the bright acidity of lemon to the rich depth of chocolate.
Always check your local farmers’ market for the best produce. Using high quality fruit will significantly enhance the overall quality of your baked goods.
| Season | Suggested flavors | Notes |
|---|---|---|
| Spring | Berries, Lemon | Light and refreshing |
| Autumn | Pumpkin, Apple | Warm and comforting |
| Year Round | Seasonal Fruits | Always fresh and vibrant |
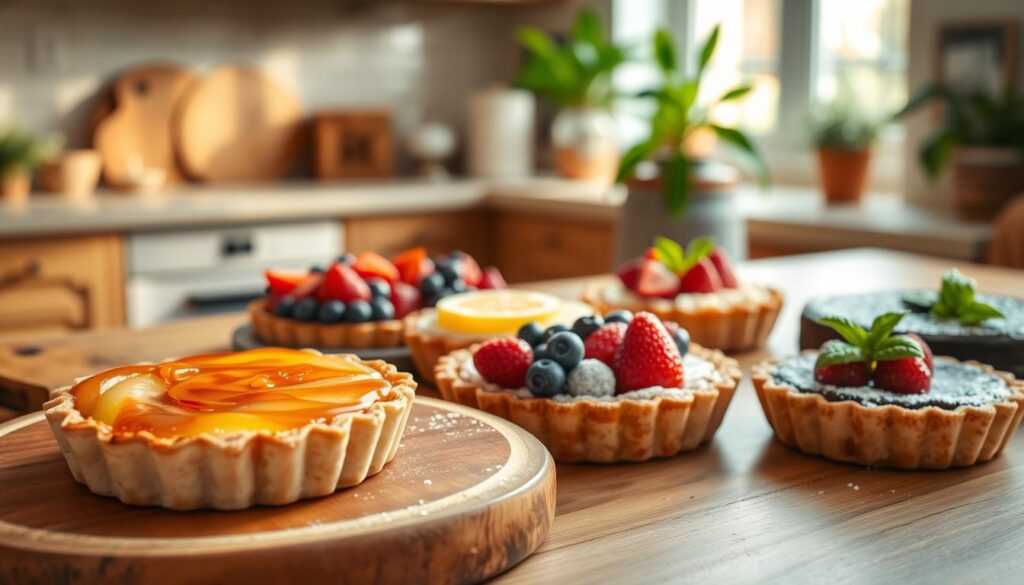
Bringing your tart journey to a memorable close
As you wrap up your baking adventure, reflect on the joy each creation brings. Every time you bake, you refine your skills and create delightful desserts for your loved ones. Whether you’re perfecting a classic lemon treat or trying out a rich chocolate filling, remember that the process is just as rewarding as the reslt.
Always keep your 9 inch tart pan with a removable bottom handy; it’s essential for achieving that perfect golden brown crust. By following the techniques outlined in this guide, you now have the tools to craft professional quality desserts that will impress family and friends.
We hope this journey has inspired you to explore the world of tarts, from vibrant fruit fillings to decadent chocolate layers that excite the palate. Happy baking!
Your email will not be published publicly.