
Orange tart recipe: perfect citrus dessert in 6 steps
Imagine a chilly winter evening, where the aroma of freshly baked goods fills your home. You’re preparing for a gathering with friends and family, and you want to impress them with something special. That’s when you decide to create a stunning dessert that not only looks beautiful but also tastes incredible.
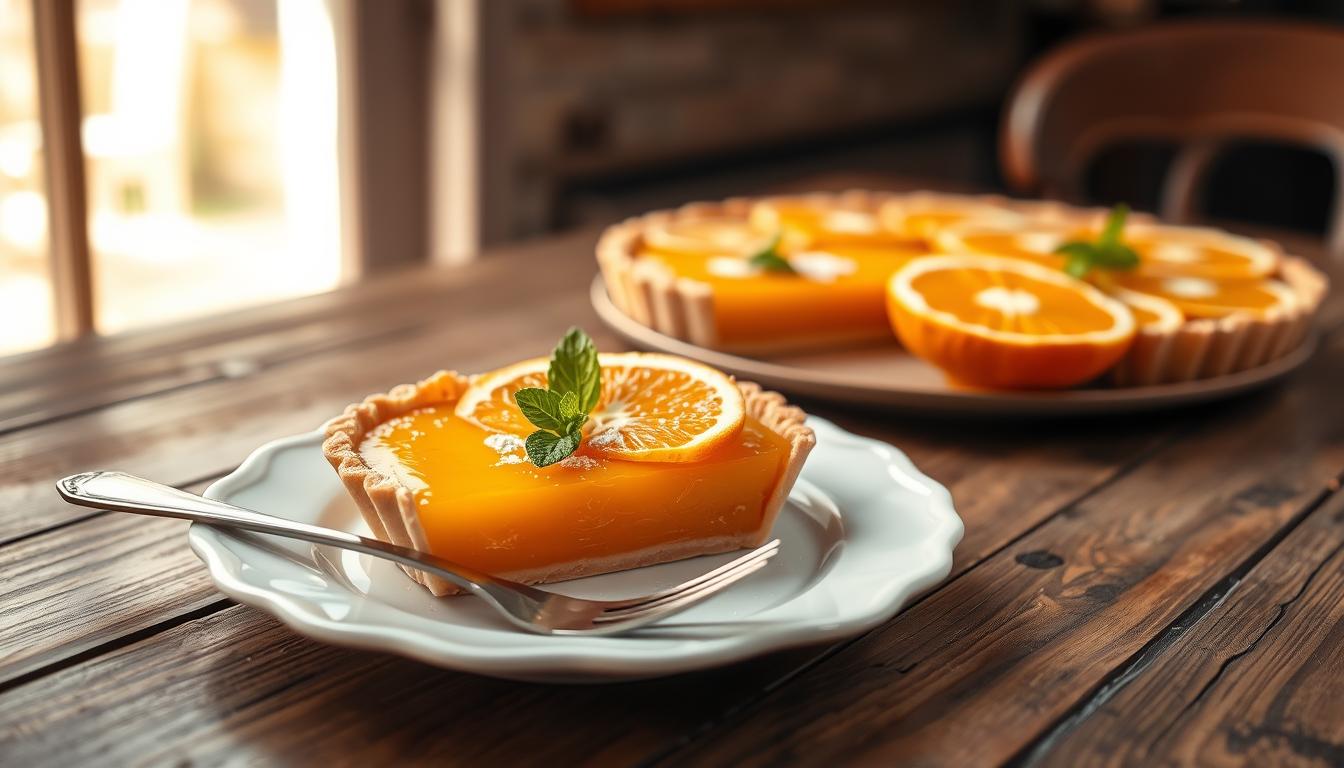
Enter the delightful world of a classic French dessert. With just 30 minutes of prep time, you can whip up a dish that brings warmth and sunshine to your table. This dessert features a buttery, crisp shortcrust pastry filled with a silky orange curd. It’s a refreshing alternative to the usual heavy chocolate treats that often dominate holiday tables.
As you follow the simple steps to balance sweetness with the natural acidity of fresh oranges, you’ll discover the joy of mastering a professional looking dessert. Get ready to impress your guests and bring a burst of flavor to your winter celebrations!
The perfect orange tart balances bright citrus acidity with buttery richness, creating a dessert that refreshes rather than overwhelms and mastering this balance requires understanding three essential components: selecting juicy oranges with the right sugar acid ratio, creating a properly blind baked tart shell that stays crisp beneath creamy filling, and developing orange curd to precisely the right consistency for clean slicing without weeping or separating. Most home bakers struggle with bitter aftertastes from including too much pith, soggy crusts from inadequate pre baking, or grainy curd from overheating eggs during the cooking process.
Fresh orange juice and zest form the flavor foundation, with navel oranges offering reliable sweetness and juice yield while blood oranges or cara cara varieties add visual drama and complex flavor notes during their peak winter season. The curd making process demands patience and constant whisking as eggs, sugar, butter, and citrus slowly thicken over gentle heat into silky custard rushing this stage produces scrambled textures that ruin an otherwise perfect tart. Temperature control separates amateur attempts from professional results, with most successful orange curds reaching 170-175°F before removal from heat for final thickening as they cool.
Beyond technique, presentation elevates orange tart from simple dessert to showstopping centerpiece through garnishes like candied orange slices, torched Italian meringue, or delicate piped whipped cream rosettes. For more citrus dessert inspiration, explore our Puff Pastry Apple Rose Tart featuring classic French technique, or discover the flaky layers in our Blueberry Mini Tarts Recipe: The Easiest Bites that applies similar pastry principles to different fruit.
Professional pastry techniques for achieving perfect citrus tarts are detailed in Food Network’s Citrus Tart with Shortbread Almond Crust, demonstrating how properly cooked custard coats a spoon and sets to sliceable consistency during refrigeration.
Getting started with your orange tart journey
Picture a vibrant gathering where the tangy scent of citrus delights your senses. Citrus desserts are a refreshing choice, offering a unique taste that cuts through the richness of traditional holiday sweets. The appeal of an orange tart lies in its mellow and zesty flavor, making it a delightful addition to any occasion.
Historically, the combination of citrus curd and shortcrust pastry became iconic in French baking, known as Tarte à L’Orange. This classic pairing has stood the test of time, and embracing the seasonal peak of citrus allows you to utilize the freshest ingredients. With this recipe, you ensure a reliable and elegant option that will impress your friends and family with minimal stress.
Gathering essential ingredients and tools
Envision a bustling kitchen filled with the scents of citrus and buttery goodness. To create a stunning dessert, you need to gather the right ingredients and tools. This preparation will set the stage for your delightful creation.
Must have ingredients for a perfect tart
Essential ingredients include:
- 115g of unsalted butter : Choose high quality butter for the best flavor.
- 4 large eggs : Fresh eggs are key for a rich filling.
- 2 large egg yolks : These will enhance the custard’s creaminess.
- 1 cup of fresh navel orange juice : Always use fresh juice for vibrant flavor.
Kitchen tools and utensils you need
Gathering the right tools is just as important:
- A 10 inch tart pan with a removable bottom ensures easy serving.
- A fine mesh sieve to strain your curd, removing any bits of cooked egg.
- A glass measuring jug and a reliable kitchen scale for precision.
| Ingredient/tool | Purpose | Notes |
|---|---|---|
| Unsalted butter | Base for crust | Use high quality for best results |
| Eggs | Filling and structure | Fresh is always better |
| Tart pan | Shape and bake | Removable bottom is essential |

Unveiling the components of an orange tart
The cheerful fragrance of ripe fruit wafts through your home, promising a delightful experience. Understanding the components of your dessert is essential for success. A perfect tart crust and a luscious orange filling are the stars of this dish.
The foundation of your tart crust is the classic French Pâte Sucrée. This shortcrust pastry is firm yet tender, providing a melt in your mouth texture. It holds the dessert together while complementing the creamy filling.
Now, let’s dive into the orange filling. This luxurious blend combines the essence of a fruity pastry cream and a curd, enriched with butter for a smooth, glossy emulsion. Incorporating eggs, sugar, and cream gives it that signature silkiness.
A well made tart crust must be crisp to contrast the soft, custardy nature of the filling. Understanding the chemistry behind this dessert ensures it slices beautifully every time. The combination of a buttery, nutty crust and a zesty filling creates a sophisticated treat that is both elegant and delicious.
| Component | Description | Key feature |
|---|---|---|
| Tart crust | Classic French Pâte Sucrée | Tender yet firm |
| Orange filling | Hybrid of pastry cream and curd | Silky and luxurious |
| Texture | Crisp crust with soft filling | Perfect contrast |
Expert tips for crafting a perfect tart crust
Imagine a warm kitchen filled with the delightful sound of pastry being rolled out, as you prepare to create a masterpiece. Mastering the art of a classic French shortcrust pastry is essential for achieving a delicious and visually appealing dessert. Here are some expert tips to ensure your tart crust turns out perfectly every time.
Secrets of making classic French Pâte Sucrée
To create a crisp and flaky crust, follow these key techniques:
- Blind bake the shell: Pre bake your crust at 350°F (180°C) for 20 minutes with weights, then 10 minutes without. This ensures a beautiful, pale golden color.
- Prick the bottom: Always prick the bottom of your tart crust with a skewer before refrigerating for 20 minutes. This prevents air bubbles from forming.
- Manage oven temperature: Start at 350°F for the initial bake, then reduce to 325°F for the filling.
- Protect the edges: If the edges brown too quickly, cover them with aluminum foil to prevent burning.
- Keep dough cold: Ensure your dough is cold before baking to prevent shrinking.

Secrets to a silky orange filling
Visualize a sunlit kitchen where the vibrant colors of fresh fruit inspire your culinary creativity. Crafting a smooth filling is crucial for your dessert. To achieve this, you must focus on your whisking techniques and cooking methods.
Start by whisking together the eggs, yolks, sugar, and salt until the mixture is completely smooth. This step is essential for a lump free base. Once combined, gently add the orange juice and lemon juice to the saucepan.
Whisking techniques for a smooth custard
When cooking the filling, use medium low heat. Stir constantly to prevent the eggs from curdling or creating an uneven texture. This careful approach will ensure a silky custard.
How to avoid lumps and maintain texture
- Strain the mixture through a fine mesh sieve immediately after cooking to remove any bits of cooked egg.
- Add the butter and orange zest after removing the mixture from heat. This enhances the filling’s sheen and flavor.
- If the filling appears too thick, adjust the consistency gently, but avoid over mixing to keep it light.
| Step | Action | Tip |
|---|---|---|
| 1 | Whisk ingredients | Ensure smooth texture |
| 2 | Cook on medium low heat | Stir constantly |
| 3 | Strain mixture | Remove lumps |
Orange tart recipe: step by step assembly and baking
With your ingredients ready, it’s time to embark on the final steps of crafting a delightful treat. The assembly process is straightforward, but precision is key to achieving a perfect outcome.
Start by blind baking your crust. After it has cooled slightly, pour the prepared orange filling into the shell while it is still warm. This ensures a smooth, even surface that will set beautifully.
Next, place your tart on a rimmed baking sheet before putting it in the oven. This will catch any drips and protect your oven floor. Bake at 325°F (165°C) for 35 to 45 minutes. Watch for the edges to puff slightly while the center remains set but has a gentle jiggle.
Once finished, remove the tart from the oven and set aside to cool at room temperature for at least one full hour. Proper temperature management during baking is crucial for a flawless set that holds its shape when sliced.
| Step | Action | Tip |
|---|---|---|
| 1 | Blind bake the crust | Ensure it cools slightly |
| 2 | Pour in the filling | Do this while warm |
| 3 | Bake in the oven | Watch for a gentle jiggle |
| 4 | Cool the tart | Let it set for one hour |

Finishing touches: garnishing and presentation ideas
Picture a sunny afternoon where vibrant colors and enticing aromas fill your kitchen. The final presentation of your dessert is just as important as its taste. Adding garnishes not only enhances the visual appeal but also elevates the overall experience for your guests.
Consider these creative ideas to make your dessert shine:
- Piped whipped cream: For an elegant touch, pipe dollops of cream on top just before serving.
- Fresh orange slices: Arrange thin slices in a fan pattern to add a vibrant pop of color.
- Festive accents: Add sugared cranberries and mint leaves for a seasonal flair.
- Chocolate drizzle: A light drizzle of melted dark chocolate creates a beautiful contrast against the bright filling.
- Chill before garnishing: Always wait until the tart is fully chilled to ensure garnishes stay on top.
Storing and serving your delicious orange tart
Imagine a delightful afternoon spent with friends, where the scent of a freshly baked dessert fills the air. Proper storage and serving techniques can enhance your experience with this treat. The tart keeps well in the refrigerator for up to three days, though the crust is crispiest within the first one to two days.
To maintain the best texture, let the tart cool at room temperature for one hour before transferring it to the fridge. Chilling for three hours will ensure it’s ready to serve.
Tips for keeping your dessert fresh in the fridge
- Store leftover slices in an airtight container for up to two days.
- If you plan ahead, bake the crust one day in advance and prepare the curd filling up to three days early.
Serving suggestions for every occasion
For a delightful touch, serve your dessert with a side of crème fraîche whipped cream. This adds a tangy element that complements the flavors beautifully. For clean cuts, dip your chef’s knife in hot water and wipe it clean between each slice.
| Storage tip | Details | Notes |
|---|---|---|
| Cooling time | Let cool at room temperature | About one hour |
| Refrigeration | Store in an airtight container | Up to two days |
| Preparation | Bake crust in advance | Curd filling can be made three days early |
Embracing your orange tart success
Revel in the joy of sharing your homemade creation with loved ones, as smiles spread around the table. You have successfully mastered the art of creating a professional grade dessert that perfectly balances zesty flavor and texture. By using fresh fruit and high quality ingredients, your baking now rivals any local pastry shop.
Remember, practice makes perfect! Feel free to experiment with different citrus varieties, like blood oranges, for unique seasonal twists. Sharing this delicious dessert is the ultimate reward for your time and effort in the kitchen.
We hope this guide has inspired you to continue exploring the wonderful world of French inspired citrus delights and beyond. Enjoy every moment!
Your email will not be published publicly.