
French macarons recipe how to make perfect treats
Did you know that over 70% of home bakers who try to make these delicate cookies end up with cracked shells or no feet? This startling fact highlights why so many people find the process intimidating.
You can leave that frustration behind. This guide was crafted by a CIA trained chef who honed their skills at Le Cordon Bleu in Paris. Their technical expertise is now distilled into a simple, step by step plan for you.
True macarons are defined by their smooth tops, crisp shells, and soft, chewy centers. Achieving that perfect sandwich cookie is a science. It requires precise attention to detail during the entire baking process.
We will explore the essential components and foundational techniques. You’ll learn how to avoid common pitfalls. The goal is to create beautiful, consistent treats with the coveted frilly feet.
By focusing on the science behind the ingredients rather than shortcuts, you’ll gain the knowledge for professional results. This isn’t just another recipe; it’s your masterclass from a Parisian kitchen.
Getting started with your french macarons recipe
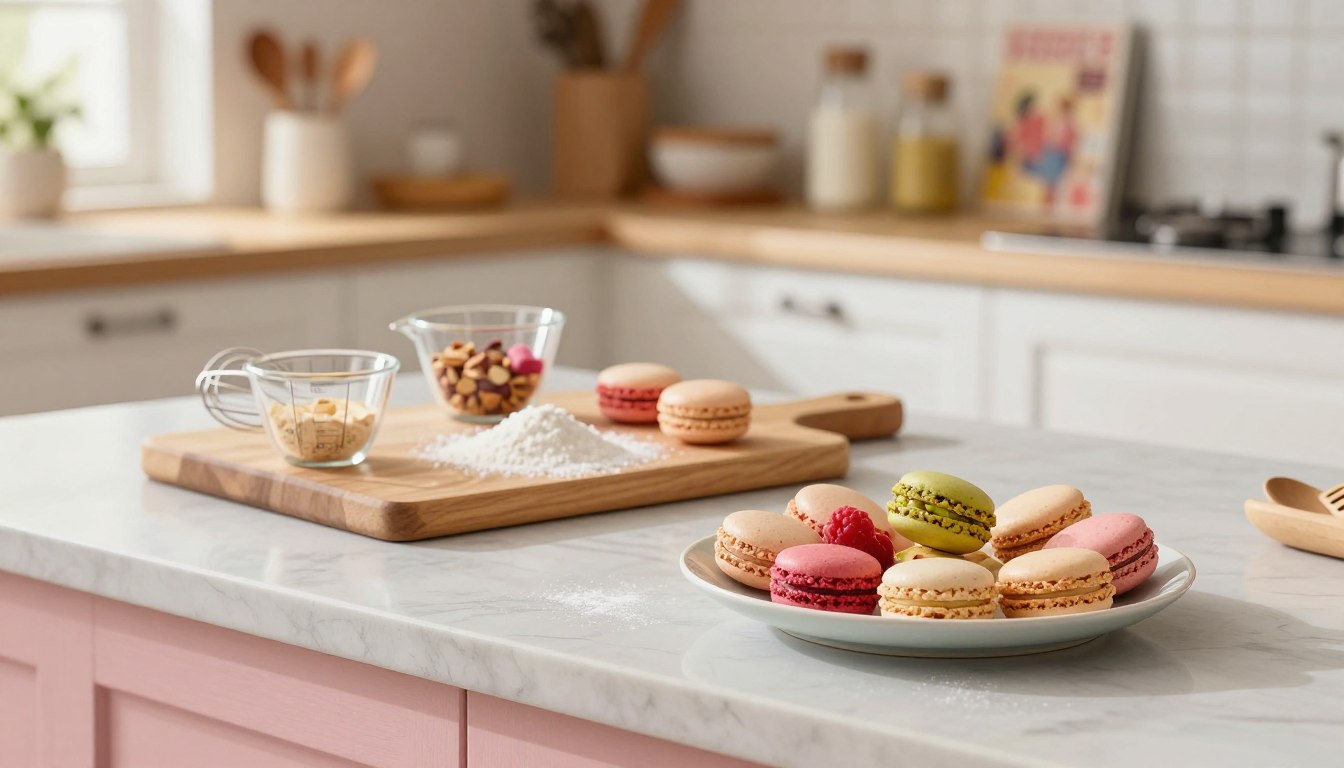
Success hinges on two pillars: precise ingredients and the proper equipment. Getting this foundation right eliminates many common frustrations. It transforms a complex process into a manageable, enjoyable project.
Essential ingredients: almond flour, egg whites, and sugars
Your egg whites must be fresh and at room temperature. Do not use liquid from a carton. Even a trace of yolk can prevent them from whipping properly.
Finely ground, blanched almond flour is non-negotiable. The absence of skins ensures a smooth batter. Combine it with confectioners’ sugar for sweetness and structure.
Granulated sugar stabilizes the meringue. Always measure these ingredients by weight with a scale. Volume cups are too unreliable for this delicate balance.
Must have tools: stand mixer, piping bag, and parchment paper
A stand mixer is ideal for hands-free, consistent whipping. A good hand mixer also works. The goal is a stable, glossy meringue.
You will need a piping bag fitted with a round tip. This creates uniform circles on your baking sheets. Always line those sheets with parchment paper.
Wax paper will not work. The right surface helps form the iconic ruffled “feet.” With these basics gathered, you’re ready to begin the real magic.
Understanding the essential baker’s formula for macarons
Mastering these delicate confections starts with understanding the math behind the magic. Professional bakers don’t just follow a recipe; they use a precise formula. This approach guarantees the same perfect structure every time.
Precise ratios and measurements
Think of the egg whites as your base, set at 100%. All other ingredients are measured against it. For example, you use 75% granulated sugar and 140% almond flour.
This balance is critical. The 200% confectioner’s sugar to almond flour ratio gives the batter the right density. It holds its shape beautifully after you pipe it.
| Ingredient | Baker’s Percentage | Key Role |
|---|---|---|
| Egg Whites | 100% (Base) | Provides structure and volume |
| Granulated Sugar | 75% | Stabilizes the meringue |
| Confectioner’s Sugar | 200% | Adds sweetness and fine texture |
| Almond Flour | 140% | Creates the base flavor and body |
The value of weighing ingredients by scale
A digital kitchen scale is your best friend. Volume cups can pack flour differently each time. This creates frustrating inconsistencies.
Weighing everything removes the guesswork. You can follow the exact Le Cordon Bleu standard. This precision turns baking into a repeatable science.
You gain the power to troubleshoot effectively. If your shells aren’t perfect, you know your measurements were accurate. Consistent results become your new normal.
Prepping your ingredients for success
Before you even turn on your mixer, the quality of your final product is being decided. Proper preparation transforms tricky steps into smooth, predictable actions.

Room temperature egg whites explained
Always separate your eggs while they are cold from the fridge. This makes the process cleaner. Then, let the whites sit out until they reach room temperature.
Egg whites at this stage whip much higher and form a more stable foam. Even a small amount of fat can ruin the meringue. So, ensure your bowl and whisk are spotless.
Sifting almond flour and powdered sugar for smooth batter
Your dry ingredients need equal attention. Combine almond flour and confectioners’ sugar in a bowl. Sift them together at least two times.
This step breaks up any clumps in the flour. It also aerates the sugar. The result is a fine, uniform powder that blends seamlessly into your batter.
For the finest texture, you can pulse blanched almond slivers with the sugar in a food processor. Then sift again. This extra effort guarantees shells with a perfectly smooth top.
Taking these moments for prep lets you focus entirely on the folding technique later. It’s the best way to avoid lumpy or bumpy results.
Mastering the french macarons recipe: key techniques
Your journey to flawless macaron shells centers on two precise skills: whipping and folding. Getting these steps right is what separates amateur attempts from professional quality treats.
Whipping the perfect meringue
Start with your room temperature egg whites and granulated sugar. Whip them on high speed for about five minutes. You want a glossy, stable meringue.
The meringue is ready when it holds firm peaks that curve slightly at the tip. It should look like stiff shaving cream. Stop mixing immediately at this stage.
Over whipping creates a dry, grainy foam. This can ruin your batter‘s structure.
The art of macaronage: folding techniques
Now, add your sifted dry ingredients to the meringue. Use a wide spatula for folding.
Employ a gentle, circular motion to combine everything. This process is called macaronage. Your goal is a batter that flows like thick lava.
Test it by letting some drop from your spatula. It should form a slow, continuous ribbon. If it breaks, fold a few more times.
Undermixing leaves lumps. Overmixing causes flat shells with no feet. Master this balance for consistent results.
Step by step guide to making macaron batter
The moment you combine your egg white meringue with the dry mix is where the real transformation begins. This stage blends airy structure with fine powders to create your foundation.
Your goal is a homogeneous, flowing mixture. Start by sifting your almond flour and confectioners’ sugar directly onto the meringue. This ensures no lumps enter the batter.
Combining ingredients with care
Begin folding with slightly more force than feels natural. Press the spatula against the bowl’s side to incorporate the dry ingredients into the egg whites. This initial firmness breaks the meringue’s density.
Continue with gentle, circular motions. Scrape the bottom and sides to find hidden pockets of dry flour. The mixture will slowly become a shiny, glossy batter.
If you want colored shells, add gel food coloring now. Place a small drop on your spatula tip before the final folds. This distributes hue evenly without overmixing.
Patience is key. Rushing leads to uneven texture. Your batter is ready when it flows like thick lava off the spatula in a continuous ribbon.
| Consistency Stage | Visual Test | What to Do |
|---|---|---|
| Initial Combine | Dry spots visible | Fold firmly to incorporate almond flour and sugar |
| Mid Point | Shiny but thick | Continue circular folds |
| Perfect Flow | Ribbon holds for 10 seconds | Stop folding immediately |
This careful process guarantees a batter that bakes into smooth, consistent shells. Each fold builds the structure for perfect macarons.
Piping tips for creating smooth macaron shells
Your piping technique can make or break the visual consistency of your baked treats. This step transforms your prepared batter into those iconic, uniform circles. With a few key practices, you’ll achieve shells that look professionally made.
Selecting the right piping bag and tip
Control begins with your tools. A piping bag fitted with a 1/2 inch round tip offers the best precision. This size allows you to deposit the batter cleanly onto your parchment paper.
Hold the bag perfectly vertical, about a quarter inch above the pan. Squeeze with steady, even pressure until the circle is filled. Then, flick the tip away quickly to avoid a peak.
If a small point remains, gently tap the tray on your counter. This settles the batter for a smooth top. Always twist the top of your piping bag to maintain pressure and prevent leaks.
Keep the tip at a consistent height for every shell. This ensures they all bake evenly. Remember, piping improves with practice, so don’t worry if your first batch isn’t perfect.
Achieving the ideal resting phase for your macarons
A quiet period on your countertop is what transforms soft batter into structured shells. This waiting step is not downtime. It’s a crucial part of the science.
You must let your piped circles sit uncovered. This allows a thin skin to form on the surface. That skin is the secret to the iconic frilly feet.
The importance of drying shell tops
Rest your shells for 20 to 30 minutes. Your kitchen’s humidity and temperature change this time. A humid day means you wait longer.
Touch a shell gently with your finger. It should feel completely dry and not sticky. If it’s tacky, give it more time.
This dry top acts like a lid during baking. Steam from the wet batter inside pushes upward. It lifts the shell, creating the perfect foot.
| Kitchen Condition | Estimated Resting Time | Visual & Touch Cue |
|---|---|---|
| Low Humidity / Dry | 20-30 minutes | Shell surface looks matte, feels dry |
| High Humidity / Damp | 40-60 minutes | No shine or tackiness remains |
| Experienced Baker | May be reduced or skipped | Based on known oven and batter behavior |
Never rush this phase if you’re new. Proper drying prevents cracks and ensures even rising. Your patience here guarantees professional looking results.
Remember, the shells rest on your parchment paper. The paper helps wick away just enough moisture. Trust the process and watch for that dry touch.
Baking your macarons: temperature, time and visual cues
Setting the correct oven environment guarantees those iconic feet and smooth tops. After the resting phase, the baking process finalizes the structure of your delicate creations.
Oven settings and preheating tips
Always preheat oven to 300°F. An oven thermometer is essential here. Many home ovens are unreliable, so verifying the temperature is a non negotiable step.
This accuracy ensures even heat distribution. It provides the steady environment your shells need to rise properly.
Checking for the perfect doneness
Bake the shells for 14 to 18 minutes. Rely on visual cues more than the clock. Gently nudge the top of a shell to test.
If it does not shift away from the feet, it is finished. If they stick to the parchment, they likely need a few more minutes.
Rotate your pans halfway through the baking time. This prevents uneven heating and lopsided results. Once the tops look matte and set, remove them from the oven.
Let them cool briefly on the pan. This final test ensures the interior is fully cooked and stable.
| Visual Cue | What It Means | Your Action |
|---|---|---|
| Shell top wiggles | Interior is still wet | Bake 1-2 more minutes |
| Shell sticks to paper | Needs more baking time | Extend by 2-3 minutes |
| Top is shiny, not matte | Not fully set | Continue baking |
| Top is matte, feet are firm | Perfectly done | Remove from oven to cool |
Patience during this last stage turns your hard work into perfect, professional-looking macarons.
Troubleshooting common macaron challenges
Even with careful preparation, you might encounter a few common baking hurdles. Knowing how to fix them turns frustration into a valuable learning experience.
- Macaron Silicone Baking Mats – Pack of 4 Non stick, heat resistant, and dishwasher safe. Reusable and eco-friendly, 1/2 sheet size. Perfect for macarons, cookies, and baking projects. Easy release and even baking every time.
- Don’t miss our almond flour chocolate cake,Try our earl grey lavender cake and strawberry icebox cake.
How to Prevent Hollow or Cracked Shells
A hollow center often means your meringue was overwhipped. It can also happen if you overmix the batter. This weakens the structure, causing a collapse.
Cracked tops usually trap air inside. Always sift your dry ingredients well. Give your piped circles enough resting time to form a dry skin.
Check your egg whites are at room temperature. Whip them to firm, glossy peaks. Stop as soon as they hold their shape.
Solutions for Sticking to Parchment
If your treats stick to the parchment paper, they are likely underbaked. They may also need more time to cool completely before you try to remove them.
Extend the baking time by a few minutes. Let them cool on the pan for at least 10 minutes. Then, gently lift an edge with a spatula.
Uneven oven heat can cause lopsided results. Use an oven thermometer for accuracy. Rotate your pans halfway through baking.
View any imperfect batch as a chance to refine your technique. If consistency is an issue, double-check your almond flour to powdered sugar ratio. This balance affects the final texture greatly.
Flavorful Filling Ideas to Elevate Your Macarons
While perfect shells are a triumph, the true personality of your creation shines through its filling. This is where you can truly express your creativity. A standard batch yields about twenty cookies, giving you plenty of room to experiment with different flavors.
Classic Chocolate Ganache Recipe
A simple chocolate ganache is a timeless choice. Heat half a cup of heavy cream until it steams. Pour it over four ounces of finely chopped, high-quality chocolate.
Whisk the mixture gently until it becomes perfectly smooth. Let it cool and thicken before you use it. This rich filling pairs beautifully with any shell flavor.
Creative Alternatives: Fruit Curds and Buttercreams
For a brighter taste, consider vibrant lemon or raspberry curds. These add a delightful tang. Rich vanilla or chocolate buttercream is another crowd-pleasing option.
If you’re new to baking, a quality store-bought jam or buttercream can simplify things. This lets you focus on mastering the shells first. Many easy recipes for these fillings are available online.
When assembling, pipe your chosen center onto one shell. Leave a small border around the edge. This prevents overflow when you press the second shell on top.
For the best texture, store your finished macarons in the fridge for one to two days. This allows the flavors to mature and meld together beautifully. Always bring them to room temperature before serving for the best possible experience.
Exploring Swiss vs. French Meringue Methods
Bakers often debate which meringue technique yields the most reliable and forgiving results. Your choice here impacts the entire process, from mixing to baking.
The traditional French method uses raw egg whites and granulated sugar whipped together. It’s direct but requires perfect technique.
The Swiss method involves warming the whites and sugar over a double boiler first. This gentle heat helps dissolve the sugar fully before whipping.
Pros and Cons of Each Technique
Many find the Swiss style more forgiving. It creates a meringue that is less prone to collapsing when you fold in the dry ingredients.
This stability can be a huge help for beginners. The French approach is classic but demands precision. Your comfort level with each will guide your choice.
Regardless of your pick, you must whip the mixture for several minutes on high speed. Stop only when you see firm, glossy peaks.
This structure is vital for a batter that holds its shape. Experimenting with both approaches teaches you how meringue affects shell texture.
| Method | Preparation | Key Advantage | Best For |
|---|---|---|---|
| French Meringue | Raw egg whites and sugar whipped cold | Classic technique, faster start | Experienced bakers seeking traditional results |
| Swiss Meringue | Egg whites and sugar warmed then whipped | Superior stability, more forgiving fold | Beginners or those wanting consistent shells |
Trying both recipes is the best way to learn. You’ll discover which method helps you create perfect macarons more easily.
Utilizing Your Kitchen Tools for Better Results
The right kitchen tools don’t just make baking easier; they act as your silent partners in achieving consistent, professional-quality results.

Effective Use of Stand Mixer and Kitchen Scale
Your stand mixer is invaluable for its consistent speed. This stability is vital for whipping a meringue to the exact glossy peaks your batter needs. Let it run for the full several minutes required.
A digital kitchen scale guarantees precision. Weighing your ingredients is the only way to follow the delicate formula correctly. This removes all volume guesswork from your food prep.
Other tools also play key roles. A fine sifter ensures your dry ingredients are lump-free. A powerful burner can heat water for a double boiler in minutes.
Keeping everything clean and organized makes the process enjoyable. This approach, called mise en place, turns complex food projects into a smooth sequence. Good tools remove the guesswork, letting your skill shine through.
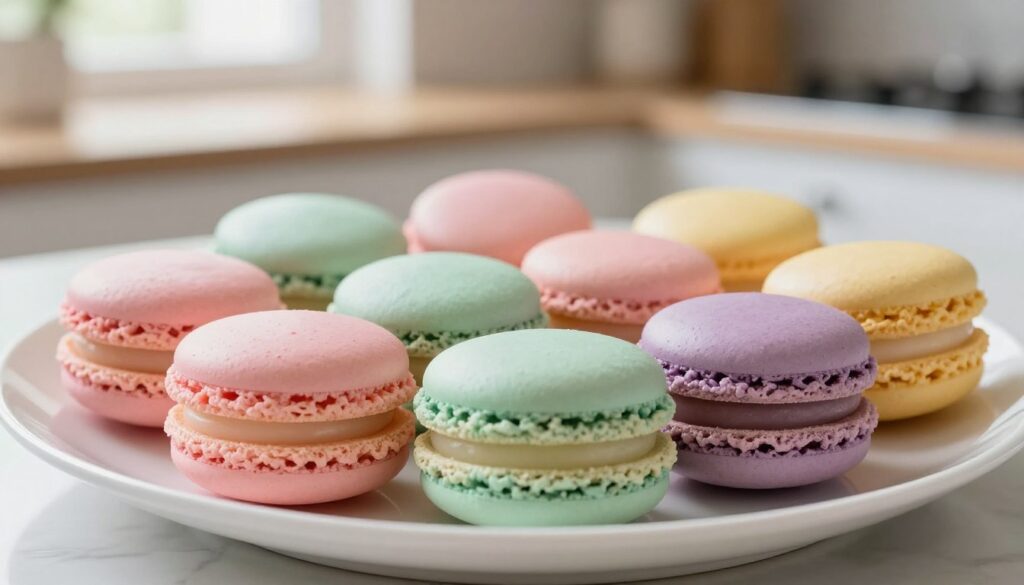
Customizing Colors and Flavors for Unique Twists
Unleashing your creativity with color and taste transforms your baking from standard to spectacular. This is where you can make each batch uniquely yours for special events.
Adding vibrant hues and subtle flavor notes lets your personality shine. It turns a classic treat into a personalized masterpiece.
Gel Food Coloring Techniques
Always use gel-based food coloring for the best results. Liquid dyes add extra moisture that can weaken your batter.
This thinning often prevents proper shell development. Add a small drop during the final folds of mixing.
This ensures the vibrant color spreads evenly without overworking the delicate mixture.
Innovative Flavor Additions
For unique tastes, incorporate fine powders into your dry ingredients. A touch of high-quality cocoa powder creates a rich chocolate hint.
Finely ground freeze-dried fruit adds a natural, tangy flavor. Instant espresso powder offers a sophisticated coffee note.
Keep these additions subtle. The delicate shell should complement, not overpower, your filling.
Follow these simple tips for success:
- Use only gel or powder-based colorants.
- Add flavors by sifting them with your almond flour.
- Experiment with small batches to perfect your custom recipes.
This fun process makes every baking session an exciting artistic adventure.
Conclusion
Your journey into the world of delicate baking is complete, but the adventure is just beginning. Creating these treats is a truly rewarding blend of scientific rigor and edible art.
Success hinges on your patience and the quality of your ingredients. Precise measurements for every component, from almond flour to sugar, are non-negotiable for that professional shell and perfect batter consistency.
Remember, even expert bakers learn from imperfect batches. The right attention to detail during each step, whether resting for the correct number of minutes or mastering the fold, matters more than any single technique.
You now have the knowledge and confidence to share beautiful cookies with friends and family. Enjoy every creative baking session, and don’t hesitate to put your own spin on a classic recipe.
Your email will not be published publicly.